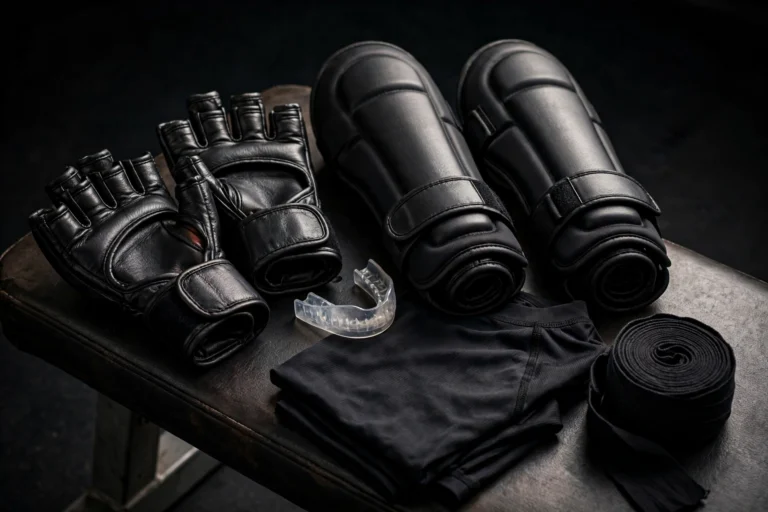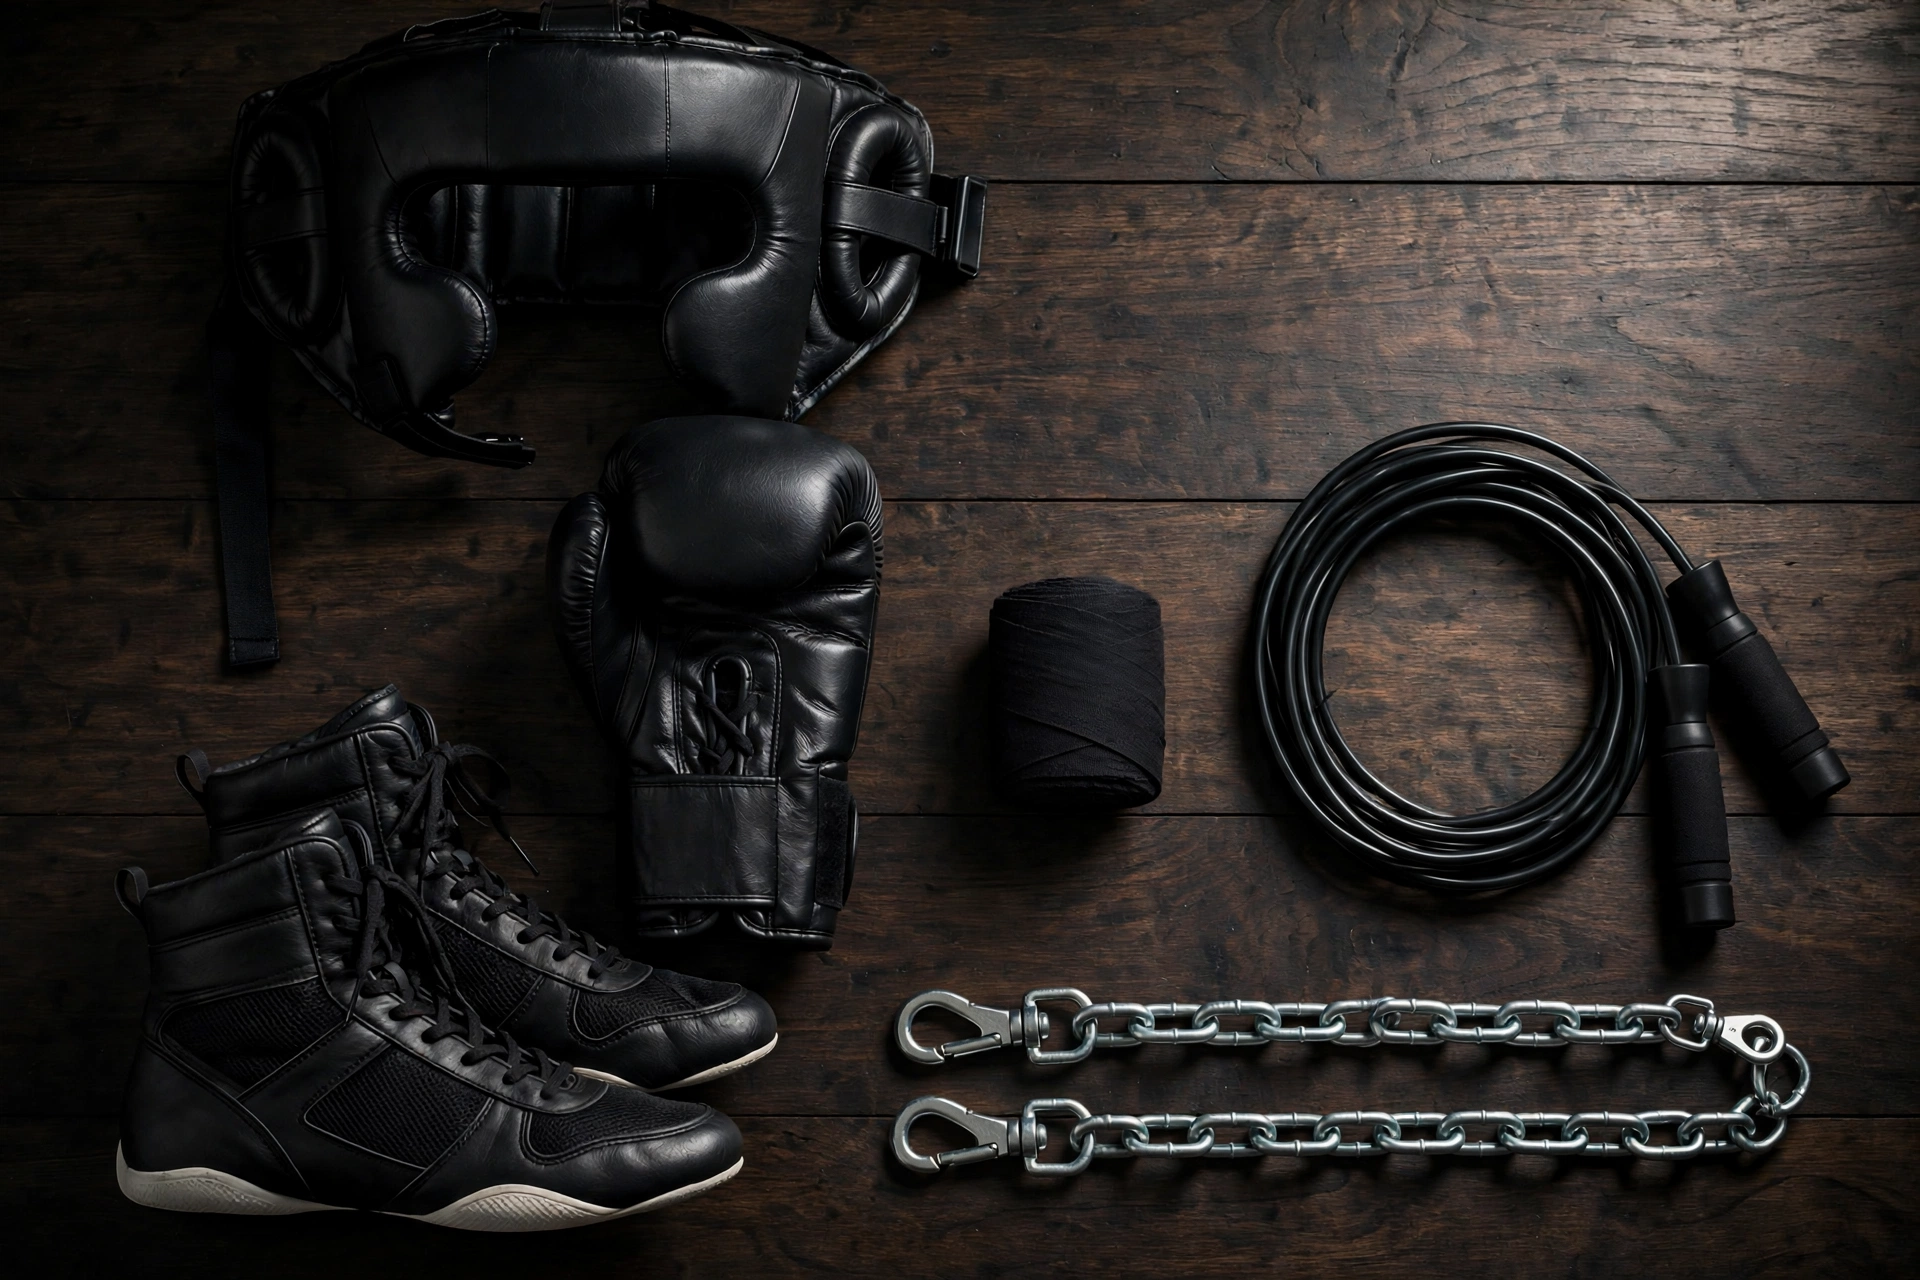
Walk into any boxing gym and you’ll see walls of gloves, wraps, bags, and shoes — and no idea where to start. This Boxing Equipment buying guide cuts through the noise: what you actually need as a beginner, what can wait, how to choose the right size and type of every essential, and how much you should expect to spend. Buy right once, and your gear will carry you from your first jab through your first year of training.
The Essentials: What Every Beginner Needs
You need exactly five things to start boxing. Everything else is optional until your training demands it.
1. Boxing Gloves
Gloves are your most important purchase. Boxing gloves are sized by weight (ounces), which indicates padding — not hand size:
| Glove Weight | Best For | Typical User |
|---|---|---|
| 10 oz | Competition (lighter weight classes) | Competitive amateurs under ~147 lbs |
| 12 oz | Bag and mitt work | Smaller beginners focused on fitness |
| 14 oz | All-around training | Most beginners — the versatile choice |
| 16 oz | Sparring (standard) | Anyone sparring; required at most gyms |
| 18 oz | Heavy sparring / extra protection | Larger fighters |
What to look for: genuine leather or high-quality synthetic leather, attached thumb (prevents eye pokes and thumb injuries), good wrist support (velcro for training; lace-up for competition), and multi-layer foam padding. Try gloves on with hand wraps — they should be snug but not painfully tight.
What to avoid: ultra-cheap gloves (under ~$30) with single-density foam that bottoms out and injures your knuckles; “bag gloves” (minimal padding, for advanced users only); and buying 10 oz gloves for daily training — your hands will pay for it.
Budget: $50–$100 gets excellent beginner gloves from reputable combat-sports brands. Premium gloves run $150–$250+.
2. Hand Wraps
Hand wraps are non-negotiable — they stabilize the 27 small bones of the hand and wrist under the glove. Every session, no exceptions.
- Length: 180 inches (“Mexican style” with slight elastic) for adults; 120 inches for smaller hands or youths.
- Material: semi-elastic cotton (Mexican-style) conforms best; traditional non-stretch cotton works but is less forgiving.
- Quantity: own at least two pairs so you always have a clean set.
- Learn to wrap properly: wrist support first (multiple passes), then knuckle padding, then between the fingers, finishing at the wrist. Your coach will teach you — or learn from a reputable video tutorial before your first class.
Budget: $10–$15 per pair. Replace when the elastic dies or the velcro fails.
3. Mouthguard
The moment you do partner drills or sparring, a mouthguard is mandatory. Even light contact can chip teeth or cut lips.
- Boil-and-bite: $15–$30, molded at home. Fine for beginners.
- Custom-molded (dentist): $100–$300, the gold standard for regular sparrers — better fit, better breathing, better protection.
4. Jump Rope
The boxer’s warm-up tool and one of the best conditioning implements ever invented. A basic speed rope ($10–$20) is all you need. Size it by standing on the middle — handles should reach your armpits. Boxers jump rope for good reason: it builds calf endurance, coordination, rhythm, and the light-footed bounce that defines boxing movement.
5. Training Shoes
Boxing shoes are high-topped, lightweight, and grippy — designed for pivoting without ankle roll. But beginners can start in any flat, supportive athletic shoe. Avoid running shoes with heavy heel cushioning (they destabilize your stance). When you’re ready to invest ($60–$120), proper boxing shoes noticeably improve footwork. For general guidance on athletic footwear, see our beginner’s running shoe guide.
Intermediate Gear: What to Buy Next
Headgear
Required for sparring at any reputable gym. Look for: good visibility (open-face or cheek-protection styles), secure fit (top strap plus chin strap), and adequate padding over the forehead, cheeks, and chin. Note that headgear prevents cuts — it does not prevent concussions. Budget $60–$120.
Heavy Bag (for Home Training)
A home heavy bag transforms your training. Key decisions:
| Bag Type | Best For | Considerations |
|---|---|---|
| Hanging heavy bag (70–100 lbs) | Power punching, combinations | Needs a sturdy mount — ceiling joist, wall bracket, or stand |
| Freestanding bag | Apartments, no mounting | Fillable base; less realistic movement than hanging |
| Uppercut / angle bag | Uppercuts and hooks | Supplemental, not a first bag |
| Double-end bag | Timing, accuracy, head movement | Challenging — buy after fundamentals are solid |
Choose a bag roughly half your body weight for power work. Budget $100–$250 for the bag plus $50–$150 for a stand if you can’t mount to the structure.
Focus Mitts
For partner training at home. Curved mitts ($40–$80) are easier on the holder’s hands and better for catching hooks. Buy them when you have a regular training partner — they’re useless solo.
Speed Bag and Platform
The classic boxing rhythm tool. A speed bag ($20–$40) plus platform ($80–$150) builds hand-eye coordination, shoulder endurance, and timing. It’s a fantastic supplement but not essential — many great boxers barely use it.
Groin Protector
Required for sparring (men). A boxing-specific cup with compression shorts ($25–$40) stays in place better than generic athletic cups during movement.
Gear You Don’t Need (Yet)
- Competition gloves (8–10 oz lace-up): only when you’re actually competing.
- Boxing trunks and competition apparel: for fight night, not the gym.
- Expensive “pro” gloves: your technique, not your glove brand, determines your progress for the first two years.
- Multiple bag types: one good heavy bag beats three mediocre specialty bags.
Budget Tiers: What to Spend
| Tier | Total Cost | What You Get |
|---|---|---|
| Starter | $80–$150 | 14 oz training gloves, 2 pairs of wraps, jump rope, boil-and-bite mouthguard, use gym’s loaner gear for the rest |
| Committed | $250–$400 | Above plus 16 oz sparring gloves, headgear, quality boxing shoes, groin protector |
| Home gym | $500–$900 | Above plus heavy bag + stand or mount, focus mitts, speed bag setup, timer |
Buy from dedicated combat-sports retailers rather than general sporting-goods chains — the staff know the difference between fitness-boxing gear and real training equipment, and the selection is built for actual boxers. Similar care in choosing activity-specific gear applies across sports, as our cycling and kayaking beginner guides show.
Caring for Your Gear
- Gloves: air them out after every session — never leave them in a gym bag. Wipe the exterior, use glove deodorizers or cedar inserts, and replace when padding compresses or the lining tears.
- Hand wraps: wash after every use (mesh laundry bag prevents tangling). They harbor bacteria fast.
- Headgear: wipe down with disinfectant after sparring; check straps and padding monthly.
- Heavy bag: rotate periodically for even wear; check chains and mounts for stress.
- Mouthguard: rinse after use, store in a ventilated case — not loose in your bag.
Well-maintained quality gloves last 1–2 years of regular training. Wraps last 6–12 months. Treat gear care as part of training discipline.
Frequently Asked Questions
What size boxing gloves should a beginner get?
14 oz for general training (bag and mitt work) is the standard beginner recommendation — enough padding to protect your hands while you learn proper form. Add 16 oz gloves when you start sparring, as most gyms require them.
Are expensive boxing gloves worth it?
Up to a point. The jump from $30 gloves to $80 gloves is enormous (real padding, durability, wrist support). The jump from $80 to $200+ is subtler — mostly leather quality and craftsmanship. Beginners should target the $50–$100 sweet spot.
Do I need hand wraps if my gloves fit well?
Yes — always. Gloves protect your knuckles from impact; wraps stabilize the wrist and the small bones of the hand. They’re different jobs, and skipping wraps is the most common cause of beginner hand injuries.
Can I use MMA gloves for boxing training?
No. MMA gloves (4–7 oz, open-fingered) offer far less knuckle and wrist protection and are designed for grappling. For boxing training, use proper boxing gloves — your hands and your training partners will thank you.
How do I know when to replace my gloves?
When the padding over the knuckles feels thin or uneven, the wrist support loosens, the lining tears, or your knuckles start aching after sessions that never bothered you before. For regular trainers, that’s typically 12–24 months.
What’s the difference between bag gloves and training gloves?
Bag gloves are lighter with denser, thinner padding — designed for experienced users to feel impact on the bag. Training gloves (12–16 oz) have more forgiving multi-layer foam. Beginners should use training gloves for everything.
Should I buy a heavy bag for home as a beginner?
It’s a great investment once you’ve learned basic technique (4–8 weeks of coached classes). Before that, you risk drilling bad habits without feedback. A bag plus occasional coached sessions is the ideal combination.
What Separates Good Gear From Bad: Quality Guide
Price alone doesn’t indicate quality in boxing equipment. Here’s what actually matters at each tier:
| Quality Signal | Good Gear | Bad Gear |
|---|---|---|
| Glove padding | Multi-layer foam, even distribution, no hard spots | Single-density foam that bottoms out; lumps you can feel through the leather |
| Stitching | Double-stitched seams, no loose threads | Single stitching that splits within weeks |
| Wrist support | Wide velcro cuff, stays locked during rounds | Narrow cuff that loosens; lace-only with no converter |
| Thumb attachment | Thumb secured to the glove body | Loose thumb that catches eyes and bends backward |
| Leather/shell | Genuine leather or premium synthetic; consistent grain | Thin vinyl that cracks and peels |
| Wraps | Semi-elastic, sturdy velcro, finished edges | Non-elastic that bunches; velcro that fails in a month |
The practical test: put the glove on with wraps and press the knuckle area hard with your other thumb. If you feel your knuckles easily through the padding, the glove won’t protect you on a heavy bag.
Saving Money: Smart Ways to Gear Up
- Buy the essentials first, upgrades later. Starter gloves + wraps + rope gets you training; everything else waits until you know you’re committed.
- Consider quality secondhand for bags and stands. Heavy bags barely wear out — a used bag at half price is often indistinguishable from new. Never buy secondhand gloves, wraps, headgear, or mouthguards (hygiene and degraded padding).
- Watch for gym pro-shop deals. Many gyms sell gear at or near online prices with the advantage of trying before buying.
- Time your purchases. Major sales events (holiday weekends, Black Friday) routinely discount premium brands 20–40%.
- Don’t duplicate. One pair of 14 oz training gloves covers 90% of beginner needs. The second pair (16 oz sparring) only becomes necessary when you spar.
Setting Up a Home Boxing Corner
A functional home setup needs less space than you think — a 6×6 foot clear area suffices for bag work:
- The bag: hanging bag on a stand ($150–$300 total) is the most versatile. Freestanding bags ($200–$400) suit renters who can’t mount hardware.
- Flooring: interlocking foam tiles or a section of rubber gym flooring ($50–$100) protects both your joints and the floor.
- Mirror: a large mirror ($30–$80) for shadowboxing form checks — one of the highest-value training tools per dollar.
- Timer: a round timer app (free) or dedicated gym timer ($20–$40) structures every session into proper rounds.
- Ventilation: boxing workouts generate serious heat and sweat — a fan or open window matters more than you’d think.
Total realistic home corner: $300–$600 beyond your personal gear. Start minimal and add pieces as your training justifies them.
When to Upgrade Your Gear
Upgrade triggers, not timelines, should drive purchases:
- Gloves: upgrade when padding compresses, when you start sparring (add 16 oz), or when competing (add lace-up competition gloves).
- Wraps: replace every 6–12 months regardless — elastic dies gradually and you won’t notice until your wrists ache.
- Shoes: upgrade from trainers to boxing shoes when footwork becomes a training focus (usually month 3–6).
- Bag: upgrade when your power outgrows a light bag (it swings wildly) or when you want specialty bags for specific training.
- Headgear: buy your own the moment sparring becomes regular — shared gym headgear is a hygiene compromise.
Gear for Kids and Teens
Youth boxing is booming, and kids need properly sized gear — not shrunken adult equipment:
- Gloves: 8–12 oz youth gloves with extra wrist support; junior sizes from combat-sports brands fit small hands correctly.
- Headgear: youth-specific sizes are essential — adult headgear shifts dangerously on small heads.
- Hand wraps: 120-inch junior wraps; teach proper wrapping as part of training discipline.
- Frequency over quality: kids outgrow gear fast — mid-range gear replaced as they grow beats premium gear they use for six months.
The Minimalist’s Kit: Boxing on $100
Tight budget? This gets you training safely:
- Decent 14 oz synthetic-leather gloves: ~$45
- Two pairs of 180″ wraps: ~$25
- Basic speed rope: ~$12
- Boil-and-bite mouthguard: ~$15
- Total: under $100 — train in regular athletic shoes and clothes you own.
Everything beyond this list improves the experience; nothing on it is optional for safe training. Start here, upgrade with commitment.
Glove Anatomy: Understanding What You’re Buying
Knowing a glove’s construction helps you evaluate quality:
- Outer shell: leather or synthetic leather — determines durability and feel.
- Padding: layered foam (often latex + EVA combinations) over the knuckles; the thumb area and cuff have separate padding.
- Palm grip bar: the curved bar inside the palm that your fingers wrap around — proper gloves let you make a natural fist.
- Cuff: the wrist section — wider cuffs with quality velcro provide the support that prevents wrist injuries.
- Lining: moisture-wicking inner fabric; antimicrobial linings in better gloves reduce odor.
When trying gloves, make a fist: your hand should close naturally without straining, the thumb should sit comfortably against the fist (attached-thumb design), and the wrist should feel locked when you flex it. Any pinching, loose spots, or wrist wobble means try another model — glove fit is personal, and brands shape differently.
Common Buying Mistakes to Avoid
- Buying competition-weight gloves for training: 10 oz gloves for daily bag work will destroy your hands within months.
- Skipping wraps to save time: the two minutes of wrapping saves months of hand injuries. Non-negotiable.
- Buying the cheapest headgear: poor headgear shifts, blinds you, and provides false confidence. Mid-range minimum for sparring.
- Ignoring return policies: gloves fit differently per brand — buy from retailers with good returns so you can exchange sizes.
- Gear before coaching: $300 gloves don’t fix a bad jab. Invest in coaching first; gear second.
- Matching sets over function: buying glove/bag/shoe “sets” from generic brands usually means mediocre everything. Buy each piece on its own merits.
Storing Your Gear Properly
How you store equipment affects its lifespan as much as how you use it. Keep gloves in a ventilated gear bag or on a shelf — never sealed in plastic, which traps moisture and breeds bacteria. Hang heavy bags with slight slack in the chains to reduce stress on mounts. Store hand wraps loosely rolled (not balled) to preserve elastic. Keep leather gloves conditioned occasionally with a light leather balm to prevent cracking, especially in dry climates. A $10 bottle of glove deodorizer and five minutes of post-session airing will double your gloves’ pleasant lifespan.
Traveling With Boxing Gear
Training on the road keeps routines intact. A compact travel kit — wraps, jump rope, and resistance bands — fits in any suitcase and enables full shadowboxing and conditioning workouts in a hotel room. Many cities have drop-in friendly boxing gyms ($15–$30 per session); call ahead to confirm visitor policies and loaner glove availability. Jump rope plus bodyweight circuits plus shadowboxing rounds deliver a legitimate boxing workout anywhere on earth.