Surprise proposals are the hardest thirty seconds in photography — and the most rewarding. You get one chance, no reshoots, no “can we do that again,” often in terrible light, with a subject who does not know you exist. Nail it and you have delivered the most important photos of a couple’s life. Blow it and, well, there is no “blow it.” These surprise proposal photographer tips are the complete professional playbook: client consultation, scouting, positioning, settings, the choreography of the sixty seconds that matter, the post-yes mini session, and the business side — pricing, contracts, and delivery.
Whether you are a working pro adding proposals to your offerings, a wedding photographer covering a client’s proposal, or a talented friend who got volunteered, the principles are identical. Proposals reward preparation more than talent. The photographers who consistently deliver stunning surprise-proposal galleries are not the ones with the best gear — they are the ones who asked the right questions, scouted the right spot, and stood in the right place before anything happened.
The Consultation: Questions to Ask Before You Say Yes
Every successful proposal shoot starts with a thorough consultation — ideally a video call, 20–30 minutes. Your job is to extract the full plan while stress-testing it. Ask these questions, in this order:
1. “Walk me through the plan, minute by minute.” Let the proposer narrate the entire sequence: arrival, the cover story, the walk to the spot, the signal, the question, the aftermath. Listen for gaps — the five-minute windows where nobody knows where anyone will be. Your follow-up questions live in those gaps.
2. “What is the exact signal?” You need an unmistakable, pre-agreed trigger: a phrase (“this view reminds me of…”), a gesture (touching the ear, removing sunglasses), or a text (“going for it now”). Vague signals (“you’ll know”) are how moments get missed. Agree on a primary signal and a backup, and confirm you will both have phones on silent — a ringing phone mid-proposal is a special kind of disaster.
3. “Show me the spot — photos, video, or a map pin.” Have them send phone photos of the exact location from multiple angles, ideally at the planned time of day. Better: do an in-person scout together (see below). At minimum, get a dropped map pin and study it on satellite view — you are looking for your hiding position, the light direction, and the background.
4. “What does your partner know, and what is the cover story?” You need to know exactly what the partner believes is happening so you do not contradict it. If the cover story is “we’re meeting friends for a hike,” you cannot be visibly waiting at the trailhead with a 70-200mm. Your concealment strategy must fit the fiction.
5. “What matters most to you in the photos?” Some proposers want the wide cinematic scene; others want the tight emotional reaction; others want the ring detail. Knowing the priority shapes your lens choice and positioning. Also ask about the announcement plan — if they want to post that night, you are committing to a same-day sneak peek.
6. The logistics: date, rain date, arrival times, parking, permits (some parks and venues require photography permits — check), and who else knows. Get a backup contact (best friend) in case the proposer goes radio-silent with nerves.
Scouting: The Unsexy Work That Makes the Magic
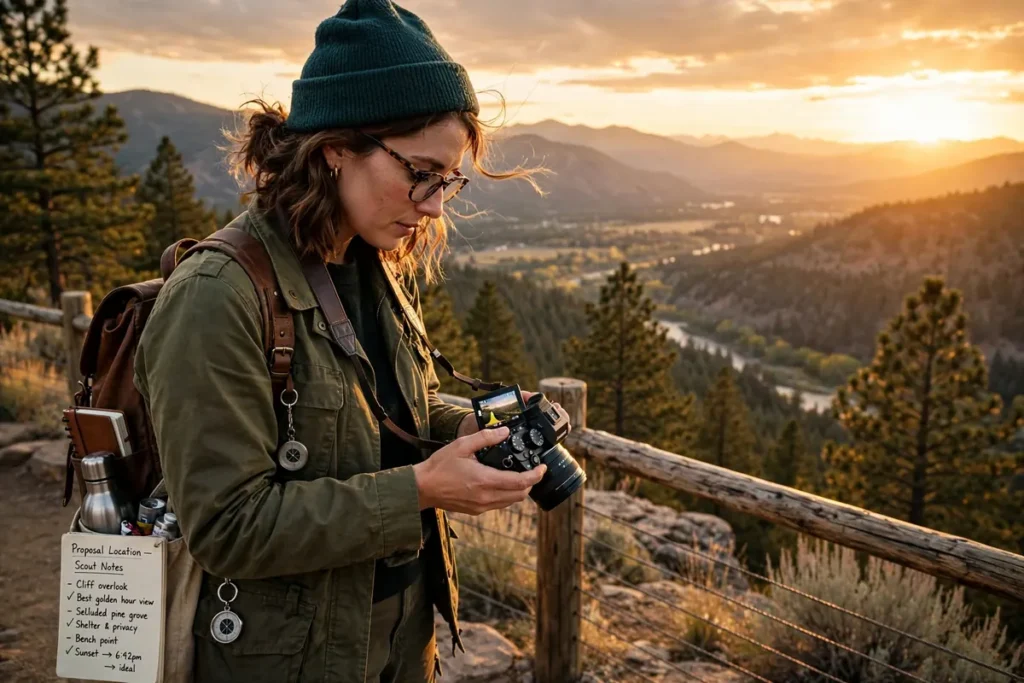
Scout in person whenever possible, at the same time of day as the planned proposal. Here is your scouting checklist:
Find your position first. Everything else follows from where you stand. You need: a clear view of both faces (three-quarter angle to the couple is ideal), concealment or plausible presence (behind a pillar, among tourists, at a café table), and a clean background behind the couple from your angle. Take test shots from each candidate position with your phone — the background that looks fine to your eye often looks chaotic through a lens.
Map the light. Note the sun’s position at proposal time and where it will be 30 minutes later (light changes fast near golden hour). Identify where the partner’s face will be lit — that is your money shot, so the couple’s orientation matters. If the proposer plans to face a specific direction, make sure that direction does not put the partner’s face in deep shadow. A small repositioning (“stand her here, facing there“) is a legitimate part of your job — communicate it during planning.
Walk the proposer’s route. From arrival to the spot: where will they walk, where might they pause, where could the plan wobble? Identify the exact knee-drop location — down to the square meter — and mark it mentally. If the spot is a viewpoint or landmark, the proposer should steer the partner to a pre-agreed marker (“let’s stand by that bench”). Vague locations produce vague photos.
Check the practicalities. Cell signal (for coordination texts), parking and access timing, restroom locations (for you — you may be in position an hour), security or staff who might question loitering, and the rain-plan location, scouted with equal care. Photograph everything and send the proposer a marked-up plan: “you stand here, she faces here, I am here.”
Positioning: Where to Stand When It Happens
Positioning is the highest-leverage decision of the shoot. The right position with a mediocre camera beats the wrong position with the best gear ever made.
The three-quarter angle (default choice)
Stand 45 degrees off the couple’s axis — close enough to see both faces, angled enough to capture the scene’s depth. If the proposer will face north kneeling before a south-facing partner, you want to be northeast or northwest. This angle shows the proposer’s profile and the partner’s three-quarter face — the reaction reads clearly while the composition stays dynamic. For most proposals, this is the correct answer.
The partner’s face (priority override)
If the client said the reaction matters most, bias your position toward the partner’s face — even at the cost of the ideal wide composition. A straight-on view of the partner’s realization, with the proposer visible in profile or foreground, is the single most treasured frame of the day. When in doubt, favor the face over the scene. Nobody ever complained that the reaction shot was too tight.
Distance and lens pairing
Match distance to concealment needs: 70-200mm at 50–100 feet for true hiding; 24-70mm at 15–40 feet for cover-story or semi-open presence; 35mm or 50mm prime under 20 feet for intimate, openly-present shooting. Longer is safer for the surprise; shorter is better for emotion. The professional compromise: start long for the surprise, then move closer (openly, as the “photographer friend”) for the post-yes portraits.
The second angle
If budget allows a second shooter — or even a locked-off camera on a tripod — the second angle is transformative. Position it for the wide scene while you shoot tight, or vice versa. A $0 version: ask the proposer to plant their phone recording video from a bag or jacket pocket. The second angle does not need to be art; it needs to exist, as insurance and as the “full scene” complement to your tight frames.
What to do with your body
Once in position: stay still, stay quiet, stay low-profile. Turn off all camera sounds (electronic shutter / silent mode — the click of a mechanical shutter has blown surprises). Dim your LCD. Dress for the location. And do not — under any circumstances — step into the open for “a better angle” mid-proposal. The angle you scouted is the angle you shoot. Discipline beats improvisation when you have one chance.
Camera Settings for Proposal Day
Proposals are a worst-case lighting scenario wearing a best-case emotion. Set up for the worst, and the best takes care of itself.
Shoot RAW, always. White balance will be weird (candlelight, mixed sources, dusk), exposure will be imperfect (you cannot chimp mid-surprise). RAW gives you the latitude to fix both. There is no scenario where JPEG-only is the right call for a paid proposal.
Silent shutter on. Electronic/silent shutter is mandatory — a mechanical clack-clack during the question is unprofessional at best and surprise-blowing at worst. Know your camera’s silent mode before the day, including its limitations (banding under certain artificial lights, slower readout).
Continuous autofocus, face/eye detect. Set AF-C with face and eye detection, burst mode (high), and back-button focus if that is your workflow. The proposal involves movement — the knee drop, the turn, the embrace — and you cannot be fiddling with focus points when it happens. Let the camera track faces; your job is composition and timing.
Exposure strategy by light:
- Daylight/golden hour: Aperture priority, f/2.8–f/4, Auto ISO capped at 1600, exposure compensation +0.3 to +0.7 (protect faces from underexposure against bright backgrounds).
- Dusk/blue hour: Manual, f/2.8 (or widest), 1/250s minimum, ISO as needed up to 6400. Accept grain; reject blur.
- Indoor evening/restaurant: Manual, widest aperture, 1/200s, ISO 3200–6400. Expose for faces; let the background fall dark — moody beats muddy.
- Night: Same as indoor, plus consider a small LED panel — bounced or diffused — if you can deploy it without breaking cover. Even a phone flashlight through a napkin, held by an accomplice, transforms night faces.
Pre-set everything. Arrive early, dial in settings for the expected light, take test shots, and then leave the camera alone except for minor tweaks. Proposal day is not the time to experiment with a new picture profile. Boring, tested settings beat exciting, untested ones.
The 60 Seconds That Matter: Shooting the Moment
This is the choreography. Memorize it.
T-minus 5 minutes: the approach. The couple is walking in. Shoot candids — the partner unaware, happy, unsuspecting. These “before” frames are storytelling gold and most photographers forget them in the tension. Breathe. Check settings once more. Confirm burst mode.
The signal. When the agreed signal comes, do nothing visible. No repositioning, no lens changes, no standing up. You are already where you need to be — that was the entire point of scouting. Begin a slow, quiet burst as the proposer starts speaking; the speaking frames (nervous smile, earnest face) are valuable.
The knee drop. This is the fastest-moving three seconds of the shoot. Track the descent in burst — the mid-kneel frames, where intention is visible but the question has not landed, are uniquely powerful. Anticipate, do not react: the knee is coming, be already shooting when it happens.
The realization. Watch the partner’s face, not the proposer. The realization unfolds in stages — confusion, dawning understanding, hands to face, tears or laughter — over roughly five to ten seconds. This is your money sequence. Stay on the face. Do not zoom out for the wide shot yet; the wide can wait three seconds, the face cannot.
The answer. The yes (nod, tears, “oh my god”) — keep bursting. Then the embrace: pull slightly wider to include both bodies and the scene. Keep shooting through the first full minute of celebration. The laughter, the disbelief, the showing of the ring to an imaginary audience — all of it.
The cardinal rule: do not stop. Amateurs stop at the yes. Professionals shoot the five minutes after. Memory cards are cheap; the moment is not. When you think you have enough, shoot for one more minute. That minute always contains the best frame.
After the Yes: The Mini Portrait Session
Once the surprise is over, you have a 15–30 minute window of peak glow — adrenaline, joy, perfect emotion. Use it.
Reveal yourself warmly. Step out, introduce yourself with a huge smile: “Hi! I’m [name], [proposer] hired me — congratulations!” The partner is usually delighted, not upset. Give them a minute to absorb, then transition: “While the light is perfect, can I steal you for ten minutes of portraits?” They will always say yes.
Shoot the essentials fast. Priority order: (1) the couple together, natural embrace, ring visible; (2) the ring detail — hands, close, with the location softly behind; (3) individual portraits of each, glowing; (4) the walk-away / wide scenic. Work quickly and keep direction minimal — they are euphoric, not models. “Walk toward me holding hands,” “foreheads together,” “look at the ring and laugh” — simple prompts, genuine results.
Then release them. Ten to twenty minutes is plenty. They have champagne to drink and people to call. End with: “You two were amazing — I’ll have sneak peeks to you by [tonight/tomorrow].” Then disappear and let them have their evening. The faster you deliver the sneak peek, the more legendary you become.
Managing the Proposer: Your Other Subject
In proposal photography you have two subjects: the couple in front of your lens, and the nervous proposer in your text messages. Managing the second is half the job.
Calm the nerves in advance. In the final week, proposers oscillate between excitement and terror. A short, confident check-in from you — “We’ve got the plan, the spot is scouted, the light will be perfect, all you have to do is ask” — does more for the shoot than any gear upgrade. Nervous proposers make mistakes (wrong spot, blown cover, rushed timing); your calm is contagious.
Simplify their job on the day. Give the proposer exactly three instructions and nothing more: (1) the exact spot to stand, (2) the signal, (3) “text me when you’re five minutes out.” Every additional instruction is something they will forget under adrenaline. Put the complexity on your side of the plan, where it belongs.
Have a abort/pause protocol. Agree in advance what happens if the partner is upset, sick, or the moment is wrong: a code word (“let’s get coffee first”) that means stand down, we reschedule. Proposers need permission to abort without feeling they have failed — and you need to not be standing in a bush for two hours while they have a difficult conversation. The protocol protects everyone.
Debrief kindly. After the shoot, tell the proposer they did great — even if they fumbled the signal or stood in the wrong spot. They will remember your kindness as part of the day. Then note what actually happened for your own learning: every proposal teaches you something about human behavior under pressure, and the best proposal photographers are students of it.
The Business Side: Pricing, Contracts, and Delivery
Pricing
Proposal coverage typically runs $300–$800 for 1–2 hours in most US markets, more in major metros. Price on value, not time: you are selling the most important photos of their lives, plus weeks of planning and coordination. Common structures: a flat proposal package (consultation + scouting + shoot + sneak peek + mini gallery), or an add-on to wedding coverage (“proposal + wedding” bundles book both). Do not underprice — cheap proposal photography attracts clients who treat the shoot as casual, and casual planning is how moments get missed.
Contracts
Use a real contract, even for a one-hour shoot. It should cover: date, rain-date policy, hours and location(s), deliverables (number of edited images, sneak-peek timeline, full gallery timeline), payment terms (retainer to book, balance due before or at the shoot), cancellation terms, and — critically — a clause acknowledging the unpredictable nature of surprise proposals (no reshoot guarantee if the partner spots you, if weather intervenes, or if the proposer changes plans last-minute). The contract protects you and professionalizes the client.
Delivery
Speed is your competitive advantage. Promise a sneak peek of 5–15 edited images within 24 hours (same-evening if they are announcing that night — charge a rush fee if it requires dropping everything). Deliver the full gallery (50–150 edited images) within 1–2 weeks. Present sneak peeks in a way that is instantly shareable — couples will post them within minutes, and your watermark or credit tag rides along to their entire network. Every proposal gallery is a marketing asset; deliver it like one.
Troubleshooting Table: When Things Go Wrong
| The problem | Prevention | Recovery |
|---|---|---|
| Partner spots you early | Better concealment; cover-story method | Smile, wave, keep shooting — surprise is blown but photos aren’t |
| Proposer freezes / delays | Rehearse the signal; agree on a “go” window | Stay ready indefinitely; shoot candids while waiting |
| Rain / weather shift | Scouted plan B; check forecast morning-of | Move to plan B; clear umbrella; embrace the drama |
| Terrible light (midday harsh sun) | Schedule for golden hour; scout shade options | Open shade; expose for faces; convert to black & white if needed |
| Crowds / photobombers | Weekday timing; scout crowd patterns | Shoot tight; clone out distractions in post |
| Camera malfunction | Test everything on arrival; carry backup body | Phone as emergency backup — a phone photo beats no photo |
| Proposer changes the spot last-minute | Scout 2–3 positions, not one | Move calmly to nearest scouted position; adapt framing |
| She says no (rare) | Nothing — not your call | Lower the camera discreetly; give them privacy; deliver nothing without instruction |
Watch: 5 Key Tips for Shooting a Surprise Proposal
A working proposal photographer’s distilled field guide — arriving early, shooting wide, anticipating the knee drop, silent mode, and capturing emotion above all. Five minutes that will sharpen your instincts before your next shoot.
FAQs for Proposal Photographers
How early should I arrive at the proposal location?
Minimum 45–60 minutes before the couple’s expected arrival. You need time for test shots, setting tweaks, position confirmation, and settling into concealment so you look natural, not freshly arrived. For complex locations or dusk proposals where light changes fast, 90 minutes is wiser. Arriving early is the cheapest insurance in photography.
What lens should I use for a surprise proposal?
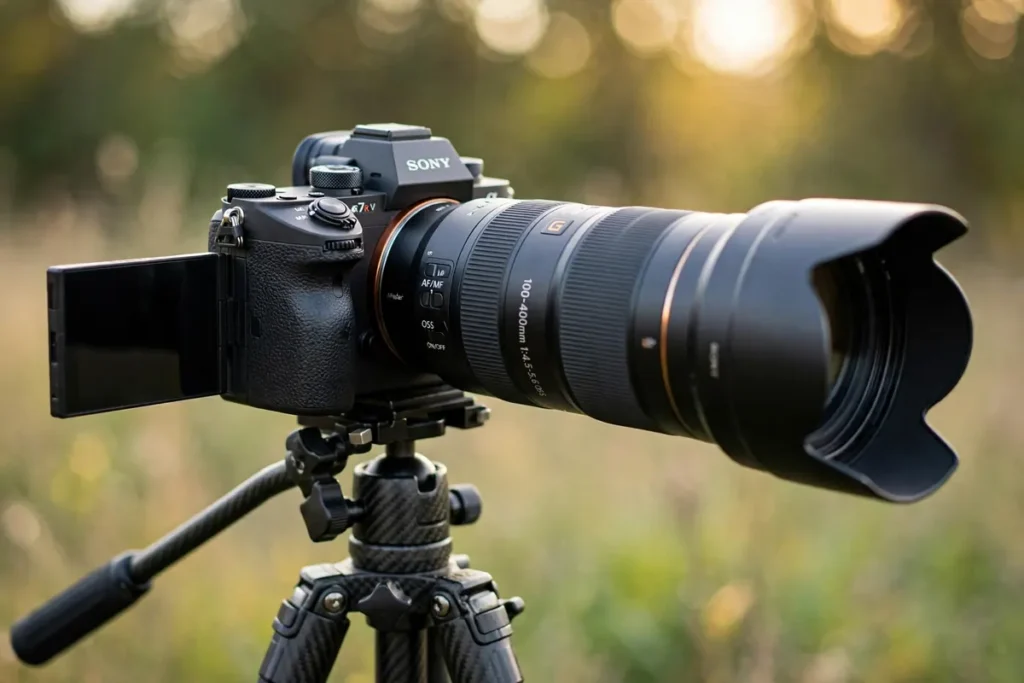
A 70-200mm f/2.8 is the workhorse — reach for concealment, compression for flattering portraits, and wide aperture for low light. Pair it with a 24-70mm f/2.8 on a second body (or for the post-yes portraits). If you own one lens, make it the 70-200mm; you can always move closer after the surprise, but you cannot conjure reach you do not have.
Should I shoot video as well as photos?
Offer it as an add-on, not a default — shooting both well simultaneously is genuinely hard. If the client wants video, either bring a second shooter for video, lock off a camera on a tripod for a wide video angle while you shoot stills, or coordinate with the proposer’s planted phone. Do not promise cinematic video while single-handedly shooting stills; you will do both badly.
How do I handle it if the partner doesn’t want photos?
This is rare but real — some people are private and the last thing they want post-proposal is a stranger with a camera. Read the room: if the partner seems uncomfortable when you reveal yourself, keep the reveal brief, offer the sneak peek, and step back gracefully. Discuss this scenario with the proposer in advance — “what if she’s shy about the camera?” — so you have a plan that respects everyone.
Do I need permits for proposal shoots?
Sometimes. National parks, many state parks, botanical gardens, and some city landmarks require commercial photography permits — “commercial” often includes any paid shoot, even one person with a camera. Check the specific location’s rules during scouting; permit lead times range from days to months. An unpermitted shoot that gets shut down mid-proposal is a professional nightmare — verify in writing.
What should I wear to stay inconspicuous?
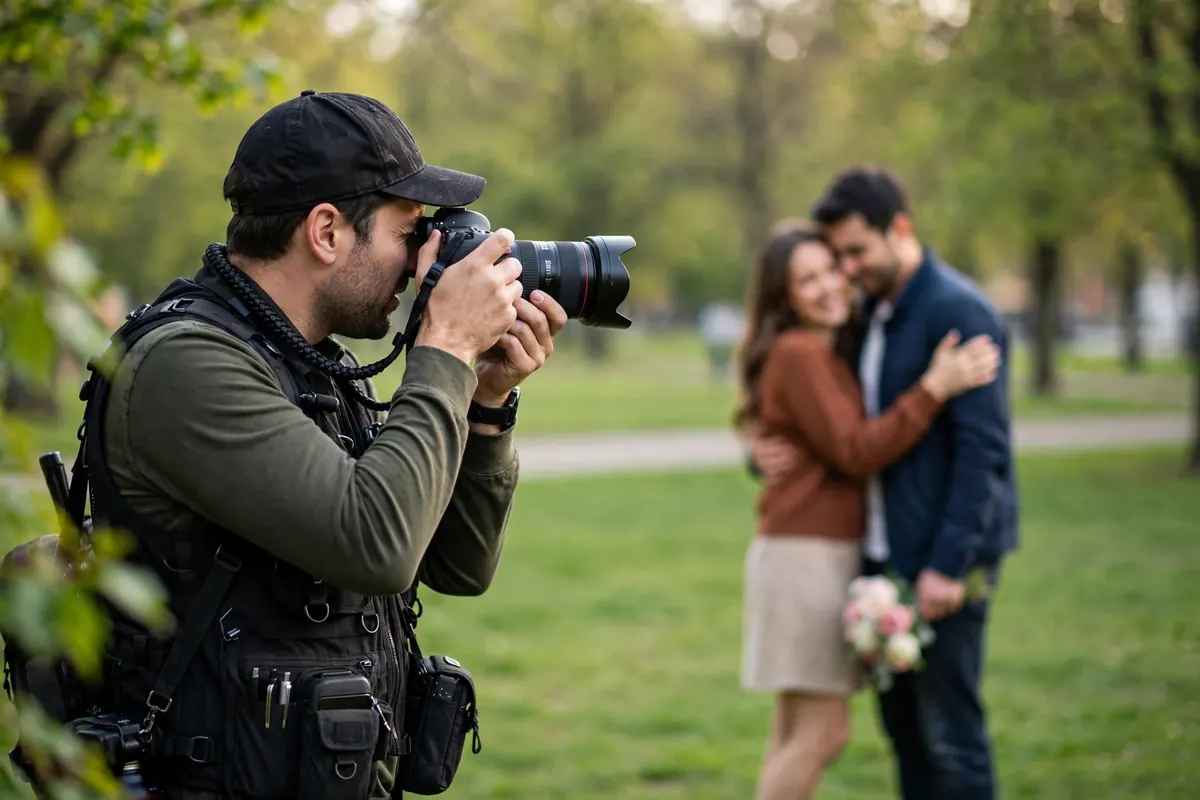
Dress for the location, not for the job. At a scenic overlook: hiking clothes and a cap, camera around your neck like any tourist. At a restaurant: whatever the dress code is — you are a diner at a nearby table. At a park: athleisure. The goal is to be unremarkable. Avoid photographer clichés (black vest with seventeen pockets, two bodies cross-strapped) until the reveal — after the yes, looking like a pro is an asset; before it, looking like a pro is a liability.
How many photos should I deliver?
For a 1–2 hour proposal session: 50–150 fully edited images is standard, plus a 5–15 image sneak peek within 24 hours. Quality over quantity — a tight gallery of 80 excellent frames serves the client better than 300 mediocre ones. Cull hard; your reputation is the average of what you deliver, not the best of it.
The Best Seat in the House
Surprise proposal photography is a strange, wonderful job: part photojournalist, part secret agent, part wedding planner. The preparation is invisible, the pressure is real, and the payoff — handing a couple the moment they will revisit for the rest of their lives — is unmatched in photography. Scout thoroughly, position deliberately, shoot relentlessly through the aftermath, and deliver fast.
Master these surprise proposal photographer tips and you will not just capture proposals — you will become the photographer couples recommend to every engaged friend they have. Remember: in this niche, the photography is the easy part and the preparation is the job. Do the invisible work, and the visible results will follow, every single time. For the proposer’s perspective, share our how to capture your proposal on camera guide with your clients, and point them to proposal photo ideas for couples when they ask what shots to expect, and send nervous clients to what to say when you propose for the words to match your images.