You have planned the perfect proposal — the place, the words, the ring. Now comes the question that will determine whether anyone besides the two of you ever truly sees it: how to capture your proposal on camera. Because here is the hard truth about proposals: you will remember almost none of it. Adrenaline wipes the memory clean — proposers consistently report the moment as a blur of emotion with almost no detail. The camera remembers what you cannot.
This guide is the complete technical and practical playbook for capturing a proposal on camera: the three capture strategies (and when each wins), the gear that actually matters versus the gear that is marketing, exact camera settings for every lighting scenario, hidden-camera setups that preserve the surprise, and the minute-by-minute timeline that professionals use. Whether you are hiring a photographer, briefing a friend, or going full DIY with a tripod and a prayer, you will finish this article with a plan that works.
The Three Capture Strategies (Pick One)
Strategy 1: The hidden professional
A professional photographer (and optionally videographer) positioned discreetly — posing as a tourist, hidden at a scouted spot, or openly present under a cover story. Pros: the best possible images; genuine surprise preserved; you are free to be fully present. Cons: cost ($300–$800+ for a short session); requires coordination and scouting. Best for: once-in-a-lifetime proposals where the photos matter as much as the moment. If this is your strategy, book 4–8 weeks out, do an in-person or video walkthrough of the location, and agree on signals, positioning, and a same-day sneak-peek delivery.
Strategy 2: The briefed friend
A trusted friend with a good phone or camera, given a detailed briefing and positioned in advance. Pros: free; someone you trust; they can also wrangle logistics. Cons: photo quality depends entirely on their skill and nerve; they miss experiencing the moment as a guest; if they blow the surprise, there is no reshoot. Best for: intimate proposals where a stranger would feel intrusive, or tight budgets. The key variable is the briefing — a well-briefed amateur with a modern phone beats a poorly-briefed enthusiast with a DSLR. (Our companion guide includes a copy-paste briefing you can send them.)
Strategy 3: The self-setup (tripod + remote)
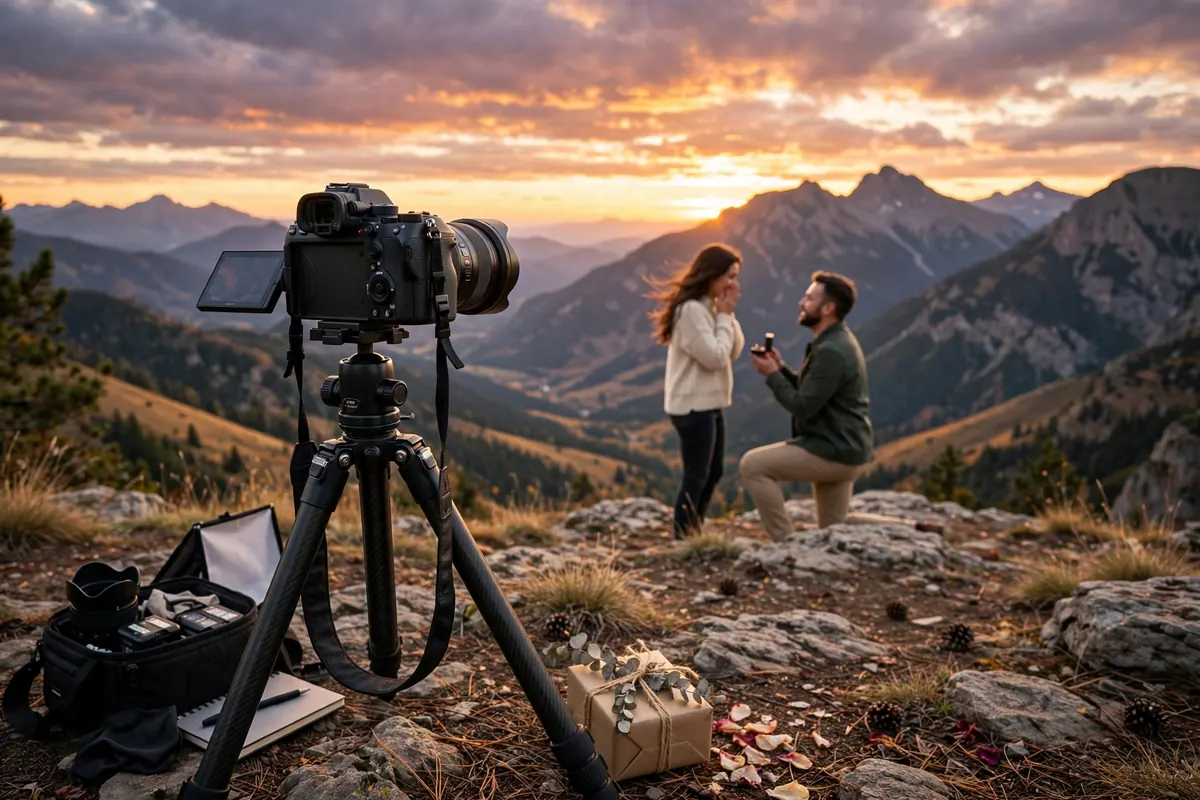
You set up the camera yourself — on a tripod, a wall, a bag — framed in advance, triggered by remote, timer, or continuous video. Pros: total surprise preservation (no third person to spot); free; you control the framing. Cons: fixed framing cannot follow the action; no close-up reactions; you must set it up without arousing suspicion. Best for: private proposals (home, secluded overlook) where the setting is controlled and the framing can be planned exactly. Pro tip: shoot video, not stills — you can pull high-quality still frames from 4K video afterward, and video forgives framing errors that would ruin a still.
Many couples combine strategies: a self-setup video as backup plus a hidden friend for close-ups, or a professional for the proposal plus a tripod video for the full uncut audio. Redundancy is your friend — cameras fail, friends get nervous, memory cards corrupt. Two capture methods is professional-grade insurance.
Gear That Actually Matters (and Gear That Doesn’t)
The camera body: good enough beats best
For proposal capture, any interchangeable-lens camera made in the last decade — or any flagship phone from the last five years — is sufficient. What matters far more than the body: the lens (see below), the light (see the lighting section), and the operator’s preparation. Do not rent exotic gear you have never used. An unfamiliar camera on proposal day is a liability, not an asset. Use what you know.
The lens: this is where money should go
If one gear choice determines your results, it is the lens. For hidden proposal shooting, a 70-200mm telephoto zoom is the classic choice — it lets the photographer stay far enough away to remain unnoticed while filling the frame with the couple. For closer, openly-present shooting, a 24-70mm f/2.8 covers everything from wide scene-setters to tight reactions. The f/2.8 (or wider) maximum aperture matters enormously in dim light — it is the difference between a clean image and a noisy mess at dusk or in a candlelit restaurant. If buying or renting one thing, make it a fast zoom.
The phone: the underrated champion
Modern flagship phones are genuinely excellent proposal cameras in good light. Their computational photography handles exposure and color beautifully, and nobody looks twice at a tourist holding a phone. Where phones struggle: low light (small sensors), digital zoom (avoid it — move closer instead), and fast action in dim conditions. Rules for phone shooting: wipe the lens (seriously — pocket lint ruins more proposal photos than anything else), shoot in the native camera app, use burst mode for the key seconds, lock exposure on faces, and shoot video in 4K if you plan to pull stills.
The tripod and the remote
For self-setups, a tripod is non-negotiable — handheld “set it on a rock” framing drifts and falls. A compact travel tripod plus a Bluetooth remote shutter ($15–$30) lets you trigger stills from your pocket. Better: set the camera to record video and forget triggering entirely. For phones, a small phone tripod with bendable legs wraps around railings, branches, and signposts — the most versatile $25 in proposal photography.
What you do NOT need
A drone (unless you have an experienced operator and checked regulations), a flash (it destroys the surprise and the mood — natural light only), a second camera body (redundancy is good, but complexity on the day is bad), or any gear you bought this week and have not practiced with. The best proposal camera is the one you could operate in the dark, because you might literally be operating it at dusk.
The Settings Cheat Sheet
Camera settings for proposal capture, distilled to what you actually need. If the shooter is a friend with a phone, skip to the phone row — the principles are the same, the phone just handles them automatically.
| Scenario | Mode | Key settings | Notes |
|---|---|---|---|
| Golden hour outdoors | Aperture priority | f/2.8–f/4, ISO 100–400, burst on | The dream scenario — just shoot; expose for faces |
| Bright midday | Aperture priority | f/4–f/5.6, ISO 100, find open shade | Avoid harsh sun on faces; shade is your friend |
| Overcast day | Aperture priority | f/2.8–f/4, ISO 200–800 | Nature’s softbox — shoot freely, colors will be rich |
| Dusk / blue hour | Manual | f/2.8, 1/250s, ISO 1600–3200, RAW | Wide aperture essential; accept some grain over motion blur |
| Restaurant / indoor evening | Manual | f/2.8 or wider, 1/200s, ISO 3200+, RAW | Expose for faces; let backgrounds go dark and moody |
| Night (city lights) | Manual | f/2.8, 1/250s, ISO 3200–6400, RAW | Add a small LED panel or phone light on faces if possible |
| Phone, any daylight | Native camera, burst | Tap-hold to lock focus/exposure on faces | Wipe lens; shoot horizontal; avoid digital zoom |
| Phone, low light | Night mode + video | Brace against solid surface; 4K video for stills | Stability matters more than settings — brace everything |
The three non-negotiables, whatever the gear: (1) Shoot RAW (or the phone equivalent — Apple’s ProRAW, Android’s RAW) if the camera offers it; RAW files survive exposure mistakes that would ruin a JPEG. (2) Burst mode on for the ten seconds around the question — you want twenty frames of the reaction, not one. (3) Shutter speed over ISO fear — a slightly grainy sharp photo beats a clean blurry one every time. Keep shutter at 1/200s or faster for the action; raise ISO as needed without guilt.
Hidden Camera Setups That Actually Work
Preserving the surprise while capturing the moment is the central engineering challenge of proposal photography. Here are the setups that work, ranked by reliability:
Setup 1: The tourist (reliability: high)
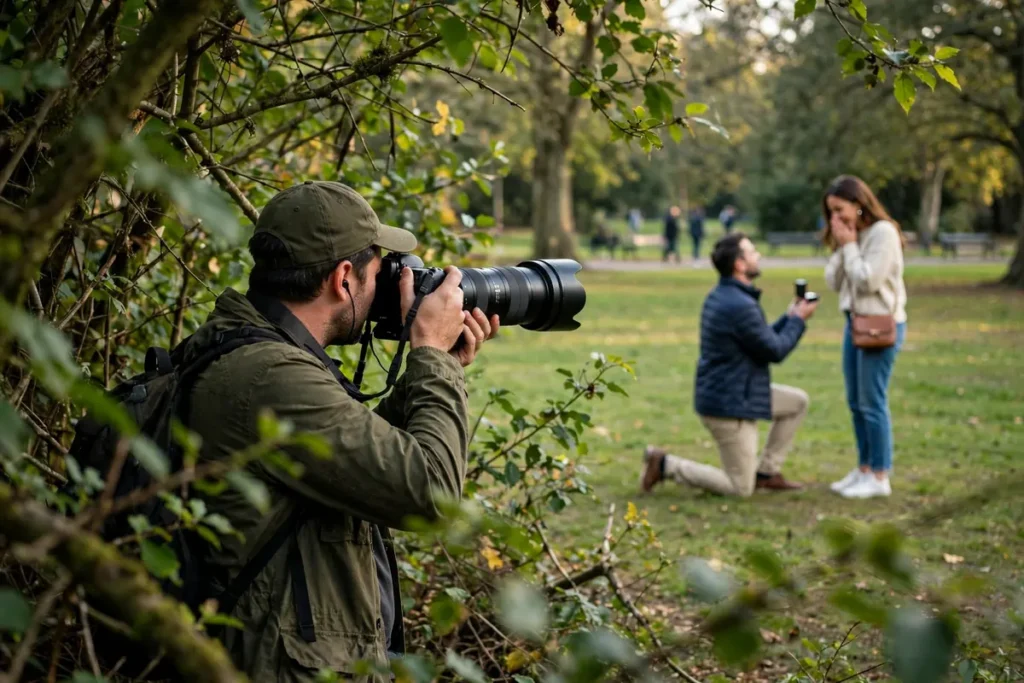
The photographer poses as a tourist with a long lens in a scenic public location — an overlook, a park, a beach. Nobody questions a person with a camera at a viewpoint. The photographer arrives early, establishes themselves as part of the scenery, and shoots from 30–100 feet away with a telephoto. Keys to success: the photographer should actually act like a tourist (take some landscape shots first), dress the part, and have a plausible reason to be pointing a long lens in your general direction. Works best in genuinely scenic, tourist-frequented spots. Fails in empty or private locations where a stranger with a camera is conspicuous.
Setup 2: The cover-story shoot (reliability: very high)
You tell your partner a photographer friend “needs couples for their portfolio” and you have volunteered for a fun shoot. The photographer is openly present, positioned perfectly, shooting freely — and the proposal is still a total surprise because nobody expects it mid-shoot. Keys to success: the cover story must be airtight (the “portfolio” needs to be plausible — have the photographer show up with real gear), and you need a natural transition moment (“let’s get one more over by the water…”). This is the professional’s favorite method because it eliminates every variable of hiding: perfect positioning, perfect framing, zero suspicion. The only cost is that the pre-proposal photos show a couple doing a shoot rather than a candid moment — a trivial trade.
Setup 3: The planted phone (reliability: medium-high)
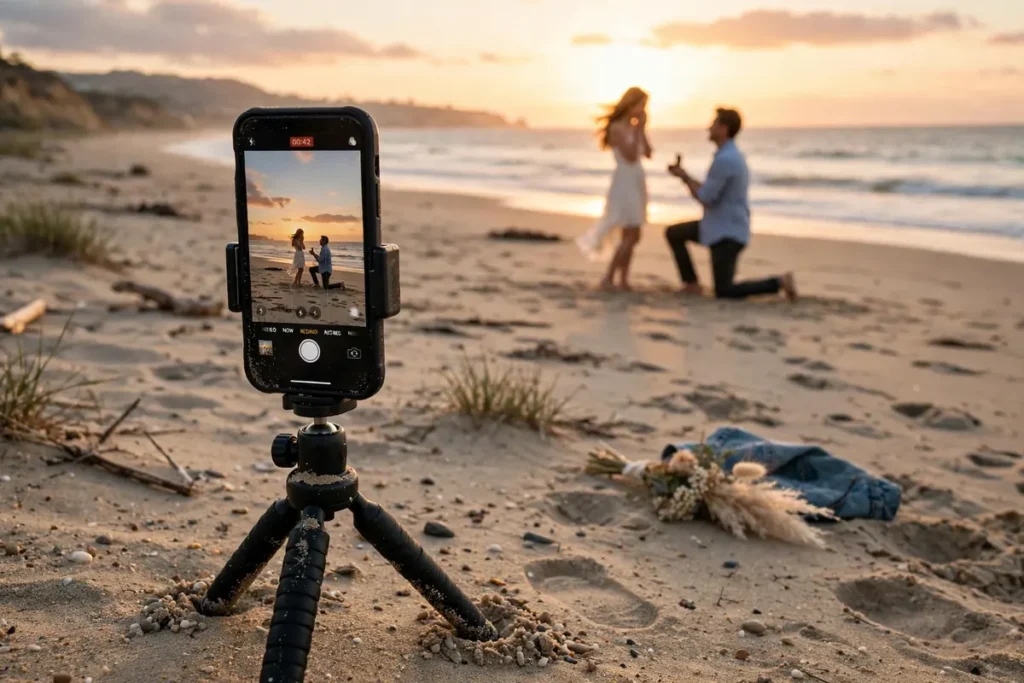
A phone on a mini-tripod, propped “to take a selfie/timelapse of the sunset,” actually recording 4K video of the whole scene. You frame it in advance during a casual moment (“let’s get a time-lapse of the sunset!”). Keys to success: frame wider than you think (you will move during the proposal), start recording at least five minutes before the moment, and use the rear camera if someone else can monitor it — or the front camera if you are solo. Pull stills from the video afterward. The limitation is fixed framing: if you move out of frame, the video misses it. Mitigate by choosing a spot with natural boundaries (a bench, a railing, a marked viewpoint) and staying put.
Setup 4: The accomplice network (reliability: medium)
Friends or family hidden nearby, each with a phone, capturing from multiple angles. Keys to success: assign one person as the primary shooter with the briefing; the rest are backup angles. Too many unbriefed shooters create chaos — flashes going off, people visible in each other’s frames, someone live-streaming before you have announced. Brief the network: no flash, no posting until cleared, primary shooter gets the clean angle. Works beautifully for proposals with a secret audience; fails when the “hidden” crowd is visibly terrible at hiding (rehearse their concealment).
Setup 5: The action camera (reliability: medium)
A GoPro or similar mounted discreetly — on the proposer’s chest (under an open jacket), on the picnic setup, on a nearby rock — recording wide video of everything. Keys to success: wide-angle action cameras forgive framing errors; mount it high and let it run. Audio is surprisingly good on modern action cameras and captures the words, the gasp, the laugh. The footage has a distinctive wide, immersive feel — less “portrait,” more “you are there.” Excellent as a complement to stills; limited as the sole capture because faces are small in wide frames.
Working With Light: The 80/20 of Proposal Photography
Chase golden hour. The hour before sunset is the single highest-leverage decision in this entire article. Warm, directional, flattering light that makes skin glow and backgrounds ignite. Schedule the proposal for 45–60 minutes before local sunset (check a golden-hour calculator for your date and location). The light changes fast — have everything ready early so the question lands in the good light, not after it.
Position with the sun. The classic flattering setup: sun behind and to the side of the couple (backlight/rim light), faces illuminated by open sky. Avoid shooting directly into faces with harsh sun (squinting) or with the sun directly behind the camera (flat, boring light). For the knee-drop specifically: the proposer typically faces the partner, so position the pair so the partner’s face (the reaction you most want) catches the best light.
Bring light to dark places. For evening restaurant or night proposals, a small LED video light ($30–$60) is transformative — held by the friend-photographer or planted nearby, it lifts faces out of murk without the harshness of flash. String lights and candles do double duty as décor and illumination. Even two phones with flashlights on, held low and diffused through a napkin, can save a dark proposal.
Expose for faces, let the rest fall. The background can blow out or go dark; faces cannot. This is the exposure priority for every proposal photo ever taken. On a phone, tap the face and hold to lock. On a camera, use spot or face-detect metering. A perfectly exposed sunset with silhouetted faces is a failed proposal photo. An imperfect background with glowing faces is a treasure.
The Timeline: Minute by Minute
| When | What happens |
|---|---|
| T-60 min | Photographer/friend in position; test shots of the empty scene; check light, framing, and background |
| T-45 min | Final gear check: batteries, memory cards (formatted), lens wiped, burst mode on, RAW enabled |
| T-30 min | “In position” text exchange; proposer confirms plan unchanged; plant any tripod/phone cameras |
| T-15 min | Couple arrives in the area; photographer captures candid “unaware” shots (these are gold) |
| T-5 min | Proposer steers partner to the exact spot; video cameras start recording; photographer goes quiet and ready |
| T-0 | The question. Burst mode / video running. Photographer priority: partner’s face first, wide shot second |
| T+2 min | Ring on finger — detail shots of hands; keep shooting through the embrace and laughter |
| T+10 min | “Just engaged” portraits while the glow is fresh; champagne if planned |
| T+30 min | Backup check: confirm files exist on card/phone before leaving the location |
| Same evening | Copy files to two places (laptop + cloud); photographer sends 5–10 sneak-peek edits |
The T+30 backup check deserves emphasis: verify the files exist before you leave. Every photographer has a horror story about the card that was never actually recording. A thirty-second playback check on location turns a potential catastrophe into a non-event.
Watch: How to Photograph a Surprise Proposal
Theory is useful; watching a photographer work through a real surprise proposal is better. This behind-the-scenes video covers gear, settings, and the split-second decisions of capturing the moment — exactly the education a friend-photographer needs before the day.
After the Shoot: Editing and Sharing
Capturing the proposal is half the job. The other half is turning a memory card full of files into the photos you will actually share and frame.
Cull ruthlessly, then cull again. A burst-mode proposal shoot produces hundreds of frames; your final set should be 30–60. Delete the blinkers, the motion-blurred, the duplicates — then pick the frames with genuine emotion over technical perfection. A slightly soft photo of the exact moment of realization beats a tack-sharp photo of nothing happening.
Edit lightly. Proposal photos need correction, not transformation: straighten horizons, crop distractions from edges, lift shadows on faces, warm the white balance slightly. Resist heavy filters — these photos need to look like your memory, not like an advertisement. If a professional shot it, let them handle edits; if a friend shot it, free tools like Snapseed or Lightroom Mobile handle everything above in minutes.
Back up three ways. Before any editing: copy the originals to a computer and cloud storage. Memory cards fail, phones get lost, laptops die. The proposal photos are irreplaceable — treat them that way from hour one. This takes ten minutes and prevents the only truly unfixable disaster.
Announce strategically. Call or text your inner circle before posting publicly — no one wants to learn about an engagement from Instagram. Then post your single best image (the knee-drop wide or the embrace) with a short caption; save the full gallery for later. Tag the photographer with credit and thanks. And consider printing one frame immediately — a 5×7 on the mantel within the week makes the engagement feel real in a way pixels do not.
FAQs About Capturing Your Proposal on Camera
Should I hire a photographer or just have a friend do it?
Hire the professional if the photos are a priority and the budget allows — the difference in low light, in reaction timing, and in not having to think about it is substantial. Use a briefed friend if the proposal is intimate enough that a stranger would intrude, or if the budget does not stretch. The deciding question: how devastated would you be if the photos were mediocre? If the answer is “very,” hire the pro. Either way, add a self-setup video as backup — it costs nothing and has saved countless proposals.
How do I make sure the surprise isn’t ruined by the camera?
Use one of the five setups above — the cover-story shoot is the most foolproof. Additional safeguards: the photographer arrives well before you and never approaches; all coordination happens by text, never by phone call; the photographer dresses for the location (tourist gear at a viewpoint, not a tuxedo at a trailhead). And brief your partner-facing accomplice: no meaningful glances toward the hiding spot, no nervous laughter. Most surprises are blown by the proposer acting suspicious, not by the photographer being spotted.
What’s the biggest mistake people make capturing proposals?
Stopping too early. The camera comes out for the question and goes away for the aftermath — exactly backwards. The question takes ten seconds; the joy takes ten minutes. The second biggest mistake: vertical video as the only capture. Vertical is fine for stories, but shoot horizontal for anything you might frame, print, or watch on a TV in twenty years. Third: no backup. One camera, one card, no verification — that is how proposal photos get lost.
Can I capture a proposal well with just an iPhone?
Yes — in good light, with preparation. Wipe the lens, shoot 4K video (pull stills later) or burst-mode stills, lock focus on faces, brace the phone, and shoot horizontally. Where the iPhone struggles is low light and distance — so plan a well-lit, close-range proposal if the phone is your primary camera. A $25 phone tripod and a patient friend will outperform a $3,000 camera operated badly.
How do I get good audio of the proposal?
Audio is the forgotten half of proposal capture, and it matters enormously — the shaking voice, the exact words, the laugh-cry. A phone or action camera placed within 6–10 feet captures surprisingly good audio outdoors (wind is the enemy — use a windscreen or shelter the mic). For crucial vows-style speeches, a small wireless lavalier mic on the proposer ($50–$100) recording to a phone in their pocket is the professional solution. Even without it, proximity beats equipment: closer camera, better audio.
What if the weather ruins the plan?
Have a plan B location with equal photo potential scouted in advance — and brief the photographer on both. Overcast is fine (flattering light); rain needs cover (a gazebo, an awning, a beautiful interior). A clear umbrella is the classic rain-proposal prop and photographs beautifully. The only true disaster is having no plan B and improvising under pressure. Scout two spots, brief on two spots, propose with confidence whatever the sky does.
How do I practice without ruining the surprise?
Rehearse everything except the words: visit the location at the same time of day to check light and framing, test your tripod setup and remote trigger, do a full walkthrough with your photographer using stand-ins or imagination. Practice the physical choreography — where you stand, where the ring box lives, how you open it one-handed — until it is muscle memory. Leave the actual words unrehearsed enough to stay genuine; a slightly imperfect delivery of true words always beats a polished recitation.
How quickly can I get the photos for the announcement?
Agree on this before the proposal. Professionals typically deliver a sneak peek of 5–15 edited images within 24–48 hours; ask explicitly for same-day or next-day sneak peeks if you plan a quick announcement. Full galleries take 1–4 weeks. If a friend shot it, get the files immediately via AirDrop or cloud link — post a great frame now, share the polished set later. Pro tip: pick your announcement photo before the proposal high wears off; decision fatigue is real at midnight.
The Camera Remembers What Adrenaline Erases
You will forget the exact words. You will forget the order of events. You will remember a blur of joy and a ring and a face — and that is where the camera earns its place. How to capture your proposal on camera comes down to a handful of decisions made calmly, in advance: pick your strategy, brief your shooter, chase the light, shoot the aftermath, and verify the files before you leave.
Do that, and fifty years from now you will not be squinting at a blurry memory. You will be watching it happen — the knee, the gasp, the yes — as vivid as the day itself. The proposal deserves your full presence in the moment; the camera deserves your full preparation beforehand. Give each one what it needs, and neither will let you down. For more on planning the visual side, see our proposal photo ideas for couples and surprise proposal photographer tips, and when you are ready for the words, our what to say when you propose guide has you covered.