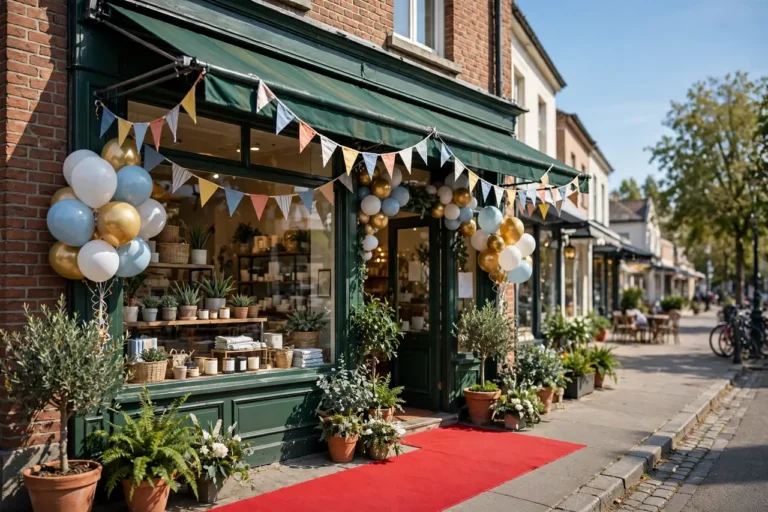
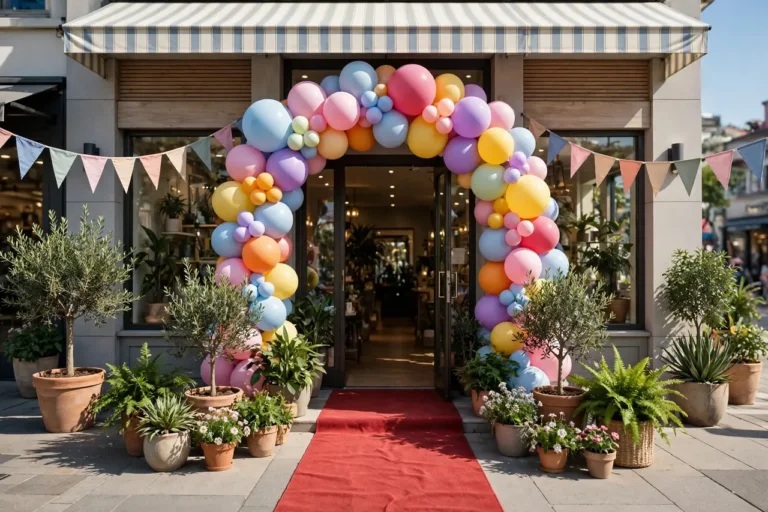
The ribbon is cut, the confetti settles, the crowd drifts inside for cake — and within an hour, the only thing left of your grand opening is what the cameras captured. Ribbon cutting photo ideas are not just a nice-to-have for your grand opening; they are the marketing engine that keeps working long after the last balloon deflates. The photos from opening day will live on your website’s about page, your Google Business Profile, your social feeds, your press releases, and your “one year ago today” throwback posts for years. A grand opening happens once. Its photos work forever.
Yet most business owners treat photography as an afterthought. They hand a phone to a cousin, hope for the best, and end up with 200 blurry shots of the back of people’s heads and not a single clean image of the actual ribbon cutting. This guide fixes that. You will get a complete, minute-by-minute shot list for the ceremony, creative photo ideas that make your grand opening look like a million dollars on any budget, guidance on hiring a photographer versus doing it yourself, and the phone-camera techniques that close the gap between amateur and professional results.
Whether you are planning a small boutique opening with thirty guests or a big-box celebration with a marching band, these ribbon cutting photo ideas will make sure you walk away with images worth framing — and worth posting.
Why Grand Opening Photos Are a Business Asset
Before the shot list, it helps to understand what you are actually building. Grand opening photos serve at least five business functions, and knowing them shapes what you shoot.
Social proof for your website. A photo of a real crowd celebrating your real opening tells prospective customers more than any paragraph of marketing copy. “About us” pages with genuine event photos convert better than stock imagery because they prove the business exists in the physical world and that real people showed up.
Press and chamber coverage. Local newspapers, chamber newsletters, and community blogs all need photos to run your story. If you hand them a crisp, well-lit image of the ribbon cutting with the mayor and your team, your opening gets covered. If you hand them a dark phone photo, it does not. One good image can be the difference between a feature and silence.
Social media content for months. A well-photographed opening yields 30 to 50 usable images. Posted two or three times a week, that is two months of authentic content: the countdown, the setup, the cut, the crowd, the details, the thank-yous. No business owner has time to create that much content from scratch — opening day hands it to you if you capture it.
Google Business Profile and review platforms. Listings with photos get dramatically more engagement than those without. Uploading real grand opening photos to your Google profile, Yelp, and Facebook page in the first week signals to the algorithm — and to customers — that you are active, legitimate, and worth visiting.
Internal morale and memory. This one is not about marketing. Five years from now, when the business has grown and the early chaos is a story you tell at parties, you will want to see the faces of the people who were there on day one. Photograph your team. Photograph your family. Future you will thank present you.
The Master Shot List: Every Photo to Capture
Professional event photographers work from a shot list, and you should too — even if your photographer is your nephew with an iPhone. The table below is organized chronologically so you can hand it to whoever is shooting and know that nothing important gets missed. Check off each shot as the day unfolds.
| When | Shot | Why it matters |
|---|---|---|
| Setup (1 hr before) | Empty venue, wide angle | Shows the scale of your effort; great “before guests arrived” post |
| Setup | Decor details: ribbon, scissors, signage, table settings | Detail shots get the most saves and shares on social media |
| Setup | Team getting ready / final huddle | Humanizes the business; perfect for “meet the team” content |
| Setup | Close-up of the ceremonial scissors and ribbon | The iconic still-life of every grand opening |
| Guests arrive | Crowd gathering, wide shot | Proves turnout; use in press releases |
| Guests arrive | Guests signing a guest book or welcome board | Captures community participation |
| Guests arrive | Kids and families enjoying the event | Warm, shareable images that humanize the brand |
| Speeches | Each speaker at the microphone | Documents the program; speakers will share these themselves |
| Speeches | Audience reaction: laughing, applauding | Candid emotion beats posed shots for engagement |
| The cut | Scissors mid-cut, eye-level, tight crop | The hero shot — the single most important photo of the day |
| The cut | Wide shot: ribbon, crowd, storefront, confetti | The establishing shot for press and your website banner |
| The cut | Reaction in the half-second after the cut | Joy, surprise, applause — the money shot for social |
| The cut | Over-the-shoulder from behind the ribbon holders | Fresh angle most openings never capture |
| After | Owner with elected officials and chamber reps | The official photo for news coverage and framing |
| After | Owner with family | The personal keeper; frame this one |
| After | Owner with the full team | Team pride; great for the careers page |
| After | Guests touring inside / trying products | Shows the business in action, not just the ceremony |
| After | Photo booth fun and props | High-energy, highly shareable guest content |
| After | Cut ribbon pieces as keepsakes | A charming detail shot for the story highlight |
| Wrap | Owner’s tired-but-happy portrait at day’s end | Authentic closing image for the thank-you post |
Print this table and hand it to your photographer with the timeline. Professionals love a shot list because it removes guesswork; amateurs need one because they do not know what they do not know. Either way, the list is what separates “we got some pictures” from “we got the pictures.” For coordinating the ceremony itself around these photo moments, pair this list with a solid event photo planning guide so the schedule serves the camera, not the other way around.
Nailing the Hero Shot: The Ribbon Cut Itself
Of the twenty shots on the list, one matters more than all the rest: the exact moment the scissors close on the ribbon. This is the image that goes in the newspaper, on the chamber’s website, and in the frame on your office wall. It deserves deliberate planning, not luck.
Position two shooters, not one. If you have any control over this, station one photographer directly in front of the ribbon at eye level, about ten to fifteen feet back with a medium zoom, and a second shooter off to the side at a 45-degree angle. The frontal shot gives you the classic image; the angle shot gives you depth, the crowd’s faces, and the storefront signage in the same frame. If you only have one shooter, choose the frontal position — it is the safer, more usable image.
Shoot in burst mode. The cut itself lasts a fraction of a second, and the half-second after — the ribbon falling, the hands lifting, the smiles breaking — is pure gold. Set the camera to continuous burst and hold the shutter from the start of the countdown through five seconds after the cut. You will take 40 frames and keep four. That is exactly how professionals do it.
Get low for drama. Photos shot from slightly below eye level make the scissors look grander and the moment more monumental. Have the photographer kneel or sit for the frontal hero shot. It is a small adjustment that makes the image feel cinematic rather than documentary.
Frame the business name. Before the ceremony, look at where the photographer will stand and check what is behind the ribbon holders. If your storefront sign is visible in the frame, every hero shot becomes branded marketing. If a parked delivery truck is visible, move the ribbon six feet. This two-minute check is the highest-ROI photo decision of the day.
Brief the ribbon holders. The two people holding the ribbon ends should stand tall, smile at the camera (not at the scissors), and hold the ribbon taut at chest height. The cutter should pause with the scissors open, touching the ribbon, for a full three-count before cutting — this gives every camera a clean “about to cut” frame and builds anticipation for the crowd.
Before the Guests Arrive: Detail Shots That Steal the Show
Here is a secret from event photographers: detail shots routinely outperform ceremony shots on social media. A gorgeous close-up of the scissors resting on the ribbon, the welcome table styled to perfection, or morning light hitting your new signage will get more saves and shares than any crowd photo. And detail shots have a huge advantage — you can take them in the calm hour before guests arrive, with no pressure and perfect control.
Arrive at least 90 minutes early with your photographer and work through the details systematically. Shoot the exterior signage first, while the light is soft and the sidewalk is empty. Then move inside: the ribbon stretched and waiting, the giant scissors displayed on a stand or velvet cloth, the guest book, the refreshment table, any branded materials or giveaways. Shoot each detail three ways — wide, medium, and tight — so you have options later.
Pay special attention to anything with your logo or business name. A flat-lay of your branded ribbon, business cards, and scissors on a clean surface makes a perfect profile picture, website header, or announcement graphic. These styled shots look expensive and cost nothing but ten minutes of intention. If your decor includes balloons, arches, or a step-and-repeat backdrop, photograph them empty before the crowd arrives — once guests are in front of them, you will never get a clean shot again.
Finally, photograph the team getting ready. The nervous laughter, the last-minute adjustments, the group huddle — these behind-the-scenes images are social media gold because they show the humans behind the business. Some of the most-liked grand opening posts of all time are not the ceremony at all; they are the 7 a.m. coffee-and-butterflies candids.
People, Candids, and the Energy of the Crowd
Posed group photos have their place — you need the official shot with the mayor — but candid photos are what make people feel something when they scroll past your opening. The laughter during a speech, a kid’s wide eyes at the giant scissors, two neighbors hugging hello, the applause erupting after the cut: these unposed moments carry the emotional truth of the day.
The key to great candids is an unobtrusive photographer. Brief your shooter to keep moving, stay at the edges of the crowd, and never ask people to pose during the ceremony itself. The best candids happen in the ten minutes before the program starts (guests arriving, greeting each other, exploring) and the thirty minutes after the cut (tours, tastings, conversations). Station the photographer near natural gathering points — the entrance, the refreshment table, the photo booth — and let moments happen.
Do not forget the speakers’ audience. While one camera covers the person at the microphone, the other should be on the crowd’s faces. A photo of your best friend tearing up during your thank-you speech will mean more to you in ten years than any wide shot of the venue. And speakers love receiving these images afterward — sending them is a gracious touch that gets your photos shared into the speakers’ own networks, multiplying your reach.
One more essential: the family photo. In the chaos of the day, business owners routinely forget to photograph themselves with the people who supported the journey — the spouse who believed, the parents who helped, the kids who endured the late nights. Assign someone (not the owner) the explicit job of gathering the family for five minutes after the official photos. You will never regret having it; you will always regret missing it.
Photo Booth and Interactive Ideas Guests Love
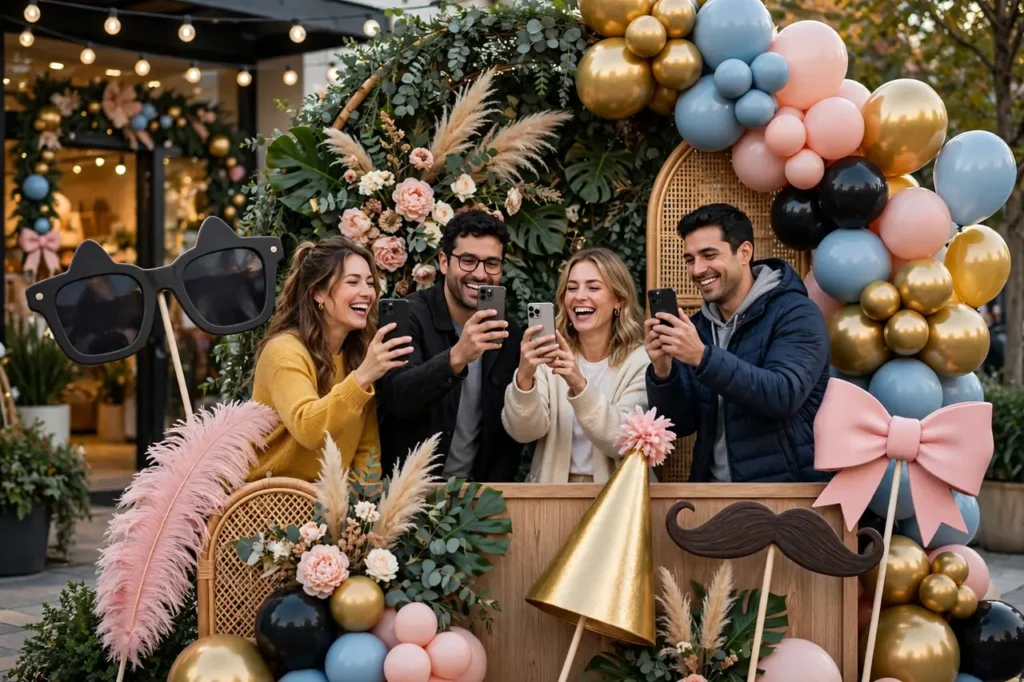
A photo booth does double duty: it entertains your guests and generates a flood of user-created content tagged with your business. You do not need to rent a $1,000 booth — a well-designed DIY station works beautifully for a grand opening.
The step-and-repeat backdrop. This is the single highest-impact photo investment you can make. A simple 8×8 foot backdrop with your logo repeated in a pattern — printed at any local sign shop for $150 to $300 — gives every guest photo a branded, red-carpet feel. Place it near the entrance with good lighting, and guests will photograph themselves all day. Every one of those photos is free advertising when it hits Instagram.
Oversized props. Lean into the theme: giant scissors (the real ones, after the ceremony), an oversized ribbon, speech-bubble signs with phrases like “I was here on opening day!” and “Shop local!” Props give shy guests permission to be silly, and silly photos get shared. A basket of simple props costs under $50 and pays for itself in tagged posts.
The “first customer” frame. A large empty picture frame (gold, ornate, from any craft store) that guests hold up around their faces is a perennial crowd-pleaser. Paint “Grand Opening” and the date on the top. It photographs beautifully and becomes a keepsake image guests actually keep.
A branded hashtag sign. Print your hashtag large — on the backdrop, on table tents, on the photo booth sign. “Tag @YourBusiness #YourGrandOpening” turns guest photos into a searchable gallery. Announce a small prize (a gift card, drawn at the end of the week) for the best guest photo to supercharge participation.
The time-capsule corner. Set up a station where guests write a note or prediction for the business’s future on a card and pose holding it. Photograph each guest with their card. It is charming in the moment and priceless content for your one-year anniversary — “Here’s what our guests predicted on opening day.”
Hiring a Pro vs. DIY: An Honest Cost Breakdown
Should you hire a professional photographer? For most grand openings, the answer is yes if the budget allows — but “professional” does not have to mean a $3,000 wedding photographer. The table below lays out realistic options.
| Option | Typical cost | Best for | Watch out for |
|---|---|---|---|
| Professional event photographer (2–3 hrs) | $400–$900 | Openings with press, VIPs, or 100+ guests | Book 4+ weeks out; confirm they deliver edited photos within a week |
| Photography student / emerging pro | $150–$350 | Small business budgets that still want pro quality | Review a full event gallery first, not just highlights |
| Designated friend with a good camera | $0–$100 (gift card) | Intimate openings under 50 guests | They will miss moments while socializing; give them the shot list |
| Smartphone + shot list | $0 | Micro-openings; backup coverage | Low light and fast action suffer; assign two phone shooters |
| Photo booth rental | $500–$1,200 | Big celebrations where guest fun is the priority | Get the digital gallery rights in writing |
| DIY backdrop + props | $100–$300 | Every opening — do this regardless of other choices | Lighting matters more than the backdrop itself |
The sweet spot for most small businesses: hire an emerging pro for two hours to cover the ceremony and official photos ($200–$400), set up a DIY backdrop with props for guest selfies ($150), and assign a friend to capture phone candids during the party. Total investment under $600, and you will have professional hero shots plus authentic guest content. Whichever route you choose, brief your photographer with the shot list from this guide and walk the venue with them 30 minutes before showtime.
Phone Photography Tips That Close the Pro Gap
If phones are doing some or all of the shooting, these techniques dramatically improve results. Share them with your designated shooters before the event.
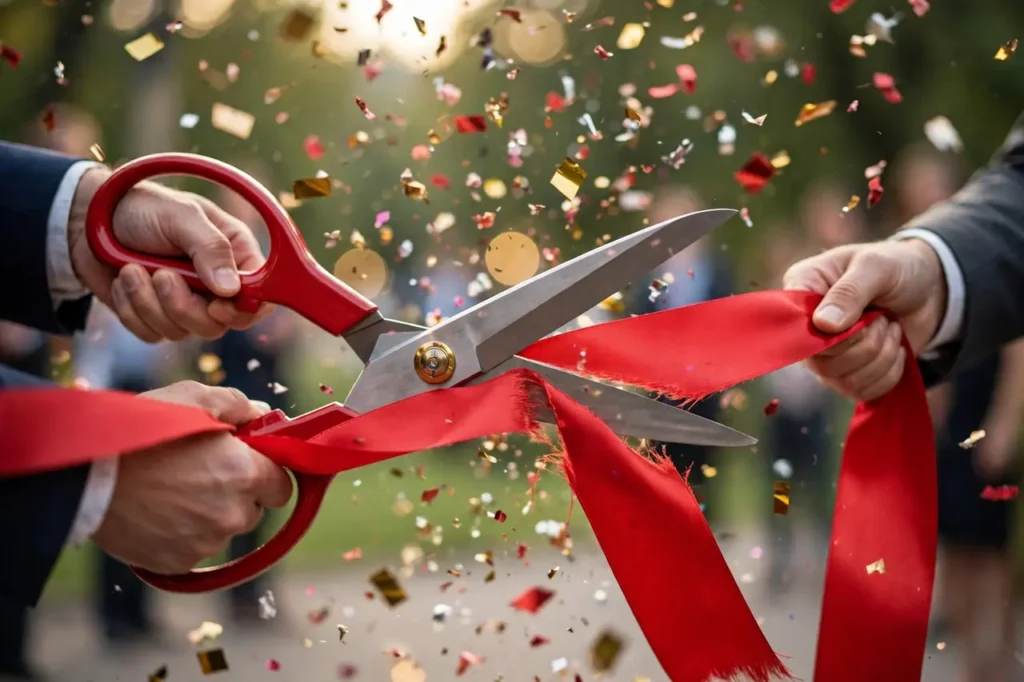
Clean the lens. It sounds silly, but a pocket’s worth of fingerprints is the number one cause of hazy phone photos. Wipe the lens on a soft cloth before the ceremony starts.
Lock focus and exposure. On both iPhone and Android, tap and hold on the subject to lock focus and exposure, then slide to adjust brightness. For the ribbon cutting, lock on the scissors — otherwise the camera will hunt for focus at the worst moment.
Shoot in burst. Hold the shutter button (or swipe, depending on the phone) for burst mode during the countdown and cut. Thirty frames, four keepers — same principle as the pros.
Use portrait mode for people, not for the ceremony. Portrait mode’s blurred background is flattering for individual and small-group shots, but it can misfire on fast action. Use standard photo mode for the cut itself, portrait mode for the posed groups afterward.
Mind the light. Never shoot into the sun unless you want silhouettes. Position shooters with the sun behind them and on the subjects’ faces. If the ceremony is indoors, stand near windows and turn off the phone’s flash — direct flash flattens faces and kills ambiance.
Shoot horizontal for hero shots. Vertical video and photos are fine for stories, but the images you will actually use — website banners, press releases, framed prints — need horizontal orientation. Tell your shooters: ceremony in landscape, party in whatever.
For more on making any celebration photogenic, our roundup of morning event photo ideas covers the same golden-hour principles that make opening-day images glow.
Watch: Event Photography Tips From a Pro
The video below is a masterclass in the shots most people forget — the empty venue, the branding details, the setup — captured before guests arrive. Watch it with your shot list in hand and you will see exactly why the “boring” photos often become the most useful ones.
Watch on YouTube: These Event Photos Are Impossible to Take Later
The core lesson applies perfectly to ribbon cuttings: once the crowd arrives, the venue is never empty and clean again. The hour before showtime is your only window for the pristine detail shots — treat it as sacred. And for making your whole venue camera-ready, a first-impression decor guide will help you style the entrance your photographer captures first.
Frequently Asked Questions
How many photos should I aim to get from a grand opening?
A two-hour grand opening should yield 200 to 400 raw frames from a dedicated shooter, which edits down to 40 to 80 usable images. That is plenty: 10 to 15 hero and detail shots for the website and press, 20 to 30 candids and booth photos for social media, and the rest for archives and anniversary content. Quality beats quantity — twenty strong images outperform two hundred mediocre ones. Brief your photographer on the shot list rather than asking them to “just shoot everything.”
What is the single most important photo at a ribbon cutting?
The mid-cut hero shot: scissors closed on the ribbon, eye-level, tight crop, with the business signage visible behind. It is the image the press will run, the chamber will post, and you will frame. Second most important is the wide establishing shot showing the ribbon, the crowd, the confetti, and the storefront in one frame. Make sure your photographer knows these two shots are non-negotiable and plans position and burst mode accordingly.
Should I hire a professional photographer for a small grand opening?
If the budget allows even $200 to $400 for an emerging pro or photography student for two hours, do it — the ceremony coverage alone is worth it. For truly micro-openings under 30 guests, two designated friends with phones and a printed shot list can suffice, provided you also invest $100 to $200 in a DIY step-and-repeat backdrop so guest selfies look branded. Never rely on “someone will take pictures” without assigning the job explicitly.
How do I get guests to share their photos with me?
Create a single branded hashtag, display it prominently on the backdrop, table tents, and a photo booth sign, and announce a small prize — a $25 gift card drawn at week’s end — for the best guest photo. Mention it during the emcee’s welcome and again after the cut. After the event, create a shared album link (Google Photos or Dropbox) and include it in your thank-you emails. Most guests are happy to share; they just need to be asked clearly and given an easy way to do it.
What should I do with the photos after the grand opening?
Work them in this order: first, send the official ribbon-cutting shot to the chamber, the local paper, and any attending officials within 24 hours while the news is fresh. Second, upload the best 10 to 15 to your Google Business Profile, website, and Facebook page. Third, schedule the rest across social media over the following 6 to 8 weeks — countdown throwbacks, team spotlights, detail shots, and thank-yous. Fourth, archive everything in a labeled folder; you will want these for anniversaries, press kits, and loan applications.
How do I photograph the ribbon cutting if it is outdoors in harsh sunlight?
Schedule the ceremony for early morning or late afternoon when the light is soft, if you have any choice. If midday is unavoidable, position the ribbon so the sun is behind the photographers and on the subjects’ faces — never shoot into the sun. A simple white reflector (or even a white tablecloth held by a helper) bounced up at faces fills harsh shadows beautifully. Avoid dappled shade from trees, which creates unflattering spotty light on faces.
Can I use a drone for grand opening photos?
Drone shots of a crowd gathered outside your new location are spectacular — but check local regulations first. Many downtown areas restrict drone flights, and flying over crowds has specific FAA rules. If you go this route, hire a licensed drone operator (usually $200 to $500 for a short session) rather than handing a drone to a hobbyist. For most small openings, a second-floor window or a sturdy ladder gives you a perfectly good elevated angle without the legal complexity.
What details should I photograph before guests arrive?
The empty venue wide shot, exterior signage, the ribbon and scissors display, the welcome/guest book table, refreshment styling, branded materials and giveaways, the step-and-repeat backdrop, balloon or floral installations, and the team getting ready. Shoot each in wide, medium, and tight crops. These calm, controlled detail shots consistently outperform ceremony photos on social media — and you only get one chance at the “before” version.
How do I make sure the business name appears in the photos?
Do a framing check before the ceremony: stand where the photographer will stand and confirm your storefront sign or a branded banner is visible behind the ribbon. Keep the step-and-repeat backdrop’s logo large and high-contrast. For detail shots, style flat-lays with business cards or branded ribbon. And brief the photographer explicitly — “please make sure the sign is in the hero shot” — because in the excitement of the moment, even pros can crop it out.
Should I livestream the ribbon cutting too?
A simple phone livestream on Facebook or Instagram during the 3-minute ceremony is a great complement to photography — it lets distant supporters watch in real time and gives you video for reels later. Assign it to someone other than your photographers so it does not compromise the still shots. Prop the phone on a tripod, frame the ribbon wide, and let it run. Save the stream afterward; the countdown and the crowd’s cheer make excellent short-form video content.
Your grand opening lasts a few hours. Your grand opening photos last for the life of the business. Plan them with the same care you put into the guest list and the catering: print the shot list, brief your shooters, arrive early for the details, nail the hero shot in burst mode, and give your guests a backdrop worth photographing. Do that, and long after the ribbon is in a keepsake box, your opening day will still be working for you — on your website, in the press, and in the feeds of everyone who was there. Now charge those camera batteries. It is almost showtime.