Makeup for beginners feels overwhelming mostly because of how it is taught — thirteen-product routines, techniques with names like “baking” and “cut crease,” and tutorials that assume you already know the basics. Forget all of that. This guide strips makeup for beginners down to what actually matters: the small starter kit that covers 90 percent of everyday looks, the correct order to apply everything, and a practice plan that takes you from “I own mascara” to a polished five-minute routine in two weeks. No prior skill assumed, no expensive haul required.
The philosophy here is simple: makeup is a skill, and skills are learned one layer at a time. You will start with skin prep and three core products, add one new technique every few days, and build a routine that looks natural and takes minutes — not an hour in front of a mirror.
What Makeup Beginners Actually Need (The Starter Kit)
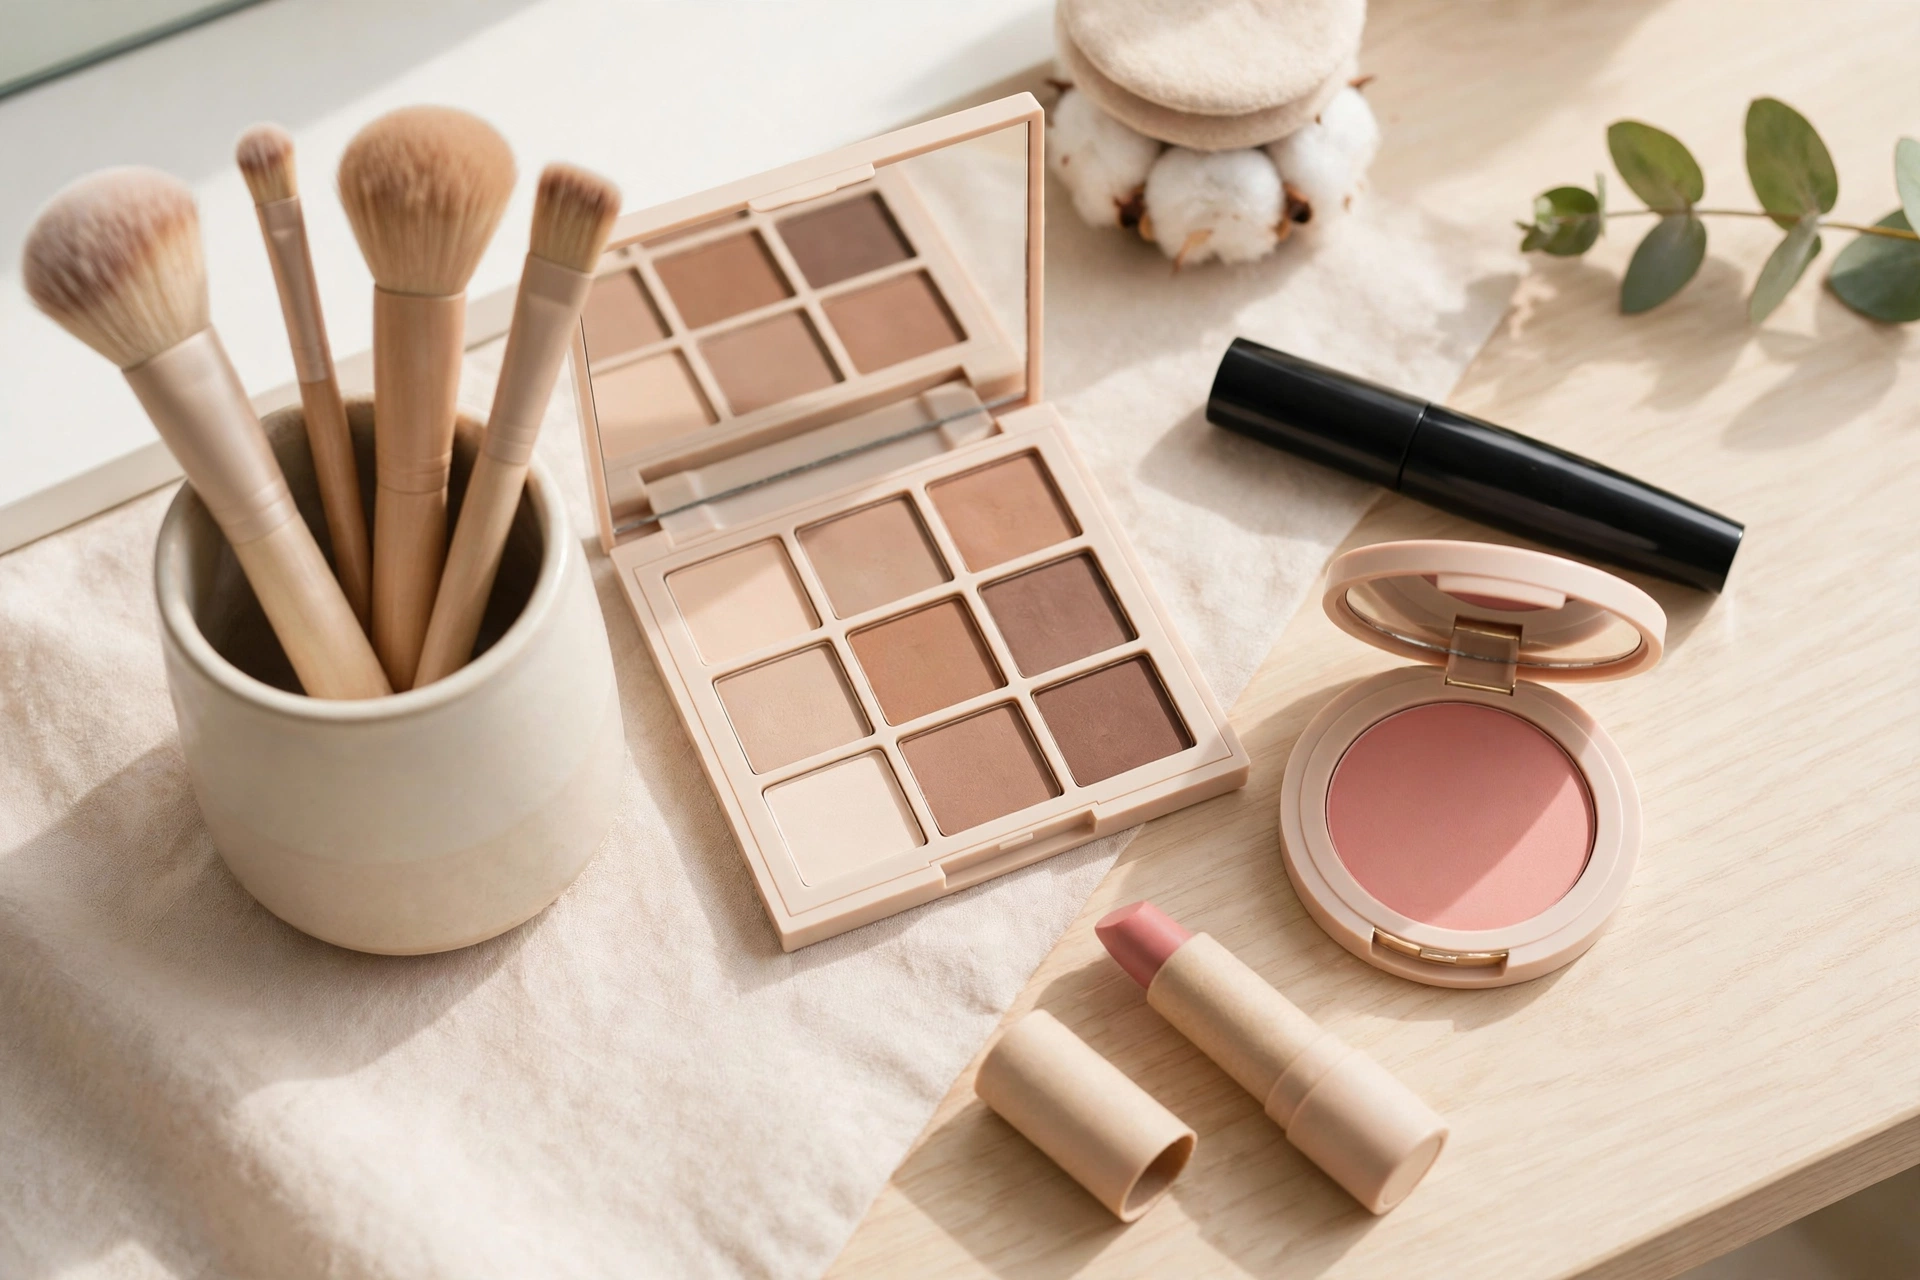
Walk into any beauty store and you will see hundreds of products. You need about ten. Here is the complete beginner kit, with what each item does and what to look for when buying:
| Product | What it does | Beginner buying tips |
|---|---|---|
| Moisturizer + sunscreen | Preps skin so makeup applies smoothly | You likely own these already — see our beginner skincare routine guide |
| Primer (optional) | Smooths skin and helps makeup last | A hydrating or blurring formula; skip it at first if budget is tight |
| Tinted moisturizer or BB cream | Evens skin tone with sheer, forgiving coverage | Easier than foundation for beginners — harder to over-apply |
| Concealer | Covers dark circles and blemishes precisely | One shade lighter than skin for under-eyes; matching shade for spots |
| Setting powder or pressed powder | Controls shine and sets base products | Translucent works for most skin tones |
| Blush | Adds healthy color and dimension | Cream blush is most forgiving for beginners; powder is fine too |
| Eyebrow pencil or gel | Defines and fills brows | Choose a shade matching your brow hair, not your head hair |
| Neutral eyeshadow (single or small palette) | Adds subtle definition to eyes | Matte browns and taupes — shimmer is harder to control at first |
| Mascara | Darkens and defines lashes — the highest-impact single product | Any well-reviewed drugstore mascara works; replace every 3 months |
| Lip product | Finishes the look | Tinted lip balm is the most forgiving starting point |
| Tools | Application | One damp makeup sponge + one fluffy brush handles nearly everything at first |
Notice what is not on the list: full-coverage foundation, contour kits, liquid eyeliner, false lashes, setting spray, highlighter palettes. Those are intermediate tools. Master the kit above first and you will look polished every day.
The budget reality check
A complete beginner kit from drugstore brands typically costs less than a single luxury foundation. Price does not determine how good your makeup looks — technique does. A $8 mascara applied well beats a $35 mascara applied badly every time. Spend your learning phase on affordable products; upgrade individual items later once you know what you actually use daily.
Makeup for Beginners: The Correct Order, Step by Step
Order matters because each layer is designed to sit on top of the previous one. Follow this sequence and blending problems mostly disappear.
Step 1: Prep the skin (2 minutes)
Makeup applies as well as the skin underneath allows. Start with clean, moisturized skin — moisturizer first, then sunscreen, then wait a minute or two for everything to absorb. If skin is still tacky, makeup will slide. This is the step beginners skip most and regret most; dry patches grab pigment unevenly and no foundation can fix poor prep.
Step 2: Primer (optional, 30 seconds)
Smooth a pea-sized amount over the face, focusing on areas where makeup fades first (nose, chin, forehead). Think of primer as double-sided tape for makeup — helpful, not mandatory. If you are keeping the kit minimal, skip this for now.
Step 3: Base — tinted moisturizer or BB cream (1 minute)
Dot product on your forehead, nose, cheeks, and chin. Blend outward with a damp sponge using bouncing (stippling) motions, not dragging. Start sheer — you can always add a second thin layer where you need more coverage, but you cannot easily remove too much. Blend down slightly past the jawline so there is no visible line where makeup ends.
Step 4: Concealer (1 minute)
Apply after your base, not before — this way you use less, because the base has already evened most things out. For under-eyes: draw a small triangle (or a few dots) under each eye and tap-blend with a fingertip or sponge; the warmth of your finger melts concealer beautifully. For blemishes: dot directly on the spot, wait 30 seconds, then tap the edges to blend without wiping the coverage away.
Step 5: Set with powder (30 seconds)
Lightly press translucent powder onto areas that get shiny — typically forehead, nose, and chin — with a fluffy brush. The key word is lightly: heavy powder is the number one cause of the cakey look beginners fear. If your skin is dry, you can skip powder entirely or use it only on the nose.
Step 6: Blush (30 seconds)
Smile, find the apples of your cheeks, and sweep blush there, blending slightly upward toward the temples. Cream blush applied with fingers is nearly foolproof — it melts into skin and is easy to sheer out. With powder blush, tap excess off the brush first; you can always add more. Blush placement changes your whole face, so take an extra ten seconds to check both sides match in a mirror.
Step 7: Brows (1 minute)
Brush brows upward with a spoolie, then fill sparse areas with short, hair-like strokes — never one solid drawn line. Less is more; step back from the mirror to check. Well-groomed brows frame the entire face and make the rest of your makeup look more intentional.
Step 8: Eyes — keep it simple (2 minutes)
For everyday makeup for beginners, one neutral eyeshadow shade swept across the lid with a fluffy brush is enough. Blend until there are no harsh edges — blending is the entire skill of eyeshadow. Skip eyeliner for the first two weeks; mascara alone opens up the eyes dramatically. When you are ready, a brown pencil liner smudged close to the lash line is far more forgiving than black liquid.
Step 9: Mascara (1 minute)
Wiggle the wand at the base of your upper lashes, then pull through to the tips. One to two coats is plenty — pumping the wand in the tube pushes air in and dries the formula out, so do not do it. If you get mascara on your lid, wait for it to dry completely, then flick it off with a clean spoolie; wet cleanup smears.
Step 10: Lips (30 seconds)
Finish with tinted lip balm or a nude lipstick close to your natural lip color. Exfoliate lips gently with a damp washcloth first if they are flaky — lipstick magnifies dryness.
Total time once practiced: five to ten minutes. Your first attempts will take longer, and that is completely normal.
Your First Two Weeks: A Practice Plan
Do not try to learn all ten steps on day one. Skills stack.
Days 1–3: Skin prep + base only
Practice moisturizer, sunscreen, tinted moisturizer, and concealer. Your only goal: an even, natural-looking base with no visible lines at the jaw. Take a photo in natural light each day to track improvement — the camera is more honest than the mirror.
Days 4–6: Add blush and brows
These two steps add the most “finished” appearance for the least effort. Practice blush placement and brow filling. Compare days: you will be shocked how much more awake you look.
Days 7–10: Add eyes and mascara
One neutral shadow, blended well, plus mascara. Practice blending until edges disappear — hold the brush lightly, like a paintbrush, not a pen.
Days 11–14: The full routine, timed
Put it all together and time yourself. Aim for under fifteen minutes. By day fourteen you will have a reliable everyday routine and — more importantly — the confidence that each step is a skill you own, not a mystery.
7 Mistakes Every Makeup Beginner Makes (and Fixes)
1. Wrong foundation shade
The mistake: testing shade on the back of your hand. The fix: swatch along your jawline and check in natural daylight. Your hand is usually a different color than your face. When in doubt between two shades, choose the lighter one — it blends more forgivingly.
2. Too much product
The mistake: full pumps and heavy layers. The fix: start with half what you think you need. Sheer layers built up look like skin; one thick layer looks like makeup.
3. Skipping skin prep
The mistake: applying base to dry, unmoisturized skin. The fix: moisturizer + sunscreen + a one-minute wait. This single habit improves makeup application more than any product upgrade.
4. Harsh, unblended edges
The mistake: visible lines of blush, shadow, or base. The fix: blend everything about 30 percent more than feels necessary. When you think you are done blending, blend a little more.
5. Overdrawn brows
The mistake: dark, solid, obviously drawn brows. The fix: short strokes, lighter color than you think, and always step back from the mirror to assess.
6. Sleeping in makeup
The mistake: skipping removal after a long day. The fix: keep micellar water or cleansing wipes by the bed for low-energy nights — imperfect removal beats no removal. A proper cleanse the next morning (see our skincare routine guide) resets everything.
7. Comparing day one to someone’s year five
The mistake: watching expert tutorials and feeling hopeless. The fix: compare yourself to your own day one photos. Everyone’s first winged liner was crooked. Skill is just repeated attempts.
Beginner Makeup Troubleshooting Table
| Problem | Likely cause | Fix |
|---|---|---|
| Base looks cakey | Too much product, or powder over dry skin | Use half the base product; mist face lightly with water or skip powder on dry areas |
| Makeup fades by noon | No primer, or base applied over still-tacky skincare | Let skincare absorb fully; add primer on the T-zone |
| Concealer creases under eyes | Too much product, not set | Use less; press a tiny amount of powder over it with a puff |
| Blush looks clownish | Too much pigment at once | Tap brush before applying; build in sheer layers; blend upward |
| Eyeshadow looks muddy | Colors over-blended together or too many shades | Stick to one or two neutrals; clean brush between shades |
| Mascara clumps | Old formula or too many coats | Replace mascara every 3 months; comb through with a clean spoolie between coats |
| Lipstick feathers | Dry lips or no base | Exfoliate lips, apply balm first, blot before color |
Makeup Brushes for Beginners: The Only Five You Need
You do not need a 24-piece brush set. Five tools cover a full beginner routine:
- Damp makeup sponge — base, concealer, cream blush. The single most useful beginner tool; it sheers everything out forgivingly.
- Large fluffy powder brush — setting powder, and later bronzer.
- Medium fluffy blending brush — eyeshadow blending, which is 90 percent of eyeshadow skill.
- Small flat shader brush — packing shadow onto the lid before blending.
- Angled brush or spoolie — brows.
Wash them weekly with gentle soap and lukewarm water, reshape, and lay flat to dry. Dirty brushes cause breakouts and muddy application — brush hygiene is genuinely part of makeup skill. Synthetic bristles work well with both creams and powders and are the practical beginner choice.
Day vs. Night: Your First “Upgraded” Look
Once your everyday routine is solid, here is how to take it to evening without learning new techniques — just intensify what you know:
- Add a second sheer layer of base only where needed.
- Deepen the eyeshadow: add a slightly darker neutral to the outer corner and blend.
- Line the upper lash line with brown pencil, smudged with the angled brush.
- Add a second coat of mascara.
- Swap tinted balm for a bolder lip color, blotted once for staying power.
- One extra sweep of blush — evening lighting washes color out.
That is it. No new skills, just more of the skills you already practiced. This is how makeup artistry actually scales: the same fundamentals, applied with more intention.
Frequently Asked Questions
What makeup should a complete beginner start with?
Start with tinted moisturizer, concealer, blush, mascara, and tinted lip balm — five products that create a complete, natural look. Add powder, brows, and eyeshadow in week two. This keeps the learning curve gentle and the cost low while you build technique.
What is the correct order to apply makeup for beginners?
Skincare first (moisturizer, sunscreen), then primer (optional), base, concealer, powder, blush, brows, eyeshadow, mascara, and lips last. The principle: creams and liquids before powders, base before color, and everything blended before moving to the next step.
How long should a beginner makeup routine take?
Plan on 20–30 minutes for your first attempts and five to ten minutes once practiced. Speed comes from repetition, not rushing — follow the two-week practice plan above and timing takes care of itself.
Is expensive makeup better for beginners?
No. Beginner results come from technique, and technique is learned cheapest with affordable products you are not afraid to waste while practicing. Many professional makeup artists use drugstore staples in their kits. Upgrade selectively later, based on what you actually finish and repurchase.
How do I find my foundation shade as a beginner?
Swatch two or three candidate shades along your jawline, then step into natural daylight — store lighting lies. The right shade disappears into your skin. Tinted moisturizers and BB creams are more forgiving than full foundation because sheer coverage blends across a wider shade range.
Do I need to wear makeup every day once I start?
Of course not. Makeup is a tool, not an obligation. Many people who learn a full routine end up wearing just sunscreen and mascara most days — the skill is there when they want it. Learning makeup for beginners is about having the option, beautifully executed, whenever you choose it.
How often should I replace makeup products?
Mascara and liquid eyeliner: every 3 months (eye products carry the highest infection risk). Foundation and concealer: 6–12 months. Powders, blush, and eyeshadow: up to 2 years if kept clean. Anything that smells off, separates, or irritates goes immediately regardless of age. Write the opening date on the bottom with a marker.
Can I wear makeup if I have acne or sensitive skin?
Yes, with two adjustments: choose non-comedogenic base products, and be meticulous about removal every night — sleeping in makeup is far worse for acne than wearing it. Keep brushes clean. If a specific product consistently triggers breakouts, eliminate it; your skin’s feedback is the final authority.
The Bottom Line
Makeup for beginners is not about owning everything — it is about owning ten products and ten steps so well they take five minutes. Start with skin prep and a sheer base, add color one feature at a time over two weeks, blend more than feels necessary, and photograph your progress. The “natural makeup look” everyone admires is not the absence of technique; it is technique made invisible through practice. And if you ever want to understand the canvas underneath it all, our skincare routine for beginners guide is where great makeup truly begins.