

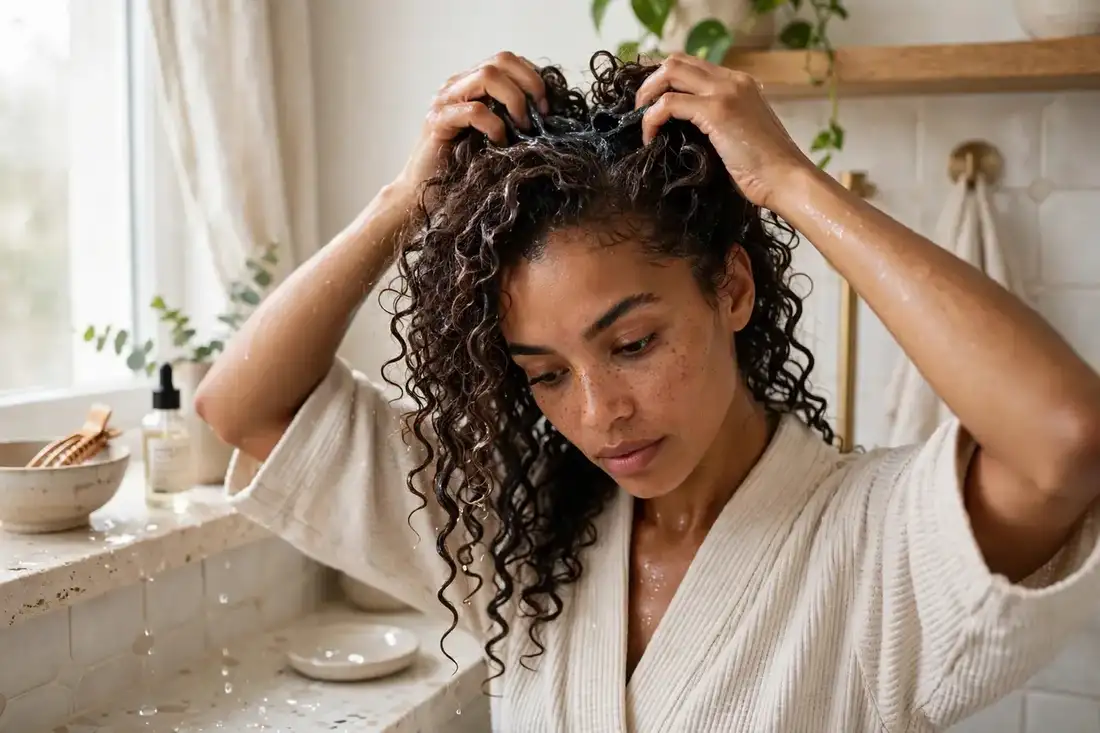
If your curls are frizzy, undefined, or just confusing, the Curly Girl Method might be the reset they need. Developed by hairstylist Lorraine Massey, the Curly Girl Method (CGM) is a hair care philosophy built on a simple insight: curly hair is naturally drier than straight hair because scalp oils struggle to travel down spiraled strands, so everything in the routine should focus on moisture, gentle cleansing, and avoiding ingredients that strip or coat the hair.
The method’s most famous rules are avoiding sulfates (harsh shampoos), silicones (which build up without sulfates to remove them), drying alcohols, and heat styling, while embracing co-washing or gentle low-poo cleansers, rich conditioners, leave-ins, and styling gels. It sounds like a lot of rules, but the beginner version is genuinely simple: stop doing the few things that hurt curls, start doing the few things that help them, and give it time.
This beginner guide walks through the method step by step — the starter routine, what to buy (and what to skip), the transition period nobody warns you about, how to adapt it for wavy versus coily hair, and how to troubleshoot the most common early problems. No gatekeeping, no product shaming — just a practical path to better curls.
What the Curly Girl Method Actually Is (and Isn’t)
At its core, the Curly Girl Method is a moisture-first routine that treats curly, wavy, and coily hair according to its actual needs rather than forcing it to behave like straight hair. The ‘rules’ most people cite — no sulfates, no silicones, no heat, no terry towels, no dry brushing — are all in service of two goals: keeping the hair’s natural moisture intact and letting the curl pattern form undisturbed. Everything else is optional customization.
What the method is not: a product brand, a religion, or a requirement to throw away everything you own overnight. Many successful curlies follow a ‘modified’ CGM, using a sulfate shampoo occasionally (a reset wash), incorporating silicones they remove properly, or diffusing with heat on low. The strict version is a starting point, not a life sentence — the goal is healthy curls, and you are allowed to adapt the framework to your hair, budget, and lifestyle.
It is also not instant. Hair that has been heat-styled, brushed dry, and washed with stripping shampoos for years needs weeks to recover its pattern and moisture balance. Most people see meaningful improvement in 4–8 weeks and their ‘final’ results around the 3-month mark. Anyone promising transformation in one wash is selling something.
The Beginner Starter Routine, Step by Step
Start with a reset wash: one final shampoo with a sulfate-containing clarifying shampoo (no silicones in it) to strip all existing silicone buildup from your hair. This is the last sulfate wash — it gives you a clean slate so the gentle routine can actually work. Follow it with a deep conditioner, since clarifying is drying by design.
Your ongoing wash-day routine has four steps. First, cleanse: either co-wash (scrub the scalp with conditioner) or use a sulfate-free ‘low-poo’ shampoo, focusing on the scalp with your fingertips. Second, condition generously: apply a silicone-free conditioner from mid-lengths to ends, detangle with your fingers or a wide-tooth comb, then rinse most (not all) of it out. Many beginners leave a little in as a base layer of moisture.
Third, style on soaking-wet hair: apply a leave-in conditioner, then a curl cream if your hair needs extra moisture, then a gel — raking or praying-hands to distribute, then scrunching upward to encourage curl formation. Fourth, dry without disturbing: air dry, diffuse on low heat/low speed, or plop with a T-shirt first. Once fully dry, scrunch out the gel’s crunchy ‘cast’ for soft, defined curls.
- Reset wash once with a sulfate clarifying shampoo to remove old silicone buildup
- Cleanse with co-wash or sulfate-free low-poo, scrubbing the scalp with fingertips
- Condition generously, detangle wet, rinse out most of the conditioner
- Style on soaking-wet hair: leave-in, then cream, then gel — scrunch to encourage curls
- Dry via air drying, diffusing, or plopping; scrunch out the crunch when 100% dry
What to Buy: The Starter Kit
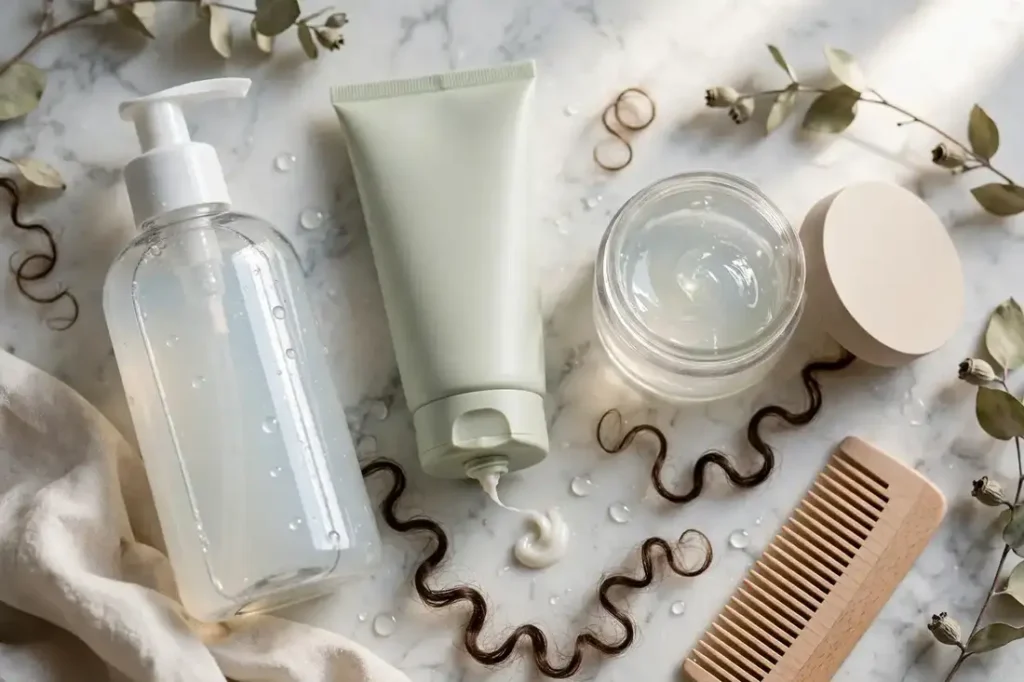
You need exactly four product types to start: a reset clarifying shampoo (used once, then monthly), a sulfate-free cleanser or co-wash, a silicone-free conditioner, and a styling gel. That is the complete beginner kit — everything else (leave-ins, curl creams, deep conditioners, mousses) is an upgrade you add once the basics are working. Beginners routinely overbuy; resist the haul.
When label-reading, the two things to avoid at the start are sulfates in your regular cleanser (sodium lauryl sulfate, sodium laureth sulfate, ammonium laureth sulfate) and non-water-soluble silicones in conditioners and stylers (anything ending in -cone, -conol, or -xane, with a few water-soluble exceptions). Drying alcohols (isopropyl alcohol, denatured alcohol) are also worth avoiding; fatty alcohols like cetyl and cetearyl alcohol are moisturizing and fine.
Drugstore options work perfectly well — the method was never about expensive products. Look for lines explicitly labeled sulfate-free and silicone-free, or check ingredients yourself since marketing is unreliable. Start with one cleanser, one conditioner, and one gel; use them for a full month before judging or adding anything. For building the rest of your hair routine around the method, our beginner hair care routine guide pairs well with this one.
The Transition Period: What to Expect
The first 2–6 weeks have a name in curly communities: the transition period. Your hair is recovering from years of sulfates, silicones, heat, and dry-brushing, and it may look worse before it looks better — frizzier, limper, or oddly textured as the real curl pattern emerges from under the damage. This is normal and temporary, not a sign the method ‘isn’t for you.’
Two things help most during transition. First, deep condition weekly: the moisture debt is real, and a 15–20 minute deep conditioning session (with gentle heat from a shower cap) accelerates recovery dramatically. Second, clarify monthly: even a gentle routine accumulates buildup, and a monthly reset wash prevents the dull, coated feeling that makes beginners quit.
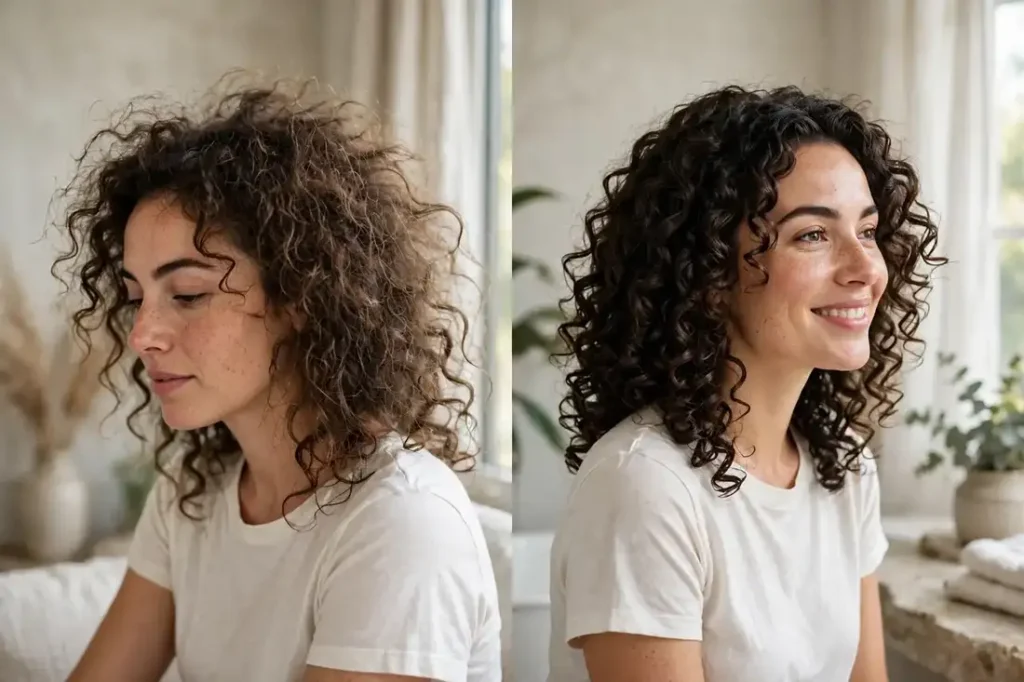
Take photos every two weeks in the same lighting. Day-to-day change is invisible, but month-over-month photos reveal the pattern tightening, frizz decreasing, and shine returning — and that evidence keeps you going through the awkward middle weeks. Most people who push through to week eight never look back.
Adapting the Method for Your Curl Type
Wavy hair (2A–2C) is the most easily weighed down. If your waves go limp, use lighter products, consider low-poo over co-washing (wavy scalps often need real cleansing), and try mousse instead of heavy gel. Many wavies do better with a modified routine — and that is completely fine. The goal is enhanced waves, not somebody else’s ringlets.
Curly hair (3A–3C) is the method’s sweet spot: rich conditioners, the full leave-in/cream/gel layering routine, and diffusing or air drying all tend to work beautifully. This hair type usually sees the most dramatic before-and-after, since its pattern responds strongly to proper moisture and undisturbed drying.
Coily hair (4A–4C) needs the most moisture of all and often benefits from heavier creams, butters, and the LOC/LCO layering method (liquid, oil, cream). Co-washing may need supplementing with regular clarifying since dense coils trap product, and protective styling can be combined with CGM principles. The dryness battle is real for this type — seal that moisture in. Our roundup of the best hair care products includes options across curl types.
Co-Washing vs Low-Poo: Choosing Your Cleanser
The method’s no-sulfate rule leaves you two cleansing options, and beginners often pick wrong. Co-washing — washing with conditioner only — works beautifully for dry, coarse, or very curly hair that rarely gets oily, because it cleanses gently without stripping. But co-washing is not for everyone: fine hair, oily scalps, and active lifestyles usually find it leaves buildup, itchiness, and limp roots within weeks.
Low-poo — a sulfate-free shampoo with gentle surfactants — is the safer starting point for most beginners. It actually cleanses the scalp, removes the stylers the method encourages you to use generously, and still avoids the harsh sulfates the method prohibits. If you are unsure which camp you fall into, start with low-poo twice a week and adjust: scalp itchy or hair limp means clarify; hair dry and straw-like means try co-washing between shampoos.
Whatever you choose, the scalp is the target, not the lengths. Massage cleanser into the scalp with fingertips (never nails) for a full minute, then let the rinse water carry it down the lengths — that is enough cleansing for the ends. And every 4–6 weeks, use a proper clarifying shampoo to reset: the method’s heavy conditioning and styling builds up, and no amount of co-washing removes months of accumulated product.
Deep Conditioning: The Weekly Reset
Deep conditioning is the method’s non-negotiable weekly treatment, and it is what separates decent results from great ones. A deep conditioner is simply a richer, more concentrated version of your regular conditioner — more fatty alcohols, more humectants, sometimes proteins — designed to sit on the hair for 15–30 minutes and deliver moisture past the surface. Once a week is the standard; dry or damaged hair can go twice, fine hair may need only every other week.
Heat helps it penetrate. After applying generously to damp hair, cover with a shower cap — your body heat creates a gentle greenhouse effect — and leave it while you do everything else in the shower. For a deeper treatment, a thermal heat cap for 15 minutes drives the conditioner in further. Rinse with cool water to seal the cuticle afterward; rinsing a deep treatment with hot water undoes half the benefit.
Do not deep condition on top of buildup. If your hair has weeks of product accumulation, the treatment sits on top of the film instead of penetrating — clarify first, then deep condition, and the difference will be immediately obvious. And watch for the protein-moisture balance: if hair starts feeling stiff or straw-like after treatments, you need moisture, not more protein; mushy, overly soft hair that will not hold a curl needs protein. The method works best when you learn to read these signals.
Styling Product Basics: Gel, Cream, and Mousse
The method’s styling philosophy is simple: moisture first, hold second. Leave-in conditioner goes on soaking-wet hair as the moisture base. Then comes the styler, and this is where beginners get lost in options. Gel is the workhorse — it creates the cast that preserves clumps through drying and scrunches out soft. Strong-hold gels give the most definition and frizz control; the crunch they create is temporary and intentional.
Curl cream sits between leave-in and gel for hair that needs extra moisture and softness — thick, dry, or coarse curls usually love it; fine waves often find it heavy. The classic combination is cream then gel (the cream smooths, the gel locks), applied with praying hands and finished with scrunching. Mousse is the lightweight alternative to gel: less hold, more volume, better for fine hair and waves that gel weighs down.
Start with two products — leave-in and one styler — before adding a third. Most beginners who buy five stylers at once cannot tell which one is working, and layering too many products causes buildup and stringiness. Master leave-in plus gel first; add cream only if your hair still feels dry, or swap gel for mousse if your hair falls flat. Simple routines outperform complicated ones while you are learning your hair.
Curly Girl Method: Do This, Not That
The core swaps that make the method work — each ‘do’ replaces a habit that was working against your curls.
| Instead of this | Do this | Why it matters |
|---|---|---|
| Sulfate shampoo every wash | Co-wash or sulfate-free low-poo | Sulfates strip the natural oils curly hair desperately needs |
| Silicone-heavy conditioner | Silicone-free conditioner + gel | Silicones build up without sulfates and block moisture |
| Terry towel turban | Microfiber towel or cotton T-shirt | Terry loops rough up the cuticle and create frizz |
| Brushing hair dry | Detangling wet with conditioner | Dry brushing shatters curl clumps and causes breakage |
| Blow drying on high heat | Air dry, diffuse on low, or plop | High heat dehydrates curls and disrupts pattern formation |
| Skipping styler | Gel on soaking-wet hair, scrunch the cast | Gel locks in moisture and definition while drying |
| Washing daily | Wash 1–3x per week; refresh between | Overwashing dries curls out; refresh with water + conditioner |
You do not have to adopt every swap on day one — but the cleanser, conditioner, and drying swaps deliver most of the results.
Beginner Tips That Prevent the Usual Frustrations
The mistakes almost every beginner makes, and how to skip them.
- Style on soaking-wet hair, not damp — water is what forms curl clumps; styling damp hair is the top cause of frizz.
- Use more conditioner than you think you need; curly hair is chronically under-conditioned.
- Do not touch your hair while it dries — every touch breaks forming curls and invites frizz.
- Sleep on a satin pillowcase or in a loose pineapple (high ponytail) to preserve curls overnight.
- Refresh day-two hair with a water + leave-in mist and a light scrunch instead of re-washing.
- If your scalp itches or flakes with co-washing, switch to a low-poo — scalp health comes first.
- Clarify monthly even on a gentle routine; buildup is the silent curl-killer.
- Give any product 3–4 wash days before judging it — single-wash verdicts are unreliable.
- Join a curly community for your specific curl type; generic advice often misses type-specific needs.
- Be patient with the transition — the 6–8 week mark is where most people see the real payoff.
- Clarify every 4–6 weeks even if you co-wash — the method’s rich products build up.
- Learn your hair’s protein-moisture signals: stiff means add moisture, mushy means add protein.
Troubleshooting Common Beginner Problems
Frizz that will not quit usually means one of three things: not enough water during styling, not enough product, or touching hair while it dries. Fix it in that order — style wetter, use more gel, hands off. If frizz persists only at the crown, that area may need its own extra gel application since it dries fastest.
Limp, weighed-down curls point to product overload or insufficient cleansing. Try using less leave-in, switching from cream to a lighter formula, or clarifying — then reassess. Wavies in particular often discover they need far less product than curly tutorials suggest; start light and add only if ends feel dry.
Itchy scalp or buildup means your cleansing is not keeping up. This is not a failure of the method — it is a signal to adjust it. Move from co-wash to low-poo, double-cleanse the scalp on wash day, or clarify more often. A healthy scalp grows healthy hair, and no curl definition is worth chronic irritation. When in doubt, cleanse more, not less.
Ingredients to Avoid (and the Ones That Are Fine)
The method’s original rules ban sulfates (harsh cleansing), silicones (buildup that needs sulfates to remove), and drying alcohols (moisture strippers). These remain solid guidance: most people do see better curl formation without them. But the rules have nuance the purists skip. Water-soluble silicones rinse out without sulfates and are fine. Some alcohols — cetyl, cetearyl, stearyl — are fatty alcohols that condition rather than dry, and they are in nearly every good conditioner.
Do not let ingredient perfectionism paralyze you. A product with one questionable ingredient that makes your hair look great beats a perfectly compliant product that does nothing. The method is a framework, not a religion — the goal is healthy, defined curls, and plenty of people modify the rules (occasional sulfate clarifying, a beloved silicone serum on the ends) with excellent results. Learn the principles, then adapt them to your actual hair.
Refreshing and Second-Day Hair the Curly Girl Way
The method’s wash-day results are only half the story — how you maintain them between washes determines whether the routine is sustainable. Nighttime protection is the foundation: pineapple the hair (a loose high ponytail with a satin scrunchie), or use the medusa clipping method for shorter hair, and sleep on a satin or silk pillowcase. Cotton pillowcases create friction that roughs up the cuticle overnight, undoing wash-day definition while you sleep.
Morning refreshing follows a light-touch principle: mist the frizzy or flattened sections with water (a continuous spray bottle gives the finest, most even mist), smooth a small amount of leave-in or curl cream over just those areas with praying hands, scrunch gently, and let air dry or diffuse for a few minutes. Resist re-wetting the whole head — targeted refreshing preserves the good sections instead of restarting the clock everywhere.
Know when to stop refreshing and just wash. Most curl types get two to four good days per wash cycle; beyond that, product buildup and scalp oil make refreshing a losing battle, and piling more product on just creates stringiness. The method is not about stretching washes to the absolute limit — it is about a sustainable rhythm. When day-three hair needs more than a five-minute refresh, that is your wash signal, not a failure.
When to Break the Rules: Modifying the Method
The curly girl method works best as a starting framework, not a permanent identity — and the veterans who get the best results are usually the ones who modified it. Common intelligent modifications: using a sulfate shampoo occasionally when buildup demands it, keeping a beloved silicone serum for the ends, brushing dry hair before washing to detangle thoroughly, or straightening for special occasions without guilt. None of these undo your progress; hair does not keep score across months.
The signal to modify is simple: if strict compliance gives you worse hair than a modified version, the modification wins. Chronically itchy scalp means you need stronger cleansing. Limp, over-moisturized waves mean you need less conditioning, not more. The method’s founder would likely agree with the underlying principle — it was always about understanding curly hair’s needs, and needs differ. Learn the rules thoroughly, then earn the right to break the ones that do not serve your hair.
Watch: Beginner Curly Girl Routine Demo
This video walks through a complete beginner wash day — reset wash, conditioning, the leave-in/gel application on soaking-wet hair, and diffusing — so you can see the techniques (especially scrunching and plopping prep) in action before trying them.
Frequently Asked Questions
How long does the curly girl method take to work?
Expect visible improvement in 4–8 weeks and your more settled results around 3 months. The transition period (weeks 2–6) can look worse before it looks better as damage grows out and your natural pattern re-emerges. Weekly photos in consistent lighting are the best way to track progress, since daily change is nearly invisible. Hair that was heavily heat-damaged or bleached takes longer because the damaged length must grow out.
Can wavy hair follow the curly girl method?
Yes, with modifications. Wavy hair (type 2) is easily weighed down, so use lighter products, prefer low-poo over co-washing, and try mousse or lightweight gel instead of heavy creams. Many wavies skip the cream layer entirely. The core principles — gentle cleansing, no dry brushing, microfiber drying, styling on wet hair — all still apply and usually enhance wave definition noticeably.
Do I have to give up shampoo completely?
No. The method avoids harsh sulfates for regular washing, but sulfate-free ‘low-poo’ shampoos are fully CGM-approved and many people need them — especially fine-haired, wavy, or oily-scalp types. Even strict followers do a monthly sulfate ‘reset wash’ to clear buildup. Co-washing is an option, not a requirement; choose the cleansing level your scalp actually needs.
Why is my hair frizzier since starting?
Early frizz usually comes from styling on damp rather than soaking-wet hair, using too little gel, or touching hair while it dries — fix those three first. It can also be transition-period frizz as your real texture emerges from under old damage, which improves with weekly deep conditioning. If frizz persists past two months with correct technique, your products may be too light (add a cream layer) or too heavy (clarify and simplify).
Are silicones really that bad?
Silicones are not evil — they are effective smoothers and heat protectants. The CGM issue is practical: non-water-soluble silicones build up, and without sulfates you cannot easily remove that buildup, so moisture gets blocked out over time. If you want to use silicones, use water-soluble ones or clarify regularly. Many people follow a modified method with occasional silicone use and do perfectly well.
Can I still use heat tools on the curly girl method?
The strict method says no, but the practical answer is ‘rarely and carefully.’ Diffusing on low heat/low speed is widely accepted. Occasional flat-ironing with heat protectant will not ruin your progress, though frequent high heat works against everything the method builds. Many curlies do a rare straightened style for fun — just deep-condition after and return to the routine.
The Bottom Line
The Curly Girl Method works because it is built on real hair science: curly hair needs moisture, gentle cleansing, and undisturbed drying. Start with the four-product starter kit, commit to eight weeks, deep-condition weekly, and document with photos — that simple formula resolves the vast majority of beginner struggles.
Remember that the method is a framework, not a cage. Adapt it to your curl type, your scalp’s needs, and your life. The curlies with the best hair are not the strictest — they are the most consistent. Your curls have been there all along; this is just how you let them show up.
Keep Reading
Explore more beauty guides from DayZora:


