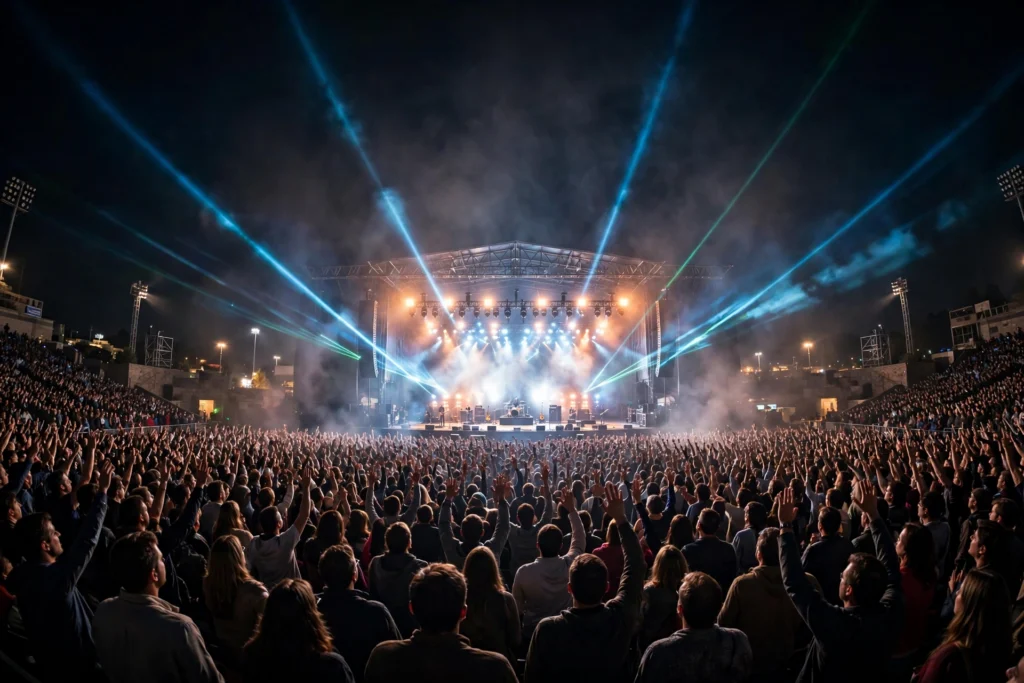
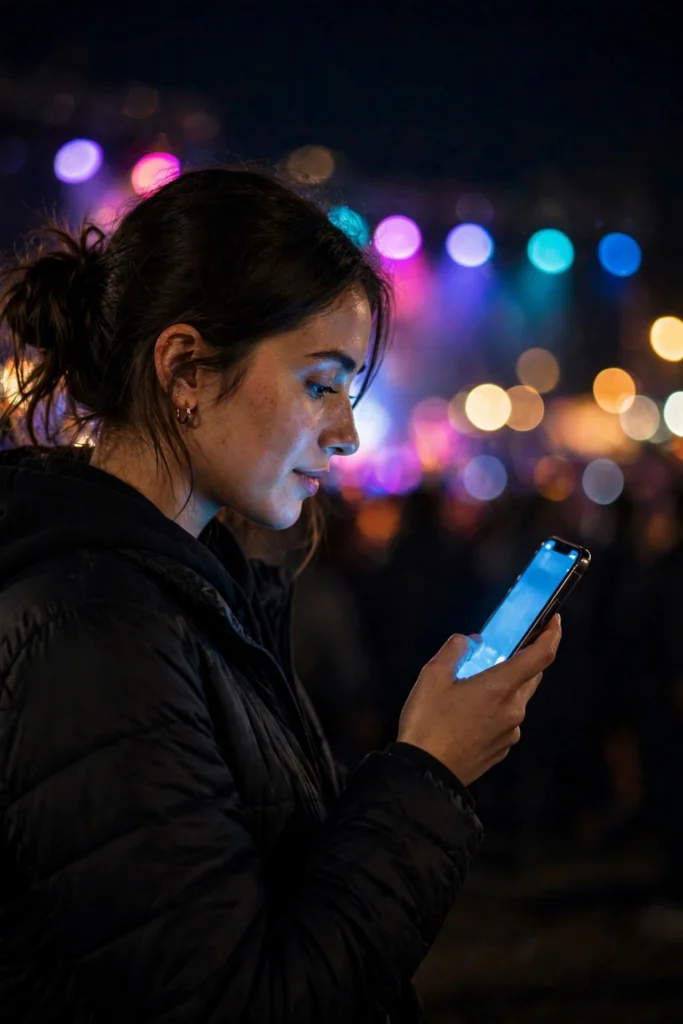
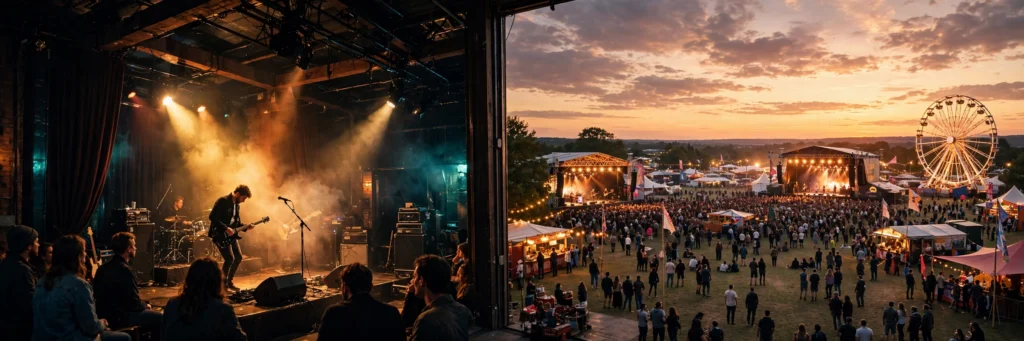
These Concert Photography Tips will take you from blurry, blown-out phone snaps to shots you’re proud to share — whether you’re shooting on a phone or a dedicated camera. Concert photography is one of photography’s hardest disciplines: near-darkness, violent light changes, moving subjects, and crowds. But it’s also one of the most rewarding, and the fundamentals are learnable in a single show.
One rule governs everything here: the show comes first. Take your shots, then put the camera down and be present — a principle our Concert Etiquette Guide covers from the crowd’s perspective. And if you’re still deciding what to bring (or wear) to the show, our What to Wear to a Concert guide has a section on dressing for shooting.
Know the Rules Before You Shoot
Venue photo policies vary enormously and are enforced inconsistently — which means you must check the specific show’s policy, not assume. The common tiers:
- Phones only. The most common policy at arenas and large theaters: phones fine, dedicated cameras banned. “Professional cameras” usually means anything with a detachable lens.
- Small cameras allowed, no flash, no “pro” gear. Many clubs and mid-size venues allow point-and-shoots and mirrorless bodies with small lenses. Flash is almost universally banned — it blinds performers and ruins the show for everyone.
- No photography at all. Some artists (increasingly) require phone-free shows with locking pouches, or ban photography explicitly. Respect it — these are often the best shows, because everyone’s present.
- Photo pit (credentialed). The pit in front of the stage is for accredited photographers only, typically limited to the first three songs, no flash. Getting credentials requires working for a publication — it’s a whole separate pursuit.
The golden rule: check the venue’s website and the event listing for the camera policy before you go. When in doubt, email the venue. Having a $2,000 camera confiscated at the door (held until after the show, but still) ruins the night.
Phone Photography: Getting Great Shots
Modern phones are genuinely capable concert cameras — the computational photography in recent flagships handles low light better than DSLRs did a decade ago. Here’s how to maximize yours:
Settings and setup (do this before the show)
- Turn off the flash. Permanently, for concerts. Phone flash reaches about 10 feet — useless for the stage, blinding for everyone around you, and banned at most venues anyway.
- Lock exposure and focus. On iPhone, tap and hold on the subject to lock AE/AF; on Android, use the pro/manual mode or tap-to-lock. Stage lighting changes violently — without a lock, your phone will hunt exposure on every light change and every shot will differ.
- Lower the exposure. Concert scenes fool phone metering: the phone tries to brighten the dark background and blows out the lit performer. Drag exposure down (-0.7 to -1.5 EV) to preserve the performer and get rich blacks. Dark, moody, and sharp beats bright, noisy, and blown out.
- Use Night mode deliberately. Night mode helps for static wide shots but creates motion blur on moving performers — use it for the venue, the crowd, the atmosphere; switch it off (or use the standard mode) for action.
- Shoot in RAW if your phone offers it. ProRAW / RAW gives you far more recovery room for the extreme contrast of stage lighting. Storage-heavy, worth it for keepers.
- Clean your lens. Pocket lint on the lens creates the hazy glow that ruins half of all concert phone photos. Thirty seconds with your shirt before the show.
Shooting technique
- Brace yourself. Tuck your elbows into your body, lean against something solid, or rest the phone on a seat back. Stability is sharpness in low light.
- Shoot in bursts. Hold the shutter for bursts during peak moments — the drummer mid-fill, the singer mid-note. One frame in twenty will be the keeper; that’s normal.
- Time the lights. Watch the lighting for a song before shooting seriously. Most songs have bright peaks (choruses, drops) — shoot then, rest during the dark verses. Anticipating the light is the core skill of concert photography.
- Get close or go wide. The middle distance is where phone photos die — too far for detail, too close for context. Either push to the front for intimate shots or embrace the wide: the whole stage, the lights, the crowd’s hands.
- Shoot the in-between moments. The silhouette during the intro, the crowd with hands up, the guitarist tuning between songs, the confetti mid-air. The performance photos everyone takes are fine; the atmosphere photos are the ones you’ll love in five years.
- Don’t zoom (much). Digital zoom on phones degrades fast. Use the optical telephoto lens if your phone has one (2x–5x is genuinely useful); beyond that, crop later rather than zooming now.
Dedicated Cameras: Settings That Work
If the venue allows a real camera, the learning curve pays off fast. Concert settings are counterintuitive — here’s the starting point that works:
The core settings
- Mode: Manual. Auto and semi-auto modes get destroyed by stage lighting. Full manual gives you consistency across the violent light changes.
- Aperture: Wide open. f/1.8–f/2.8. You need every photon. Depth of field is a secondary concern — sharpness on the performer matters more than background blur aesthetics.
- Shutter speed: 1/200s–1/320s. Fast enough to freeze most performer motion. For very energetic acts, push to 1/500s. Slow than 1/125s and you’ll get motion blur (sometimes artistic, usually just blurry).
- ISO: As high as needed. This is the setting beginners fear and pros embrace. Modern cameras produce usable images at ISO 6400–12800. A noisy sharp photo beats a clean blurry one — always. Set auto-ISO with a minimum shutter speed if your camera supports it.
- White balance: Manual or tungsten/daylight. Auto white balance goes insane under colored stage lights. Pick one setting and shoot RAW so you can fix it later — or embrace the color, which is often the point.
- Focus: Continuous AF (AF-C) with a single point or small zone. Performers move; single-shot AF can’t keep up. Put the focus point on the face and track.
- Drive mode: Continuous high. Shoot bursts. Memory is cheap; moments aren’t.
- Metering: Spot. Meter on the performer, not the dark stage around them. Matrix metering will overexpose every time.
Handling the hard parts
- Red light. The nemesis of concert photography — red stage wash clips the red channel and turns skin to wax. Expose for the red channel (check your histogram’s RGB view), shoot RAW, and desaturate reds slightly in post. Or convert to black and white: red-light shots often make stunning monochromes.
- Backlight and silhouette. When the performer is backlit, expose for the rim light and embrace the silhouette — fighting it produces muddy results. Silhouettes against stage light are among the strongest concert images.
- Haze and smoke. Atmospheric haze eats contrast. Slightly increase clarity and contrast in post; in-camera, a touch of underexposure preserves what contrast exists.
- LED walls. Modern stages have massive LED backdrops that flicker at frequencies your shutter can catch as banding. If you see banding, adjust shutter speed in small increments until it clears (often around 1/125s–1/200s).
Gear: What to Bring (and What to Leave)
The concert lens hierarchy
- Fast 50mm (f/1.8). The best value in concert photography. Cheap, fast, sharp. On a crop sensor it’s a short telephoto — ideal from mid-crowd.
- 70-200mm f/2.8. The professional standard for pit and front-row shooting. Heavy and expensive, but unmatched for isolating performers.
- 24-70mm f/2.8. The versatile zoom for wide stage shots and crowd context. Less reach, more storytelling.
- Fast wide prime (24mm or 35mm f/1.4–1.8). For the close, immersive shots — on stage with the band energy, crowd hands, venue atmosphere.
What to leave: the flash (banned and useless), the tripod (banned and impractical in crowds), the massive telephoto prime (you’re not shooting wildlife), and any bag that violates the venue’s size policy.
Phone accessories worth having
- A small portable charger — shooting drains batteries fast, especially with the screen at full brightness.
- A wrist strap or grip — phones get dropped in crowds; a $10 strap prevents a $1,000 accident.
- A microfiber cloth — for the lens cleaning mentioned above, repeatedly through the night.
Composition: Thinking Like a Concert Photographer
- Fill the frame with intention. The most common beginner mistake is too much empty black frame. Get closer, crop tighter, or include the crowd — dead space is dead weight.
- Use the light as your subject. In concert photography, light isn’t illumination — it’s content. Beams, silhouettes, lens flare, and color washes are compositional elements. Compose around them.
- Capture gesture and peak action. The mic-grab, the jump, the hair flip, the drumstick blur — peak moments carry the energy that still frames need. Anticipate the chorus.
- Include the crowd sparingly but powerfully. Hands in the air, phone lights, the sea of faces during a quiet song — these shots tell the story of the night, not just the performance.
- Shoot the details. Setlists taped to the stage, worn guitar necks, boots on monitors, the setlist in the drummer’s handwriting. Details age beautifully.
- Break the rules for the encore. Confetti, pyro, the final bow — switch to wide, shoot freely, capture the celebration. Technical perfection matters less than being there.
Editing: The Other Half of the Shot
Concert photos are made in post-processing as much as in-camera. The essentials:
- Shoot RAW (camera) or ProRAW (phone). Non-negotiable for serious results — JPEGs can’t recover the highlights and shadows that stage lighting creates.
- Recover highlights first. Blown-out faces and white shirts are the most common flaw. Pull highlights down before touching anything else.
- Lift shadows carefully. A little shadow recovery reveals crowd and stage detail; too much creates the flat, noisy look. Embrace some black — darkness is the aesthetic.
- Fix white balance per image. Stage lighting changes color song to song; batch edits fail. Set white balance individually, or lean into the color cast when it works.
- Noise reduction with restraint. High-ISO noise is part of the look — over-smoothing creates plastic skin. Reduce luminance noise moderately, keep the grain.
- Crop aggressively. Most concert shots improve with tighter crops. Don’t be precious about the original framing.
- Consider black and white. When the color is ugly (red wash, mixed fluorescents), monochrome often saves the image — and concert B&W has a timeless quality.
Etiquette for Photographers
Shooting at a concert is a privilege the crowd grants you — don’t abuse it:
- Never use flash. It blinds the performer, ruins the lighting designer’s work, and annoys everyone. This rule has no exceptions.
- Keep your screen dim and low. A bright phone screen held high is a lighthouse in a dark room. Dim it, hold it at chest height, shoot quickly.
- Take your shots, then stop. The first three songs are the traditional window for a reason — get your shots early, then experience the show. Nobody’s night is improved by your filming the entire second hour.
- Don’t block views. If you’re shooting over the crowd, keep it brief. Your photo isn’t worth someone else’s ruined sightline.
- Respect no-photo policies. If the artist asked for no phones, the respectful — and rule-abiding — move is the locking pouch, not the sneaky bathroom photo.
Editing Workflow: From Burst to Keeper
Shooting is half the job. Here’s a practical post-show workflow that turns a burst of 200 frames into five keepers:
- Cull ruthlessly, immediately. The night of the show or the next morning, delete the obvious failures: motion blur, missed focus, bad exposures. Don’t agonize — if it doesn’t grab you in two seconds, it’s gone. Aim to keep 10–15% of what you shot.
- Pick your heroes. From the survivors, star the 3–5 images with the strongest gesture, light, or moment. These get full edits; the rest get quick batch treatment or archive.
- Correct exposure and white balance first. Before any creative choices, fix the technical: recover highlights, set white balance, lift shadows slightly. Get the image neutral, then make it beautiful.
- Crop for impact. Concert shots almost always improve tighter. Crop to the gesture — the face, the hands, the silhouette. Remove dead black space mercilessly.
- Grade with restraint. A slight contrast curve, a touch of clarity, maybe a subtle color grade toward the show’s dominant hue. The goal is the feeling of being there, not an Instagram filter.
- Export for the destination. Social media: sRGB JPEG, 2048px on the long edge, sharpened for screen. Print: full resolution, Adobe RGB or ProPhoto, no screen sharpening. Archive: keep the RAW files — storage is cheap, and your editing skills will improve.
Recommended apps: On phones, Lightroom Mobile (free tier is capable, RAW support, selective edits) or Snapseed (free, excellent for quick phone edits). On desktop, Lightroom Classic remains the standard for batch concert work; Capture One offers superior color control for difficult stage lighting. For quick social sharing straight from the show, your phone’s built-in editor plus a light touch is honestly enough — the moment matters more than the grade.
Building a Concert Portfolio
If you catch the bug and want to shoot more seriously, here’s the path: start by shooting every show you’re allowed to, and build a small portfolio of your 20 best images. Share them and tag the artists and venues — smaller acts frequently repost fan photos, which builds your visibility. Offer free shots to local bands and small venues; the portfolio and the pit access are worth more than money at this stage. From there, pitching local publications for photo passes is the standard route to credentialed pit access. Every professional concert photographer started exactly here — with a camera, a show, and the discipline to keep shooting.
Frequently Asked Questions
Can I bring a camera to a concert?
Depends on the venue and artist. Most large venues allow phones but ban cameras with detachable lenses; many clubs allow small cameras without flash. Always check the specific show’s policy in advance — it’s listed on the venue website or event page.
Why are my concert photos always blurry?
Usually one of three causes: shutter speed too slow for the low light (raise ISO to allow a faster shutter), the camera focusing on the wrong thing (lock focus on the performer), or camera shake (brace yourself, shoot in bursts). Fix in that order.
What ISO should I use for concert photography?
As high as your camera needs for a sharp shot — typically ISO 3200–12800 on modern cameras. Don’t fear high ISO: a noisy sharp image always beats a clean blurry one, and modern noise reduction handles it well.
Is it rude to take photos at a concert?
A few quick photos: no. Blocking views, using flash, or filming entire sets: yes. The crowd’s consensus is clear — capture your memories in the first few songs, then be present. See our Concert Etiquette Guide for the full social contract.
How do I photograph a concert with my phone in the dark?
Turn off flash, lock focus and exposure on the performer, drag exposure down to avoid blown highlights, brace the phone, and shoot in bursts during the brightest lighting moments. Clean your lens first — it matters more than any setting.