After months of winter, every yard looks rough — matted leaves, broken branches, tired lawn, and beds full of last year’s debris. A thorough spring yard cleanup checklist resets everything: it clears winter damage, wakes up the lawn, preps garden beds, and sets up your outdoor space for months of growth. Done in the right order over a couple of weekends, spring cleanup is the highest-impact yard work of the year. This checklist walks through the tasks step by step — what to do, what order to do it in, and the timing mistakes that cost beginners a season of growth.
Timing matters more than most people realize. Starting too early — raking beds while the soil is still soggy — compacts soil and damages emerging perennials. Starting too late means weeds get a head start and the lawn misses its spring growth window. The sweet spot in most US regions is when daytime temperatures consistently reach the 50s, the soil is firm enough to walk on without leaving deep footprints, and spring bulbs are a few inches tall. Let us get into the order of operations.
Phase 1: Assess and Clear (Weekend 1)
1. Walk the yard with a notepad
Before touching a tool, walk the entire property and note winter damage: broken or hanging branches, leaning fence sections, heaved pavers, damaged bed edging, and areas where water pooled. This ten-minute survey becomes your project list and keeps you from discovering problems mid-task. Photograph anything you might need a pro for — arborists and landscapers book up fast in spring, so calling early matters.
2. Remove debris — but time it right
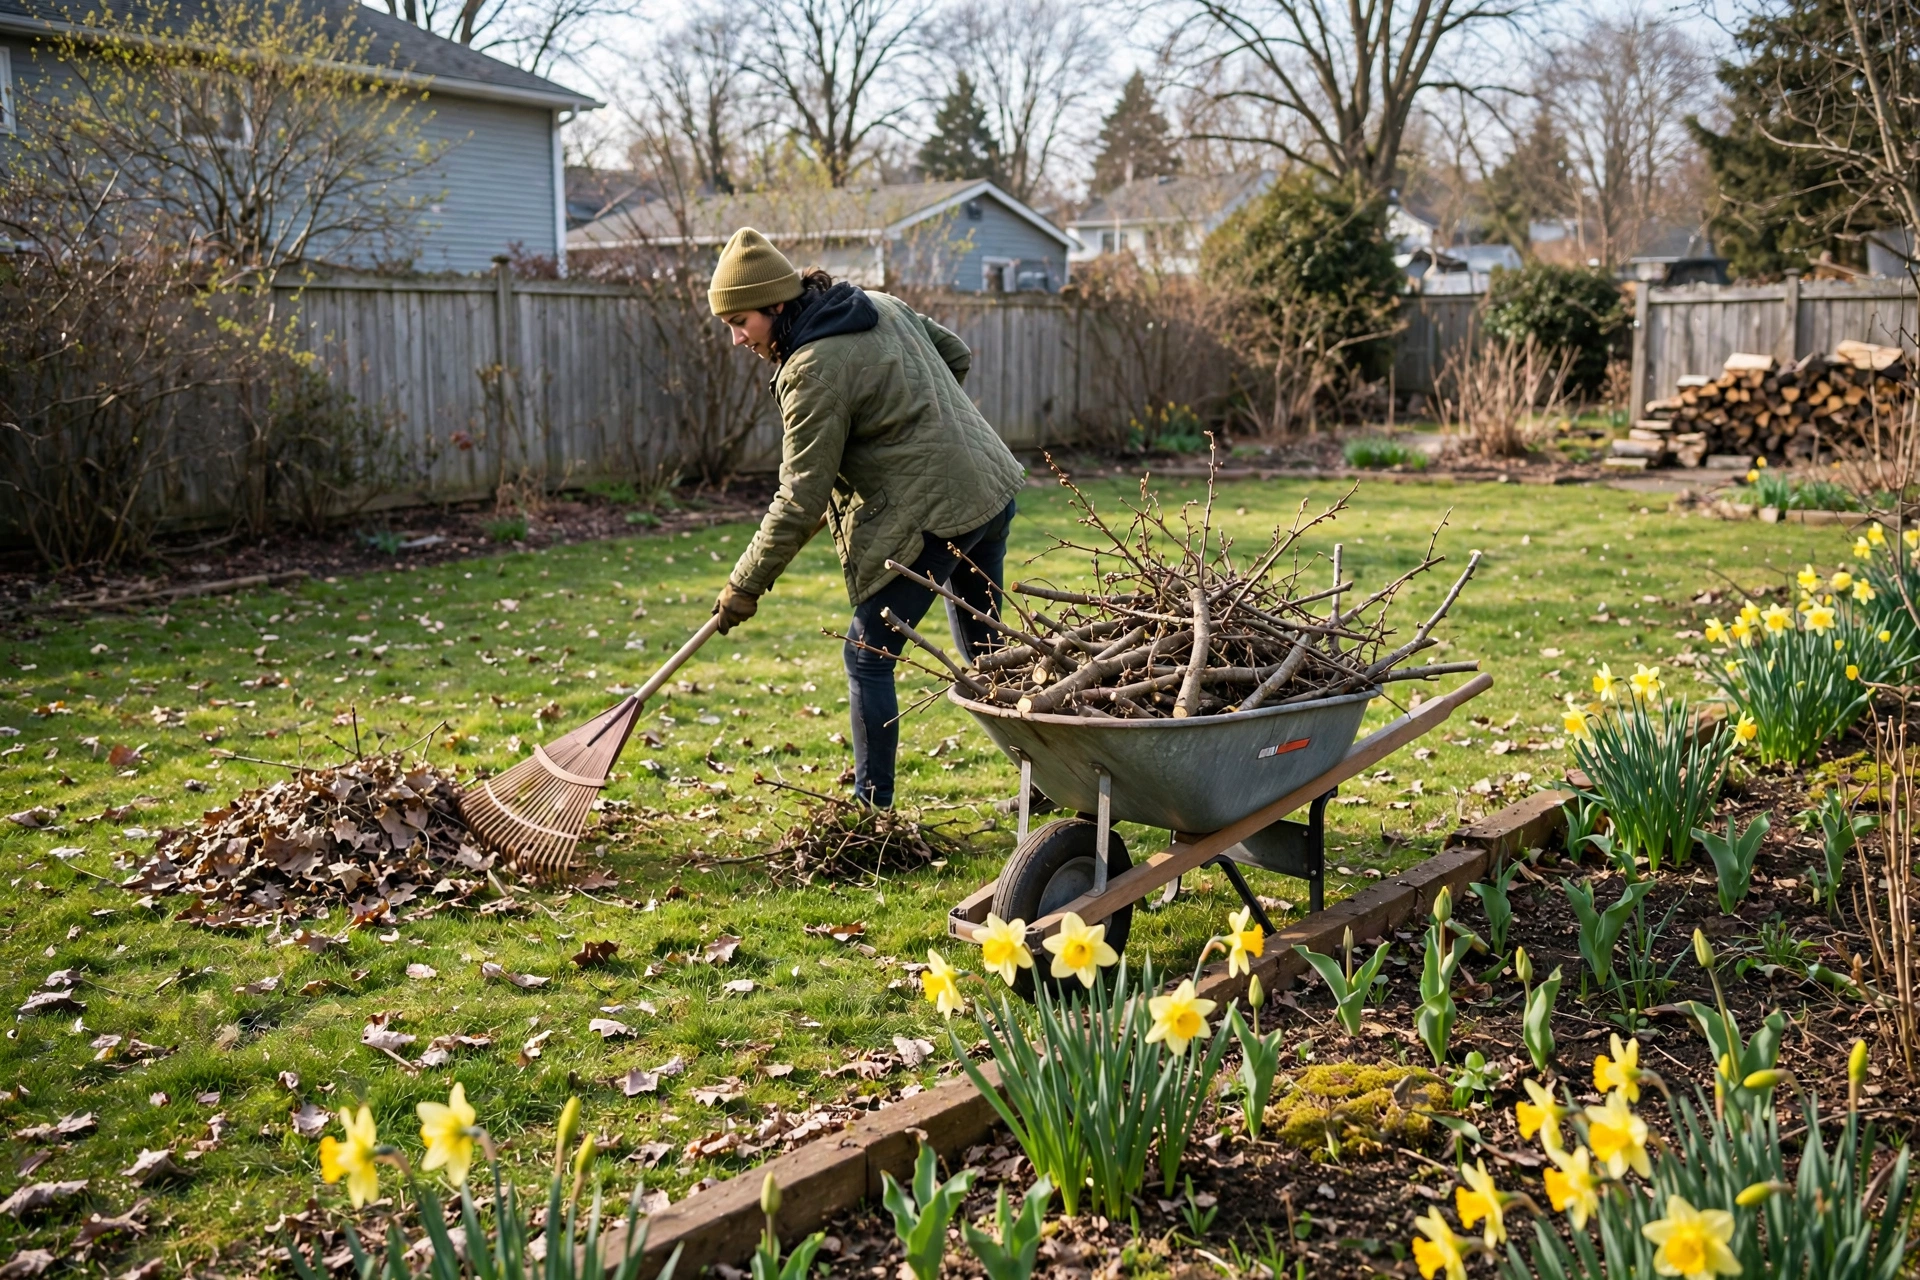
Clear fallen branches, twigs, and trash first. Rake matted leaves off the lawn, but wait until the ground is firm and dry enough that raking does not tear up tender new grass. Here is the detail most checklists skip: leave perennial beds alone a little longer. Many beneficial insects overwinter in hollow stems and leaf litter, and emerging perennials are easily snapped. Cut back dead perennial foliage once new growth is a few inches tall and nighttime temperatures are reliably above 50°F — roughly when you see the first pollinators active.
3. Prune what needs pruning — and nothing else
Spring pruning rules depend on when a plant blooms. Prune summer-flowering shrubs (like butterfly bush, hydrangeas that bloom on new wood, and roses) in early spring before growth starts. Do NOT prune spring-flowering shrubs (forsythia, lilac, azalea) now — you would cut off this year’s flowers; prune those right after they finish blooming. Remove dead, damaged, and crossing branches from trees and shrubs any time — the “three Ds” rule applies year-round. Use sharp, clean bypass pruners for live wood (anvil pruners crush stems), and never “top” a tree — heading cuts create weak, ugly regrowth.
4. Clean up beds and redefine edges
Once perennials are up, clear remaining leaf litter from beds (compost it or shred it for mulch) and re-cut bed edges with a half-moon edger or spade. A crisp edge is the fastest visual upgrade a yard can get — it makes even an average bed look intentional. Pull winter weeds now while the soil is moist and they come out easily; every weed pulled in April is dozens you will not fight in June.
Phase 2: The Lawn (Weekend 1–2)
5. Rake and dethatch lightly
A thorough raking removes matted grass and surface thatch, letting air and light reach the crowns. If thatch (the spongy layer between grass and soil) is more than half an inch thick, dethatch with a dethatching rake or rent a power dethatcher — but only on established, actively growing lawns, and never on wet or dormant grass. For most lawns, a vigorous raking is enough; aggressive dethatching is a renovation-level task best done in early fall for cool-season grasses.
6. Test soil before feeding it
Do not fertilize blindly. A basic soil test (available through your state’s cooperative extension, usually inexpensive) tells you pH and nutrient levels so you buy only what the lawn needs. Most established lawns need far less fertilizer than bag labels suggest, and excess nitrogen runs off into waterways. If the test shows acidic soil (common in many regions), spring is a reasonable time to apply lime — but only per test recommendations, since over-liming causes its own problems.
7. Overseed thin spots — with the right timing
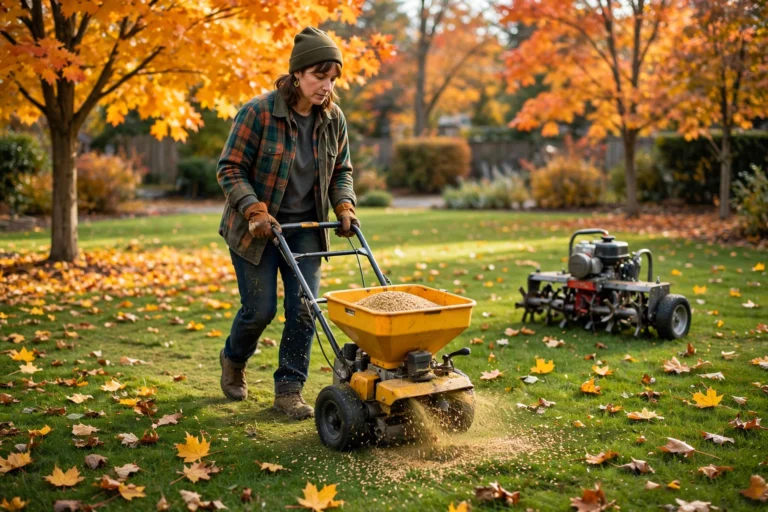
Spring overseeding works, but fall is actually the better window for cool-season grasses (fescue, Kentucky bluegrass, ryegrass) because seedlings face less weed competition and summer stress. If you overseed in spring, do it early so seedlings establish before summer heat, keep the seed consistently moist for two to three weeks, and skip pre-emergent crabgrass preventer on seeded areas — it prevents grass seed from germinating too. For warm-season grasses (Bermuda, zoysia, St. Augustine), wait until late spring when soil temperatures are reliably warm.
8. Apply pre-emergent at the right moment
Crabgrass preventer works only if applied before crabgrass germinates — roughly when soil temperatures hit 55°F for several days, which often coincides with forsythia bloom in many regions. Applied too late, it does nothing; applied on a newly seeded lawn, it blocks your grass seed. Mark your calendar by the forsythia, not by a date, since the timing shifts yearly with weather.
9. Set the mower up for success
Sharpen or replace the mower blade — a dull blade tears grass, leaving ragged brown tips that invite disease. Set the cutting height correctly from the first mow: 3 to 4 inches for most cool-season lawns (taller grass shades out weeds and grows deeper roots), and follow the one-third rule by never removing more than a third of the blade at once. Leave clippings on the lawn; they return nitrogen to the soil and do not cause thatch.
Phase 3: Beds, Mulch, and Planting (Weekend 2–3)
10. Amend soil with compost
Before mulching, top-dress garden beds with an inch or two of finished compost. Compost feeds soil biology, improves structure, and provides slow-release nutrients — it is the single best thing you can add to a bed in spring. Work it lightly into the top few inches without disturbing established roots. Kitchen scraps make excellent compost feedstock, and our guide on how to reduce food waste has practical tips for turning everyday kitchen waste into garden gold.
11. Mulch — the right depth, the right way
Apply two to three inches of mulch (shredded bark, wood chips, or pine straw) to beds after the soil warms. Mulch suppresses weeds, retains moisture, and moderates soil temperature. The critical rule: keep mulch pulled back two to three inches from stems and tree trunks. “Volcano mulching” — piling mulch against bark — traps moisture and invites rot, insects, and disease. A proper mulch ring looks like a donut, not a volcano.
12. Divide crowded perennials
Spring is the time to divide summer- and fall-blooming perennials (daylilies, hostas, ornamental grasses) that have outgrown their space or developed dead centers. Dig the clump, split it with a sharp spade or two garden forks back-to-back, and replant divisions at the same depth, watering well. Do not divide spring bloomers now — wait until after they flower. Dividing rejuvenates plants, and the extras are free plants for other beds or neighbors.
13. Plant after the last frost
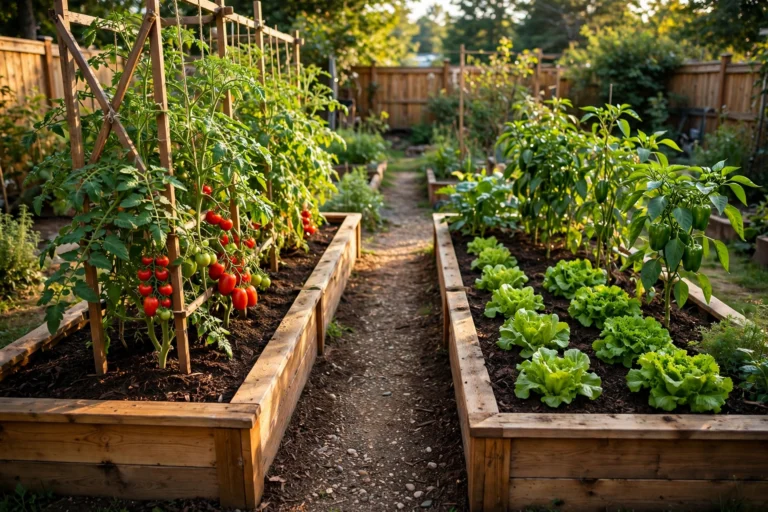
Hold off on tender annuals, vegetables, and tropicals until after your area’s average last frost date — and watch the actual forecast, since averages are just averages. Cool-season crops and hardy annuals (pansies, snapdragons) can go in weeks earlier. Harden off any plants started indoors by exposing them to outdoor conditions gradually over a week; moving them straight from windowsill to full sun and wind shocks them badly.
14. Refresh containers
Dump last year’s tired container soil into the compost or garden beds (it is spent but fine as filler), scrub pots with a diluted bleach solution to kill overwintered disease, and refill with fresh potting mix — never reuse old mix as-is for new plantings. Check drainage holes for blockages. Spring-planted containers with fresh mix outperform reused soil dramatically.
Phase 4: Hardscape, Systems, and Finishing
15. Inspect irrigation and outdoor water
Turn on outdoor spigots and check for freeze damage. Run each sprinkler zone and flag broken heads, misaligned spray patterns, and leaks. Adjust heads so they water plants, not driveways. Consider a rain gauge or smart controller — most lawns need about an inch of water per week, and overwatering is as common as underwatering.
16. Clean and repair hardscape
Pressure-wash patios, walkways, and siding to remove winter grime and mildew — and to reveal cracks and damage hiding underneath. Reset heaved pavers, re-sand paver joints if needed, and inspect deck boards, railings, and stairs for winter damage. Check outdoor lighting: replace bulbs, clean fixtures, and adjust timers for longer days.
17. Service power equipment
Change the mower’s oil, replace the air filter and spark plug, and sharpen the blade if you have not already. Check trimmer line, clean or replace air filters on all small engines, and use fresh fuel — ethanol-blended gas goes stale in as little as 30 days, which is the top cause of “won’t start in spring” syndrome. A fuel stabilizer added before winter storage prevents most of it.
18. Plan for pollinators
Spring cleanup is also planting season for pollinator support. Leave a small undisturbed corner — a brush pile, unmowed patch, or native plant cluster — for nesting bees and overwintering insects. When choosing new plants, favor native species and single-flower forms over doubles (doubles often lack accessible nectar and pollen). A yard that feeds pollinators in spring feeds your vegetable garden all summer.
Spring Cleanup Timing by Region
| Region | Typical Cleanup Window | Key Timing Notes |
|---|---|---|
| Southeast / Gulf Coast | Late Feb – March | Start earliest; warm-season lawns green up fast; watch for late frosts on tender plants |
| Mid-Atlantic | March – early April | Forsythia bloom signals pre-emergent timing; last frost often mid-April |
| Midwest | April | Soil stays cold late; do not rush bed work; cool-season lawn focus |
| Northeast | April – early May | Latest start; snow mold common on lawns; delay perennial cutback until insects emerge |
| Mountain West | April – May | Wildly variable by elevation; watch soil temperature, not the calendar |
| Pacific Northwest | March – April | Wet soils compact easily — stay off beds until they drain; moss control on lawns |
| Southwest | Feb – March | Focus on irrigation check and heat-proofing; xeric plants need dividing, not heavy feeding |
| California | Feb – March | Drought-smart: mulch heavily, fix irrigation leaks, plant natives before heat |
Frequently Asked Questions
When should I start spring yard cleanup?
Start when daytime temperatures are consistently in the 50s, the soil is firm enough to walk on without deep footprints, and spring bulbs are a few inches tall. Starting on soggy soil compacts it and damages emerging plants — patience in March pays off all season.
Should I rake leaves off my lawn in spring?
Yes — matted leaves smother grass and invite disease. Rake once the lawn is dry and actively growing. Shredded leaves make excellent mulch or compost material, so run the mower over them or add them to beds rather than bagging them for disposal.
Is it better to overseed in spring or fall?
Fall is better for cool-season grasses: seedlings face less weed competition and establish before winter. Spring overseeding works if done early with consistent watering, but skip pre-emergent herbicide on seeded areas since it blocks grass seed too.
How much mulch should I use?
Two to three inches, kept two to three inches away from stems and trunks. More than four inches suffocates roots; piled against bark (“volcano mulching”) causes rot. Refresh annually as it decomposes — which is a feature, since decomposing mulch feeds the soil.
What should I NOT prune in spring?
Do not prune spring-flowering shrubs (forsythia, lilac, azalea, rhododendron) before they bloom — you will cut off the flowers. Prune those immediately after flowering. Do prune summer bloomers and anything dead, damaged, or diseased.
A spring yard cleanup checklist done in the right order — clear, then lawn, then beds, then systems — turns the worst-looking season into the foundation of the best-looking one. Work in phases over a few weekends, respect the timing (soil firmness, frost dates, forsythia bloom), and mulch everything. By the time summer arrives, the yard will look like you hired someone — and you will know exactly what is growing where, because you put it there.
Spring Cleanup Tool Checklist
Having the right tools staged before the first weekend saves mid-project hardware store runs. The essentials:
- Rake — a flexible leaf rake for lawns and a rigid garden rake for beds and soil.
- Pruners — sharp bypass pruners for live wood; loppers for branches up to 1.5 inches.
- Half-moon edger or spade — for crisp bed edges.
- Wheelbarrow or garden cart — for debris, mulch, and compost hauling.
- Broadcast spreader — for even seed and fertilizer application.
- Mulching mower with sharp blade — for grass and leaf mulching alike.
- Gloves, eye protection, and sturdy shoes — non-negotiable safety basics.
- Soil test kit or extension lab form — order early; labs get busy in spring.
- Tarps — for dragging debris and protecting driveways during mulch delivery.
Rent rather than buy the rarely used: power dethatchers, core aerators, and pressure washers all rent for a day at a fraction of purchase price. Borrow from neighbors for the truly occasional — most people use a pole saw once a year.
When to Hire Help (And What to Ask For)
Spring cleanup is very DIY-able, but some tasks justify a pro:
- Tree work — anything involving a chainsaw above shoulder height or near structures belongs to a certified arborist. Get proof of insurance.
- Large mulch or soil delivery and spreading — landscapers spread yards of material in hours; doing it solo takes weekends.
- Irrigation repair — a pro diagnoses valve and line problems in one visit that might take you three weekends of guessing.
- Grading and drainage issues — water pooling near the foundation is a job for someone who understands grading, not guesswork.
When hiring, get the scope in writing (exactly which beds, how many yards of mulch, cleanup included?), confirm they haul debris away, and schedule early — good crews book solid by mid-spring. For the DIY portions, the phased approach in this checklist keeps weekends manageable.
Composting Your Cleanup Debris
Spring generates mountains of organic debris — and most of it is garden gold. Shredded leaves, small twigs, and spent perennial foliage compost beautifully; run the mower over leaves to chop them first, since whole leaves mat and decompose slowly. Layer “greens” (fresh grass clippings, kitchen scraps) with “browns” (leaves, shredded cardboard) roughly 1:3, keep the pile moist like a wrung sponge, and turn it occasionally. Exclude: diseased plant material (trash it — home piles do not get hot enough to kill pathogens), weeds gone to seed, and black walnut leaves in large quantities. By midsummer, spring’s debris becomes the compost that feeds fall planting — the yard literally feeding itself.
Frequently Asked Questions (Continued)
How many weekends does spring cleanup take?
For an average suburban yard, plan two to three weekends working in the phased order above: weekend one for assessment, debris, and pruning; weekend two for lawn work; weekend three for beds, mulch, and planting. Larger properties or major winter damage add a weekend. Spreading it out also respects the timing — beds should not be worked until soil firms up.
Should I hire a spring cleanup service or DIY?
DIY the assessment, pruning of small shrubs, raking, and mulching — these are satisfying and save hundreds. Hire out tree work, large material spreading, and irrigation repair. A hybrid approach (pro for the heavy/skilled tasks, you for the rest) usually delivers the best value.