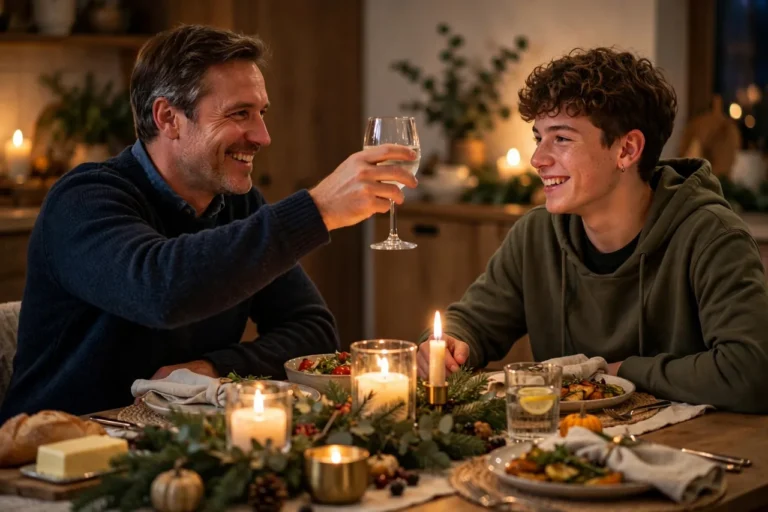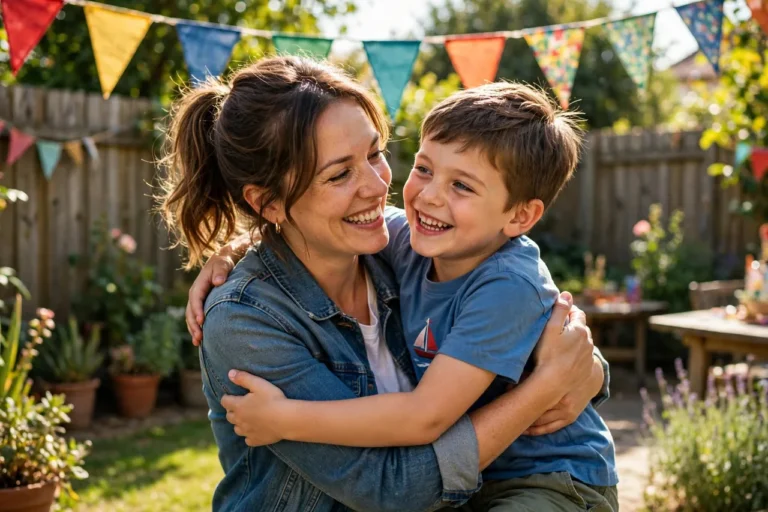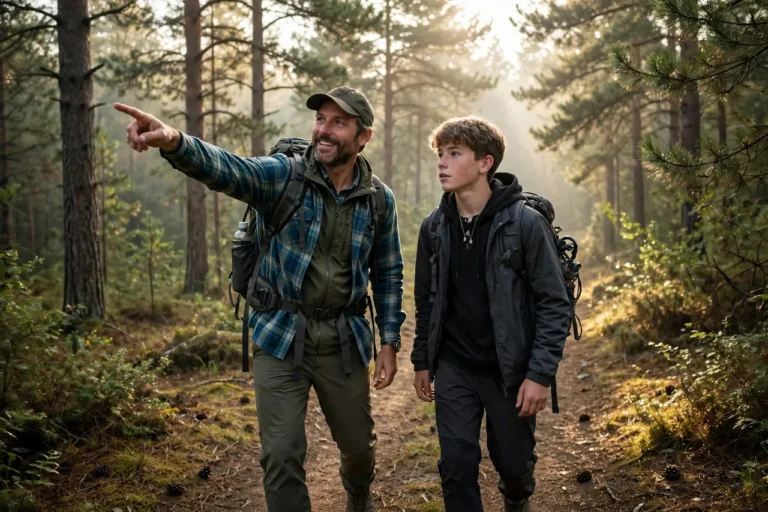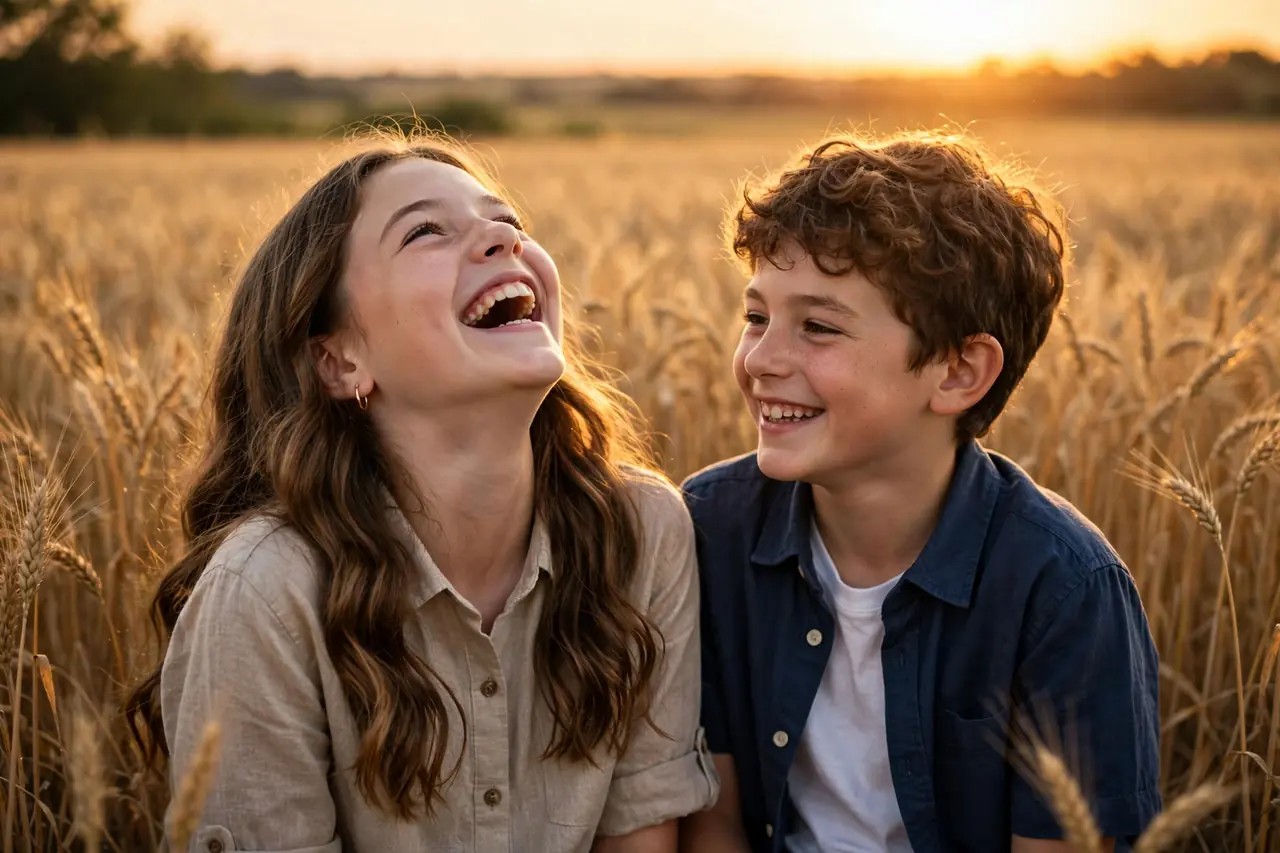
The annual sibling photo is a tradition for a reason: years from now, when the kids are grown and the parents’ house is sold, the pictures are what remain. These siblings day photo ideas go beyond the stiff “stand together and smile” — 25 poses, setups, and concepts that capture what siblings actually look like: laughing, wrestling, conspiring, and loving each other in that specific, unrepeatable way.
Good sibling photos share one quality: they look like the relationship feels. The best ones are rarely the most posed. They are the mid-laugh candids, the piggyback rides, the forehead touches, the recreations of that one bathtub photo Mom still threatens to frame. This guide gives you both — polished poses worth printing large, and candid prompts that capture the chaos honestly.
You will find 25 siblings day photo ideas organized by style (classic, playful, candid, childhood recreations, and themed shoots), plus phone-photography tips that make any camera work, a lighting cheat sheet, and ideas for what to do with the photos after — because the best photo in the world does nothing sitting in a camera roll. Grab your siblings and your phone; golden hour waits for no one.
Classic Poses: 6 Timeless Shots
Start here. These are the foundation — the photos that look good framed, printed, and hung in parents’ hallways for decades.
1. The Shoulder Lean
Siblings stand close, arms around each other’s shoulders or waists, leaning heads slightly together. It works for two or ten people, all ages, every time. The key: get physically close — gaps between people read as distance. Best light: soft, even shade or golden hour.
2. Back-to-Back
Siblings stand back to back, arms crossed, looking at the camera (or looking away for attitude). It reads as solidarity — “we’ve got each other’s backs,” literally. Great for teens who find smiling “cringe.” Tip: have them lean their heads back until they touch for a softer version.
3. The Walking Shot
Walk toward the camera (or away, for a cinematic feel) while talking and laughing naturally. The photographer shoots in burst mode. Movement eliminates stiff posing and produces genuine expressions. Tip: give them something to talk about — “tell each other your most embarrassing story” — and shoot the reactions.
4. Forehead Touch
Siblings lean foreheads together, eyes closed or looking down. Intimate, tender, and quietly powerful — especially for siblings with a big age gap. This one makes mothers cry. Best for: two siblings; works seated or standing.
5. The Piggyback
Older (or stronger) sibling gives the other a piggyback ride. Instant joy, instant dynamic composition. Works for kids obviously, but adult siblings doing it gets the biggest laughs — and the best photos. Safety: solid ground, no running near edges.
6. Hands Detail Shot
Close-up of siblings’ hands: holding hands, stacked, pinky promises, or each holding a meaningful object. Detail shots like this are the ones that end up as tattoos, believe it or not. Tip: shoot from the side at hand level, soft background blur.
Playful Poses: 7 Ideas for Maximum Personality
7. The Fake Fight
Siblings pretend to wrestle, box, or argue mid-photo — dramatic faces, action poses. Every sibling pair has a signature fake-fight; now is its time to shine. Burst mode is essential. Energy level: maximum.
8. The Lift
One sibling lifts the other (or attempts to). The attempt is often funnier than success. Great for showing off strength dynamics and producing genuine laughter. Safety: only on soft ground, know your limits.
9. Jumping Shot
Count down and everyone jumps. It takes 10–20 tries to nail, and the outtakes are half the fun. Pro tip: shoot in burst mode, jump on “three” not “go,” and bend knees on landing for height.
10. The Whisper
One sibling whispers something (funny, secret, absurd) in the other’s ear; photograph the reaction. Genuine laughter, every time — because the whisper is always ridiculous. Variation: whisper something shocking and capture the gasp.
11. Silly Faces, Serious Setting
Take the photo somewhere beautiful — a field, a staircase, a mural — and have everyone make their worst face. The contrast between gorgeous backdrop and goofy expressions is comedy gold. Best for: groups of three or more.
12. The Human Pyramid (Ambition Edition)
For the athletically inclined: a two- or three-person pyramid. It requires trust, coordination, and usually collapses at least once — photograph the collapse too. Safety: grass only, spotters on all sides, no toddlers on top.
13. Props Gone Wild
Oversized sunglasses, feather boas, inflatable instruments, fake mustaches — raid a party store or the dress-up box. Props give camera-shy siblings something to hide behind and something to do with their hands. Tip: one prop per person max; more becomes clutter.
Candid Concepts: 5 Prompts for Real Moments
Posed photos document; candids reveal. Use these prompts to generate genuine moments, then keep shooting.
14. “Tell Each Other a Secret”
Ask siblings to lean in and share a secret (real or invented). Shoot the whispering, the reaction, the laughter after. The intimacy reads beautifully on camera.
15. The Laugh Chain
One person starts fake-laughing; the contagion does the rest. Real laughter follows fake laughter within seconds — it is neurological. Keep shooting through the transition; the in-between frames are the keepers.
16. Cooking / Activity Together
Photograph siblings doing something — cooking, playing a game, building something — rather than posing. Action gives hands something to do and faces something to react to. Some of the best sibling photos ever taken are just “people making dumplings, laughing.” Pair with: our siblings day dinner ideas for a cook-and-shoot session.
17. The Quiet Moment
After all the silliness, ask everyone to just sit together quietly for a minute — looking at the view, at each other, at nothing. Shoot from a distance with a longer lens or zoom. These contemplative shots balance the album and often become favorites.
18. Walking Away
Siblings walking away from the camera, hand in hand or arms around each other. Cinematic, emotional, and it works as the “ending” photo of a shoot. Best light: backlit golden hour for the halo effect.
Childhood Recreations: 3 Ideas Worth the Effort
The most beloved sibling photos on the internet share a formula: old photo + same people + same pose + years later. Here is how to nail the genre.
19. The Side-by-Side Recreation
Find a classic childhood photo, then recreate it as precisely as possible — same poses, same expressions, similar clothes, same location if you can. Present them side by side. The humor and emotion come from the contrast: tiny kids vs. grown adults doing the exact same silly pose. Pro tip: study the original for details — hand positions, who stands where, background elements.
20. The “Then and Now” Triptych
Three panels: the childhood original, a recreation from ten years ago (if one exists), and today’s version. The triptych format turns a fun photo into a genuine art piece about time passing. Frame it — this one belongs on a wall.
21. The Outfit Match
Track down (or approximate) matching childhood outfits — the more dated, the better — and wear them for the recreation. Striped shirts from 1998, bowl cuts optional. The commitment to the bit is what makes it legendary.
Themed Shoots: 4 Concepts for the Ambitious
22. The Decade Shoot
Pick a decade (the ’70s, ’90s, whatever matches your childhood) and style the whole shoot: clothes, props, even the photo filter. Siblings in full ’90s windbreakers posing like an album cover is objectively hilarious and weirdly beautiful.
23. The Hobby Portrait
Photograph each sibling with the thing they love — instruments, sports gear, books, tools — then one group shot with everything. It documents who you all are right now, which is exactly what you will want to remember later.
24. The Location Story
Shoot at a meaningful location: the childhood home, the old school, the park, the beach from family vacations. Place matters — the same pose in a meaningful spot carries ten times the emotion. Golden hour at a childhood location is the single best sibling photo setup that exists.
25. The Formal Portrait (Done Right)
Once a decade, do it properly: coordinated (not matching) outfits, a good location, a tripod or a patient friend, and genuine smiles. These are the photos that end up in obituaries and wedding slideshows — the official record. Make it count. For technical grounding, our photography tips guide covers the fundamentals that apply to any shoot.

Watch: Behind the Scenes of a Sibling Photoshoot
See how a professional handles sibling dynamics on set — the patience, the prompts, and the tricks for genuine expressions that you can steal for your own shoot.
Phone Photography Tips: Make Any Camera Work
You do not need a fancy camera. Modern phones are more than capable — technique matters more than gear.
- Clean the lens. The number-one cause of hazy phone photos is a pocket-smudged lens. Wipe it. Every time.
- Use burst mode. Hold the shutter for action shots, jumping, and candids — then pick the best frame. Storage is cheap; missed moments are not.
- Tap to focus on faces. Then slide the exposure down slightly for richer colors, especially at golden hour.
- Shoot in the best light, not the most convenient. Move people to the light rather than accepting bad light where they stand.
- Try portrait mode — carefully. It is great for single subjects but can blur sibling edges weirdly in groups. Test it before committing.
- Get low. Shooting kids at their eye level (crouch down) transforms photos from surveillance footage to portraits.
- Leave space. Do not crop tight in-camera; you can always crop later, but you cannot un-crop.
- Take 10x more than you need. Professionals shoot hundreds for a handful of keepers. Your ratio should be similar.
Lighting Cheat Sheet
| Light | When | How to use it | Watch out for |
|---|---|---|---|
| Golden hour | 1 hour before sunset | Backlight for halo effect; face the light for glowing faces | It moves fast — work quickly |
| Open shade | Any sunny day | Stand just inside shade edge facing outward; soft, even light | Can look flat — add energy with poses |
| Overcast | Cloudy days | Nature’s softbox — shoot anywhere, colors pop | Dull skies in background; frame tight |
| Window light | Indoors, daytime | Subject faces the window at 45°; turn off overhead lights | Harsh direct sun through window — diffuse with a sheer curtain |
| String lights / candles | Evening | Background glow + a phone light bounced off a white wall for faces | Orange color cast — embrace it, it’s cozy |
What to Do With the Photos After
Photos in a camera roll are Schrodinger’s memories — they exist and don’t. Finish the job:
- Print the best 3–5. Real prints get looked at; digital files get buried. A yearly 5-photo print set becomes a collection.
- Make the annual comparison. If you do the yearly recreation photo, assemble the growing series into a single framed piece or a digital slideshow.
- Gift prints to parents. Grandparents especially treasure sibling photos — a framed annual photo is the gift they actually want.
- Build the shared album. A shared cloud album that every sibling adds to becomes a living family archive. Name it by year.
- Post with intention. Share one great shot on Siblings Day with a real caption — not just an emoji, but a sentence about what they mean to you. The photo gets the likes; the caption gets remembered.
For more celebration inspiration once the shoot wraps, our kids’ birthday party ideas and family activities guides keep the togetherness going.
Siblings Day Photo FAQ
What are the best poses for sibling photos?
The most flattering and timeless: the shoulder lean, back-to-back, walking shots, and forehead touches. For personality: piggyback rides, fake fights, jumping shots, and whisper prompts that produce genuine laughter.
How do you take good sibling photos with a phone?
Clean the lens, shoot in burst mode, tap to focus on faces, use golden-hour or open-shade light, get down to kids’ eye level, and take far more shots than you think you need. Technique beats gear every time.
What is the best time of day for outdoor sibling photos?
Golden hour — the hour before sunset — gives warm, flattering light and beautiful backgrounds. Overcast days are the second-best option (soft, even light with no harsh shadows).
How do you recreate a childhood photo with siblings?
Study the original for poses, positions, and background details; approximate the outfits; shoot in a similar location and light; and present old and new side by side. The closer the match, the funnier and more touching the result.
What should siblings wear for photos?
Coordinated, not matching: pick a color palette (e.g., blues and neutrals, or warm earth tones) and let everyone choose their own outfit within it. Avoid neon, busy logos, and identical outfits for adults (matching is adorable for little kids, though).
How do you get camera-shy siblings to cooperate?
Give them something to do (props, activities, walking), use candid prompts instead of “smile at the camera,” keep sessions under 30 minutes, and show them great shots as you go — seeing a good photo of themselves melts resistance fast.
What are good indoor sibling photo ideas?
Window light portraits, cooking or baking together, board game sessions, blanket-fort shoots with string lights, and recreating old indoor photos. Turn off overhead lights and face everyone toward the biggest window.
Say Cheese, Mean It
Twenty-five ideas, a lighting cheat sheet, and phone tips that work — but the real advice is simpler: take the photo. Not tomorrow, not when everyone looks perfect, not when you lose ten pounds. Today, with the messy hair and the inside jokes and the sibling who blinks in every third frame. The imperfect photos are the ones you will love most in twenty years, because they show what it actually felt like.
This Siblings Day, gather your people, find some good light, and make a record of the bond. Future you — scrolling through these on some ordinary Tuesday, grinning at the screen — says thank you. Happy shooting, and happy Siblings Day.
Seasonal Photo Ideas: Shoot All Year
Siblings Day is April 10 — spring — but the best sibling albums span seasons. Here is how to shoot siblings beautifully year-round:
Spring (Siblings Day Season)
Cherry blossoms, tulip fields, fresh green parks — spring is nature’s studio. Pastel outfits complement the blossoms; the soft spring light is forgiving for all skin tones. Shoot mid-morning before crowds arrive at popular blossom spots. This is the season for the annual Siblings Day photo — make it count.
Summer
Beach days, golden wheat fields, lake docks, ice cream stands. Summer light is harsh midday — shoot early morning or evening. Water adds magic: siblings splashing, dock-jumping (photograph the jump, not the landing), or silhouetted against a lake sunset. Bring a change of clothes; summer shoots get wet.
Fall
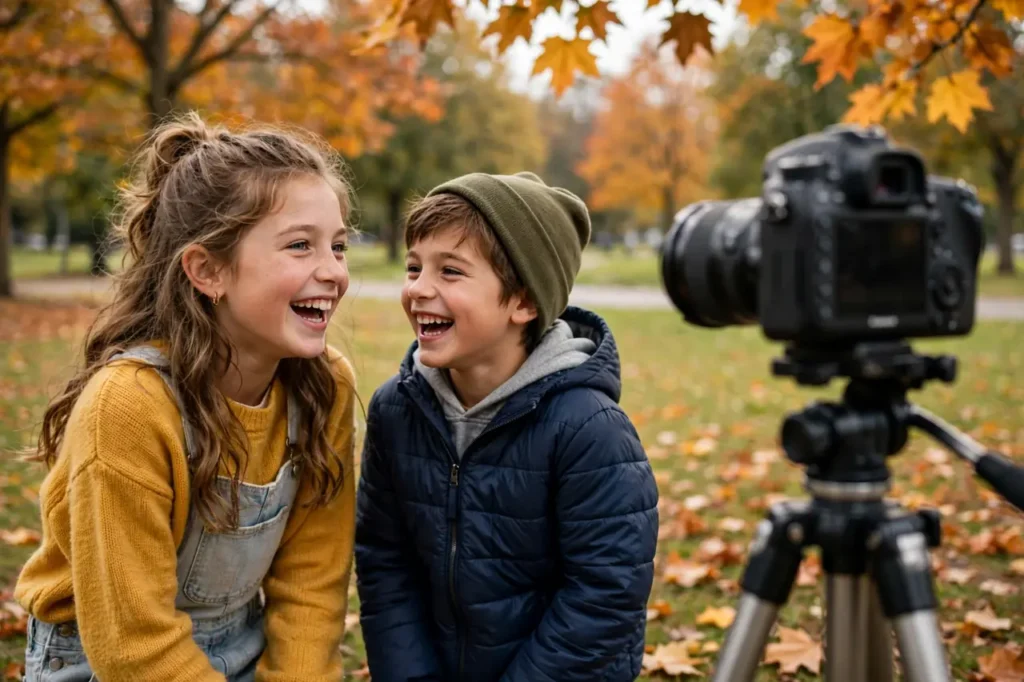
The most photogenic season: foliage, pumpkin patches, apple orchards, cozy sweaters. The warm color palette flatters everyone. Leaf-throwing shots (toss leaves upward, shoot in burst mode) are a fall classic. Orchards and corn mazes make fantastic backdrops — and the outing doubles as the activity.
Winter
Snow transforms everything into a studio: siblings in colorful winter gear against white snow, breath visible in cold air, snowball fights frozen mid-throw. Overcast winter days give beautiful soft light. Keep shoots short (cold kids stop smiling), bring hot chocolate for bribes, and protect your phone battery — cold drains it fast.
Editing Tips: From Good to Gorgeous
A few minutes of editing elevates phone photos enormously. You do not need professional software — free phone apps handle all of this:
- Crop for impact. Remove distractions at the edges; place faces on the “thirds” grid lines. Most photos improve 50% from cropping alone.
- Straighten horizons. A tilted horizon in a beach or field photo is distracting; one tap fixes it.
- Warm it up slightly. A small warmth/temperature increase makes skin tones glow, especially in golden-hour shots. Do not overdo it — people should not look orange.
- Lift the shadows. Faces in shade go dark; gently raising shadows recovers detail without flattening the image.
- Convert one to black and white. Every shoot should produce one B&W — it is timeless, hides color-cast issues, and looks artistic with zero effort. The forehead-touch and hands-detail shots are perfect candidates.
- Batch edit for consistency. Apply the same light adjustments to the whole annual set so the yearly photos feel like a series. Consistency is what makes a collection look professional.
- Know when to stop. If you have adjusted more than five things, you are probably over-editing. The goal is “this moment, slightly enhanced” — not a different moment.
Turn Photos Into Gifts: 7 Photo Gift Ideas
The annual sibling photo deserves better than a camera roll. Transform it:
- The framed series. Three to five years of annual photos in matching frames — a gallery wall that grows. This is the gift that makes parents cry.
- Photo book. A year of sibling photos bound into a book (many affordable services exist). One per year becomes a library of your relationship.
- Canvas print. The single best shot of the year, printed large. Bold, simple, and it dominates a living room in the best way.
- Calendar. Twelve favorite sibling photos as a wall calendar — practical, personal, and used daily.
- Ornaments. The year’s photo in a frame ornament for the holidays. In a decade, the tree tells your story.
- Puzzle. A favorite group photo turned into a jigsaw puzzle — the gift is the photo, the activity is assembling it together.
- Phone cases and mugs. Cheesy? A little. Beloved? Completely. The daily-use photo gifts get seen more than any framed print.
Hiring a Photographer vs. DIY: An Honest Comparison
| Factor | DIY (phone/tripod) | Professional |
|---|---|---|
| Cost | $0 | $150–500+ for a session |
| Comfort | Siblings relax faster; sillier, more genuine moments | Some siblings pose stiffly for strangers |
| Quality | Good with the tips in this guide; limited in tricky light | Consistently excellent; handles any conditions |
| Flexibility | Shoot anytime, anywhere, for as long as you want | Scheduled; usually 1–2 hours |
| Best for | Annual candids, recreations, big groups, kids | Milestone years, formal portraits, large prints |
The smart play: DIY most years, hire a professional every 3–5 years or for milestones (a big reunion, a parent’s milestone birthday with all siblings). Many families do both — the pro shoot for the wall, the DIY chaos for the memories. If you hire out, book 6–8 weeks ahead for spring dates; April fills fast.
More Photo FAQ
How many photos should I take at a sibling shoot?
Far more than you need — 200+ for a one-hour session is normal. Professionals shoot hundreds to deliver dozens. Memory is cheap; missed moments are expensive.
What is the best free photo editing app?
Several excellent free options exist with cropping, exposure, color, and black-and-white tools. Pick one, learn its five core adjustments (crop, straighten, exposure, warmth, shadows), and ignore the rest — 90% of editing is those five.
How do I back up sibling photos so they are never lost?
The 3-2-1 rule: three copies, two different media types, one offsite. Practically: phone + cloud backup + an annual export to a hard drive or printed book. Do the annual export every Siblings Day — tie it to the tradition and it will actually happen.
Posing Large Sibling Groups: 5 Formations That Work
Two siblings are easy. Six is architecture. These formations keep big groups organized and photogenic:
- The staircase. Arrange siblings on steps by height — tallest at the back. Stairs do the posing work for you; everyone just stands and smiles. No stairs? A sturdy bench or a gentle hill works.
- The cluster. Everyone leans in toward the center, heads close, arms around whoever is nearest. Tight clusters read as warmth; spread-out lines read as a police lineup. Get close — uncomfortably close, then a little closer.
- The V. The eldest (or the parents) at the point of the V, siblings fanning out behind on both sides. It gives everyone a visible face and creates natural depth.
- Seated + standing. Half the group sits (on the ground, a wall, a couch), half stands behind with hands on shoulders. Mixing levels is the single easiest way to make a group photo look professional.
- The action huddle. Everyone mid-activity — mid-laugh, mid-game, mid-cheers with drinks raised. Give the group something to do (“everyone toast!”) and shoot the moment, not the pose.
For big groups, take at least three versions of every formation: one where everyone looks at the camera, one candid, one silly. With six-plus people, someone always blinks — multiples are insurance.
Self-Timer & Tripod Mastery
No photographer? No problem. The self-timer is the solo shooter’s best friend:
- Invest in a tiny tripod. A $15 phone tripod with bendable legs works on fences, tables, and tree branches. It is the highest-ROI photo purchase in existence.
- Use burst + timer together. Most phones let you set a 10-second timer with burst mode — you get 10 seconds to run into position and then a stream of frames to choose from.
- Mark your spot. Put a shoe or a bag where you will stand so the framing is right before the timer starts. Nothing sadder than a perfect photo of an empty space where a sibling should be.
- The “photographer runs” technique. One sibling sets the timer, runs into the shot, and everyone holds the pose through the burst. It takes 3–4 tries; the outtakes of the runner mid-sprint are bonus comedy.
- Remote shutters. A $10 Bluetooth remote (or a paired smartwatch) lets you trigger from within the group — no running, no guessing, everyone’s eyes open.
What to Wear: The Coordination Guide
- Pick a palette, not a uniform. Choose 2–3 complementary colors (navy + cream + denim; earth tones; pastels) and let everyone dress within it. Coordinated looks intentional; identical looks like a cult.
- Solids beat patterns. One patterned piece per group max — busy prints fight each other and distract from faces. When in doubt, solid.
- Consider the background. Green field? Avoid neon green (you will blend into the grass). Beach? Blues and whites sing. Fall foliage? Creams and rust tones glow.
- Shoes matter in full-length shots. Coordinate roughly (all casual, all boots) — one pair of neon running shoes ruins an otherwise perfect group photo.
- Bring layers. A denim jacket, a scarf, a cardigan — layers add texture and give people something to do with their hands, plus insurance against weather.
- Kids get a pass. Dress kids comfortably and let them be kids. A toddler’s joy in a slightly wrinkled shirt beats a miserable toddler in a perfect outfit every time.