Birdwatching for beginners is one of the easiest outdoor hobbies you can start this weekend — no expensive gear, no travel required, and no experience necessary. If you have a window, a local park, and a little curiosity, you already have everything you need to spot your first dozen species. Birding is also one of the fastest-growing outdoor activities in America, with tens of millions of people now identifying as birdwatchers, from backyard feeder-watchers to globe-trotting “twitchers” chasing rare sightings. This complete starter guide walks you through exactly how to begin: the minimal gear that actually matters, a simple four-step method for identifying any bird you see, the best places to look, free apps that do the heavy lifting, and a 30-day plan that takes you from zero to confidently logging species.
Why Birdwatching Is the Perfect Beginner Outdoor Hobby
Most outdoor hobbies have a barrier to entry. Hiking demands fitness and trail access. Camping requires a trunk full of gear. Fishing needs licenses, tackle, and patience. Birdwatching asks almost nothing of you and gives back an enormous amount: a reason to slow down, a sharper eye for the natural world, and a hobby that fits into a lunch break as easily as a weekend expedition.
The health angle is real, too. Researchers have repeatedly linked time spent noticing nature — birdsong in particular — to lower stress and better mood. You don’t need a wilderness area to get those benefits; studies show that even urban bird diversity correlates with wellbeing. Your neighborhood park, office courtyard, or apartment balcony all count.
Birding is also wonderfully scalable. You can be perfectly happy for years identifying the twenty species at your backyard feeder, or you can turn it into a lifelong pursuit of travel, photography, and citizen science. There is no wrong way to do it, and there is no finish line — which is exactly why so many people who “try birding once” are still doing it a decade later.
How to Start Birdwatching in 5 Simple Steps
Forget the idea that you need to study a field guide cover to cover before your first outing. Here is the fastest path from curious to capable:
Step 1: Start in Your Own Backyard or Nearest Park
Your first birding spot should be the easiest one to reach, because frequency beats exoticism when you are learning. A local park, a community garden, the trees outside your office — anywhere with a few trees, shrubs, or a water feature will host a surprising cast of characters. Early morning is prime time: birds are most active and vocal in the first two to three hours after sunrise, a phenomenon birders call the “dawn chorus.” If mornings are impossible, late afternoon is the next best window.
Step 2: Learn Five Common Birds First
New birders make the same mistake: trying to learn everything at once. Instead, pick the five most common birds in your area and learn them cold — their shape, their color patterns, their songs, their behavior. In most of the US, that shortlist includes the American Robin, Northern Cardinal, Blue Jay, Black-capped Chickadee (or Carolina Chickadee in the South), and House Finch or House Sparrow. Once you can identify these without thinking, every new bird becomes a fun puzzle instead of an overwhelming blur, because you’ll instantly recognize “not one of my five” and know to look closer.
Step 3: Get a Pair of Binoculars (the Only Gear That Truly Matters)
You can start without binoculars — many people do — but a decent pair transforms the experience from “there’s a small brown bird” to “that’s a Song Sparrow with a streaked breast and a central breast spot.” You don’t need to spend a fortune; the sweet spot for beginners is the 8×42 configuration (explained in the gear table below). Borrow a pair from a nature center or library first if you want to try before you buy.
Step 4: Download a Free Bird ID App
Modern birding apps have removed the steepest part of the learning curve. Merlin Bird ID (free, from the Cornell Lab of Ornithology) can identify birds from a photo or even from a live recording of birdsong — point your phone at the dawn chorus and watch it name species in real time. It’s genuinely magical the first time it works, and it’s accurate enough to trust as a learning aid.
Step 5: Keep a Simple Bird List
Start a “life list” — a running tally of every species you’ve confidently identified. The eBird app (also free, also from Cornell) lets you log sightings, and your checklists feed into real scientific research on bird populations and migration. Keeping a list turns casual looking into a game, and the game is what keeps you coming back. Your first 25 species will come fast; savor that phase.
Essential Birdwatching Gear for Beginners
Here is the honest truth about birding gear: binoculars and a field guide (or app) cover about 90 percent of what you’ll ever need. Everything else is comfort and convenience. Buy in this order, and stop whenever you’re happy.
| Gear | What to Look For | Budget Pick | Upgrade Pick |
|---|---|---|---|
| Binoculars | 8×42 magnification; bright, wide view; comfortable eye relief if you wear glasses | $100–$200 (e.g., Nikon Prostaff, Celestron Nature DX) | $250–$500 (e.g., Vortex Diamondback, Nikon Monarch) |
| Field guide or app | Range maps, multiple plumages, sound clips | Free: Merlin Bird ID + eBird apps | Sibley Guide to Birds (book, ~$25) |
| Notebook | Weatherproof pages for field notes | Any pocket notebook | Rite in the Rain field notebook |
| Clothing | Muted earth tones; layers; quiet fabrics | What you own | Softshell jacket, brimmed hat |
| Extras | Sun protection, insect repellent, water | Drugstore basics | Spotting scope (only for waterfowl/shorebirds later) |
Binocular Numbers, Decoded
Binoculars are labeled like “8×42.” The first number is magnification — 8x is the beginner sweet spot because the image is steady and the field of view is wide. (10x sounds better but magnifies hand shake too.) The second number is the objective lens diameter in millimeters — 42mm gathers enough light for dawn and dusk birding without being heavy. Avoid cheap “zoom” binoculars and anything above 10x for handheld use; they will frustrate you more than they help.
What Not to Buy Yet
Skip the spotting scope, the $2,000 camera lens, the birding vest with seventeen pockets, and the playback speaker. Scopes are for distant waterfowl and shorebirds — a niche you’ll grow into if you want to. Playback (playing recorded calls to lure birds) disturbs wildlife and is discouraged or banned in many parks and refuges. Master binoculars and ID skills first; the fancy gear can wait years.
How to Identify Birds: The 4-Key Method
The Cornell Lab of Ornithology teaches bird ID as four keys, used in order. This single framework handles the vast majority of sightings you’ll ever have:
Key 1: Size and Shape
Start with the bird’s silhouette and overall size — this is the most reliable first clue because lighting and distance can lie about color but rarely about shape. Compare against birds you know: sparrow-sized, robin-sized, crow-sized, or goose-sized? Notice the bill (long and thin like a warbler? thick and conical like a finch? hooked like a hawk?), the tail length, and the posture. Experienced birders often identify a distant bird by shape alone, and you will too sooner than you think.
Key 2: Color Pattern and Field Marks
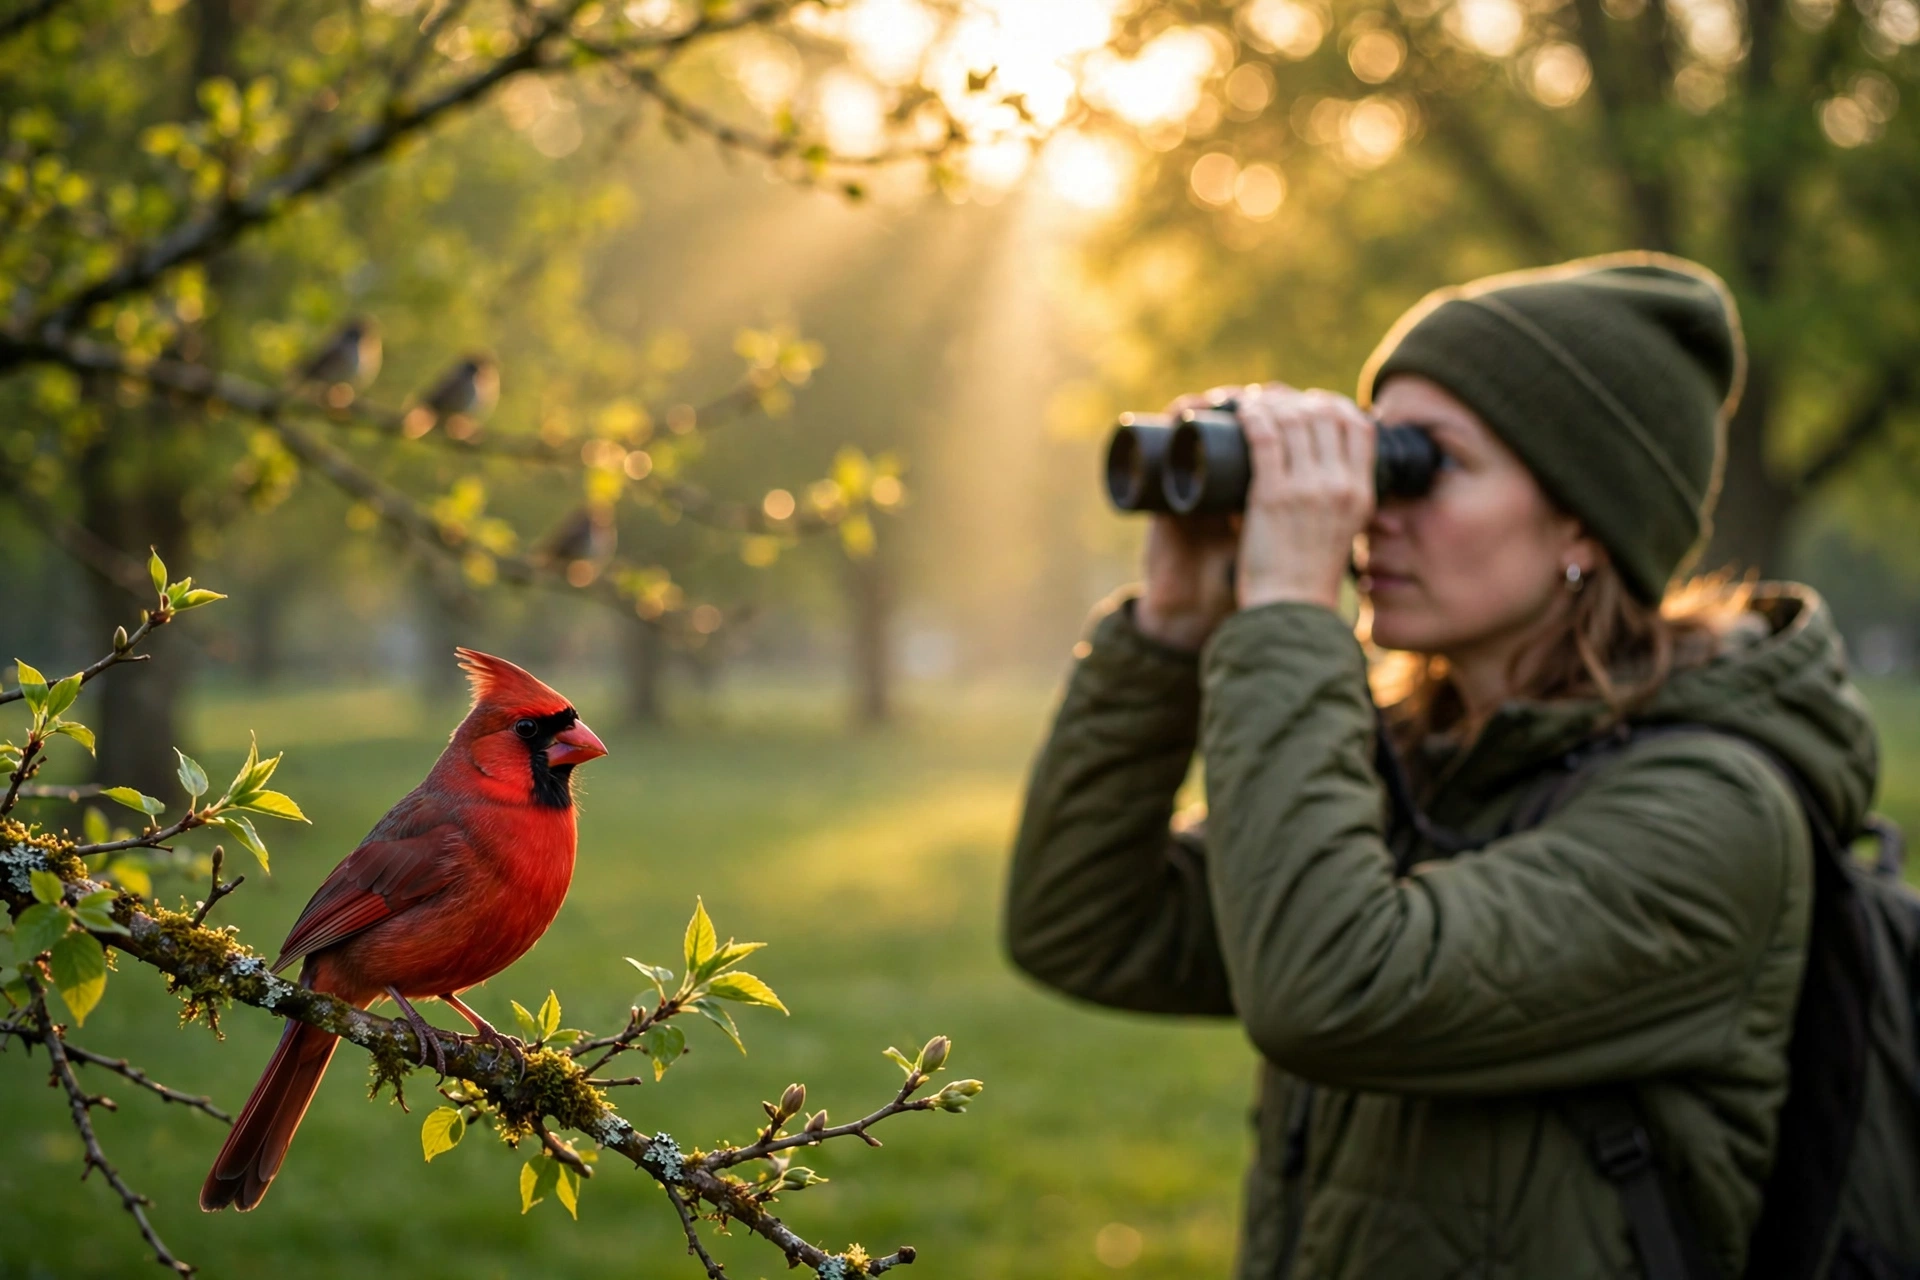
Once you have size and shape, look for distinctive markings — the “field marks” field guides emphasize. Wing bars (pale stripes across the wing), eye rings, breast streaking, rump patches, and cap colors are the classic clues. Don’t try to memorize every feather; look for the one or two standout features. A flash of red on a black bird with a crest? Northern Cardinal, done. Small gray bird with a black cap that says “chick-a-dee-dee-dee”? You barely need to see it.
Key 3: Behavior
How a bird acts is often as diagnostic as how it looks. Nuthatches climb down tree trunks headfirst (almost no other bird does this). American Dippers bob up and down on midstream rocks. Northern Flickers feed on the ground like robins despite being woodpeckers. Kestrels hover in place over fields. Watch what the bird is doing for thirty seconds before you reach for the guide — behavior narrows the possibilities dramatically.
Key 4: Habitat and Season
Where and when you see a bird eliminates most wrong answers. A duck on a mountain lake in July is a different set of candidates than a duck on a coastal bay in January. Range maps in your app or guide show which species are even possible in your area at a given time of year. This key is why local birding is easier than it looks: your region probably has 100–200 regularly occurring species, not the 1,000+ in the whole field guide, and only a fraction of those are common.
Putting It Together: A Worked Example
You see a medium-small bird (robin-sized or a bit smaller) with a rusty-red breast, gray back, and a habit of cocking its head at the lawn before yanking up a worm. Size/shape: thrush-like. Color: red breast, gray upperparts. Behavior: ground-foraging, head-cock worm hunt. Habitat: suburban lawn, spring. That’s an American Robin — and you identified it with zero memorization, just observation. That is the entire game.
Where to Go Birdwatching Near You
You don’t need a famous birding hotspot to start, but knowing where birds concentrate will multiply your sightings. Work through this list from closest to farthest:
- Your yard or balcony: Put up a simple tube feeder with black-oil sunflower seed and a shallow water dish, and you’ll have a daily bird show within a week. Feeders are the single best beginner investment after binoculars.
- Neighborhood parks: Birds habituated to people let you get close. Mornings near ponds, playgrounds edges, and groves of mature trees are reliably productive.
- Local nature centers and arboretums: Many loan binoculars, run free guided bird walks, and maintain trails designed for wildlife viewing. Staff can tell you what’s being seen right now.
- State parks and wildlife refuges: Bigger habitat means more species. Check the park’s website for bird checklists — many maintain them. Our guide to the best state parks in the USA is a great place to find bird-rich destinations for a weekend trip.
- eBird Hotspots: The free eBird app maps “hotspots” near you with recent sighting lists, so you can see exactly what’s being found and where, updated daily by local birders.
The Best Times to Go
Early morning (sunrise to ~10 AM) is prime time year-round, when birds feed actively and sing to defend territories. Spring migration (April–May in most of the US) is the most exciting season — waves of colorful warblers, orioles, and tanagers pass through, and resident birds are in bright breeding plumage and full song. Fall migration (September–October) brings big numbers with subtler plumages. Winter is underrated: leafless trees make birds easy to see, and feeders concentrate them. Summer middays are the slowest — bird then, and you’ll think birding is boring. It isn’t; your timing was.
Free Apps and Resources That Do the Heavy Lifting
- Merlin Bird ID (free): Photo ID, Sound ID (live birdsong recognition), and a step-by-step ID wizard. Download your region’s “bird pack” for offline use. This is the single most useful birding tool ever made for beginners.
- eBird (free): Log sightings, explore hotspots, and see what others are finding near you. Your checklists contribute to Cornell’s global bird science database.
- Audubon Bird Guide (free): A solid alternative field guide app with detailed species accounts.
- BirdNET (free): Another excellent sound-ID app, useful as a second opinion on tricky songs.
- Local Audubon chapters: Nearly every metro area has one, and most run free field trips led by patient experts who love teaching beginners. This is the fastest way to level up — one morning with an expert teaches more than a month of solo trial and error.
Your 30-Day Birdwatching Starter Plan
| Week | Goal | What to Do |
|---|---|---|
| Week 1 | See birds consciously | Spend 20 minutes, 3 mornings, watching from your yard or a park bench. No pressure to ID — just notice size, shape, and behavior. Download Merlin and eBird. |
| Week 2 | Learn your first 5 | Identify your five most common local birds using Merlin’s Sound ID and photo ID. Write down one field mark for each. |
| Week 3 | Add gear + a hotspot | Borrow or buy 8×42 binoculars. Visit one eBird hotspot and log your first eBird checklist (even 8 species counts). |
| Week 4 | Join the community | Attend one free Audubon or nature-center bird walk. Set a fun goal: 30 species on your life list by day 30. |
10 Beginner Mistakes to Avoid
- Buying 10x or 12x binoculars first. Higher magnification means a shakier, dimmer, narrower image. Start at 8x.
- Only birding at noon. Midday is the dead zone. Mornings are worth ten times the sightings.
- Trying to learn every bird at once. Master your common five, then expand. Depth before breadth.
- Ignoring sound. You’ll hear three times more birds than you see. Merlin’s Sound ID turns “mystery chirps” into identifications.
- Wearing bright colors and moving fast. Muted clothing, slow movement, and frequent pauses let birds come to you.
- Getting frustrated by “little brown birds.” Sparrows are genuinely hard — even experts work at them. Skip them for now and enjoy the easy wins.
- Not checking the range map. Half of misidentifications are species that don’t even occur in your area. Always check.
- Using playback to lure birds. It stresses wildlife and is banned in many refuges. Let birds come naturally.
- Birding alone in sketchy spots at dawn. Remote trailheads at 5 AM warrant the same caution as any solo outdoor activity — bring a buddy or stick to popular parks.
- Quitting after a slow day. Birding has slow days; that’s the nature of wildlife. The next outing could be the one with the owl.
Birdwatching Etiquette: Be a Good Guest in Nature
Ethical birding protects the birds that give us so much joy. Keep a respectful distance — if a bird changes its behavior because of you, you’re too close. Stay on trails, especially during nesting season (spring), when flushing a bird off a nest can doom its eggs or chicks. Never share exact locations of sensitive species like nesting owls or rare birds on public forums; poachers and crowds of photographers can destroy a site. Pack out everything, keep dogs leashed where required, and remember that in refuges and parks, wildlife always has the right of way. The American Birding Association’s Code of Birding Ethics is a short, worthwhile read once you’re hooked.
Frequently Asked Questions
What is the best time of day for birdwatching for beginners?
The first two to three hours after sunrise offer the most bird activity and song, making identification far easier. Late afternoon is the second-best window. Midday is consistently the slowest period, especially in summer.
Do I need expensive binoculars to start birdwatching?
No. You can start with your eyes alone, and a $100–$200 pair of 8×42 binoculars is plenty for the first few years. Borrow before you buy if possible — many nature centers lend them free.
What is the best free app for identifying birds?
Merlin Bird ID, from the Cornell Lab of Ornithology, is the best free option. Its Sound ID feature identifies birds from live recordings of their songs, and Photo ID works from pictures you take.
How many birds can a beginner expect to see on a first outing?
At a decent local park on a spring morning, 15–30 species is realistic even for a total beginner using Merlin’s Sound ID. In winter or at midday, 8–15 is more typical. Don’t chase numbers early — focus on learning a few species well.
Is birdwatching for beginners possible in a city?
Absolutely — cities host surprising diversity, from peregrine falcons nesting on skyscrapers to warblers refueling in urban parks during migration. Some of the country’s best birding happens in city parks; you don’t need wilderness.
What should I wear for birdwatching?
Muted earth tones (greens, browns, grays) that don’t startle birds, layered for the weather, with comfortable walking shoes. Avoid bright white and neon colors, rustly rain jackets when possible, and strong fragrances.
How do I tell similar birds apart, like sparrows?
Focus on one field mark at a time: head pattern first, then breast streaking, then bill shape. Compare directly against the two or three most likely candidates in your app rather than browsing the whole guide. And give yourself grace — sparrow ID is a skill that takes seasons, not days.
Can kids get into birdwatching?
Yes — it’s one of the best nature hobbies for kids because the feedback is instant and the “collecting” instinct (listing species) is deeply satisfying. Start with a feeder outside their window, a kid-tough pair of compact binoculars, and a simple goal like “find five colors of birds.” For family-friendly outdoor destinations, see our roundup of the best parks for families in the USA.
What is the difference between birdwatching and birding?
Nothing substantive — the terms are interchangeable, though “birding” sometimes implies a more active, listing-oriented approach while “birdwatching” sounds more casual. Use whichever you like; no one will mind.
How can my sightings help science?
Logging checklists in eBird feeds the world’s largest biodiversity database, used by researchers tracking migration, population declines, and climate impacts. Even a 10-minute backyard count contributes. It’s citizen science with zero extra effort beyond what you’re already doing.