You do not need a workshop full of tools or years of experience to improve your home yourself. These DIY home projects for beginners are weekend-friendly upgrades that need only basic tools, modest budgets, and zero prior skill — each one teaches a core technique (painting, drilling, caulking, simple assembly) that unlocks harder projects later. Every project below includes what you will learn, the tools required, a realistic time estimate, and the mistakes beginners actually make, so you can pick your first project with confidence and finish it in a weekend.
A quick word on mindset: the goal of a first project is a finished project, not a perfect one. Choose something small, visible, and forgiving — paint is the ultimate beginner medium because mistakes are cheap to fix. As you complete projects, you build both skills and a tool collection, and each subsequent project gets easier. Let us start with the essential toolkit, then the projects in rough order of difficulty.
The Beginner Toolkit: What You Actually Need
Forget the 200-piece tool sets. These nine items handle nearly every beginner project:
- Cordless drill/driver — the single most useful DIY tool; get a 12V or 18V kit with two batteries.
- Tape measure (25 ft) — measure twice, cut once is not a cliché, it is a survival strategy.
- Level (2 ft) — shelves, art, and curtain rods all depend on it.
- Stud finder — hanging anything heavy safely requires finding the studs.
- Utility knife and putty knife set — opening, scraping, patching, and caulking prep.
- Hammer — a 16-oz claw hammer covers hanging, demo, and persuasion.
- Screwdriver set — Phillips and flathead in a few sizes; many drill bits cover this, but manual drivers give control.
- Adjustable wrench and pliers — plumbing-adjacent tasks and general tightening.
- Safety gear — safety glasses, dust mask, and work gloves. Non-negotiable.
Add a caulk gun, a paint roller kit with extension pole, and painter’s tape as projects demand. Buy decent mid-range tools rather than the cheapest set — cheap tools break, strip screws, and make every job harder, which is exactly what discourages beginners.
Project 1: Paint a Room (or an Accent Wall)
Skills learned: surface prep, cutting in, rolling technique. Time: one weekend. Cost: $50–$150.
Painting is the highest-impact beginner project there is — nothing transforms a room faster or cheaper. The secret professionals will tell you: prep is 80 percent of the job. Fill nail holes with spackle, sand lightly, wipe walls with a damp cloth, and tape trim carefully. Use quality paint (cheap paint needs three coats; good paint needs two), and cut in edges with an angled brush before rolling the field in overlapping W-patterns. Keep a wet edge to avoid lap marks, and do not overwork the paint — roll it on and leave it. If you are nervous about committing to a whole room, an accent wall teaches every technique with a quarter of the paint.
Project 2: Install Floating Shelves
Skills learned: finding studs, drilling, leveling. Time: 2–3 hours. Cost: $30–$80.
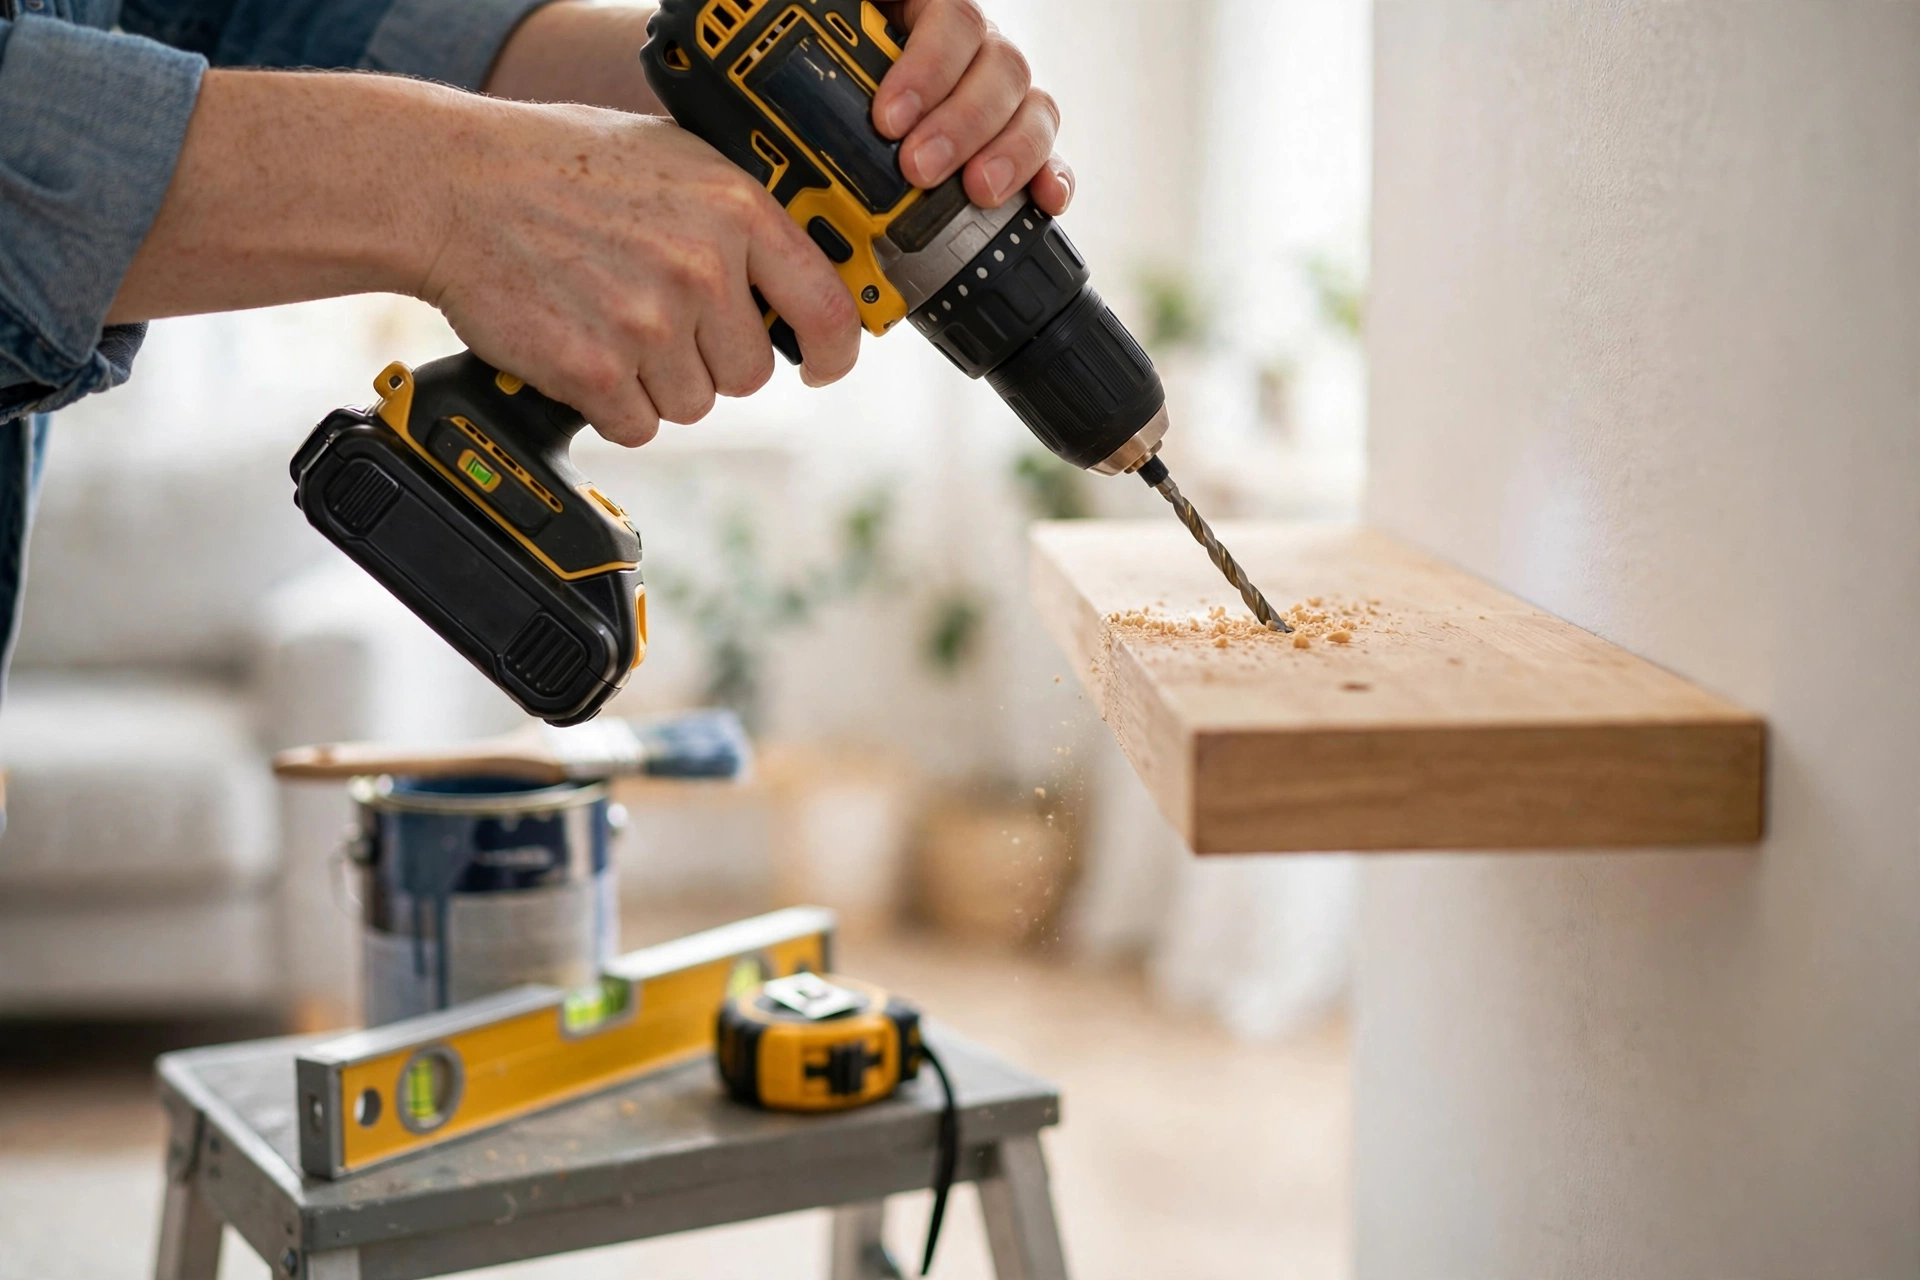
Floating shelves add storage and display space anywhere — beside a fireplace, in a bathroom, over a desk. The make-or-break step is anchoring: shelves holding books or dishes must hit studs or use proper heavy-duty wall anchors; drywall alone will not hold the load. Mark stud locations, hold the bracket level, drill pilot holes, and drive screws firmly. The beginner mistake is eyeballing level — use the level on every shelf, because a shelf that is off by even a degree looks wrong forever. Start with one shelf to learn the technique, then add more with confidence.
Project 3: Replace Cabinet Hardware
Skills learned: measuring, drilling small holes, working systematically. Time: 2–4 hours for a kitchen. Cost: $40–$120.
Swapping dated knobs and pulls for modern hardware makes a kitchen or bathroom feel renovated for the price of lunch. If the new hardware uses the same hole spacing, it is a pure unscrew-and-replace job. If you are changing styles (knobs to pulls), you will drill new holes — measure twice, mark with painter’s tape, and drill from the front with a sharp bit to avoid splintering. Do one door as a test before committing to the pattern. Keep the old hardware in a labeled bag in case a future buyer prefers the originals.
Project 4: Caulk Like a Pro
Skills learned: caulk gun control, tooling a bead, working cleanly. Time: 2–3 hours. Cost: $15–$30.
Fresh caulk around tubs, sinks, windows, and baseboards makes everything look crisp and stops water damage where it starts. Cut the caulk tube tip small — you can always cut more, but you cannot un-cut. Apply a steady bead, then smooth it immediately with a wet finger or caulking tool in one continuous pass. Painter’s tape on both sides of the joint gives beginners razor-sharp lines; pull the tape while the caulk is still wet. Remove old, cracked caulk first — new caulk over old caulk fails fast. This unglamorous project prevents some of the most expensive home damage there is.
Project 5: Build a Simple Raised Garden Bed
Skills learned: measuring and cutting lumber, driving screws, leveling. Time: half a day. Cost: $60–$150.
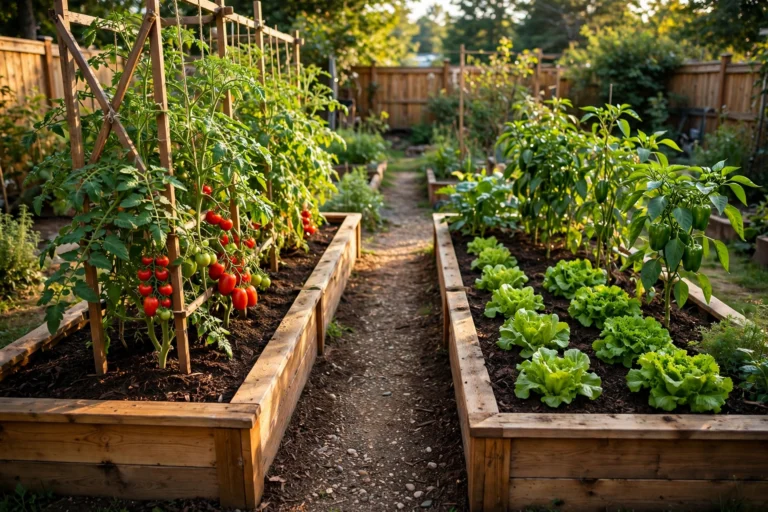
A 4-by-8-foot raised bed from two-by lumber is the classic first build: four boards, some screws, and an afternoon. Use rot-resistant lumber (cedar or redwood if the budget allows; pressure-treated lumber rated for ground contact is the economical choice — modern formulations are considered safe for vegetable gardens, though some gardeners prefer a plastic liner for peace of mind). Cut two 8-foot and two 4-foot boards, screw the corners with 3-inch exterior screws (pre-drill to prevent splitting), check for square by measuring diagonals, and level the ground underneath. Line the bottom with cardboard to smother grass, then fill with a mix of topsoil and compost. One bed is a weekend; two beds is a garden.
Project 6: Install a New Light Fixture or Ceiling Fan
Skills learned: basic electrical safety, wire connections. Time: 1–2 hours. Cost: $40–$200.
Swapping a dated fixture for a modern one changes a room’s entire feel, and the wiring is simpler than it looks: black to black, white to white, ground to ground, secured with wire nuts. The non-negotiable rule is turning off the breaker — not just the wall switch — and verifying with a non-contact voltage tester before touching anything. If the wiring looks unusual (knob-and-tube, aluminum wire, no ground), stop and call an electrician. This project teaches respect for electrical work: straightforward when standard, and a clear signal to get help when it is not.
Project 7: Create a Gallery Wall
Skills learned: layout planning, hanging hardware, working with a level. Time: 2–4 hours. Cost: $20–$100 (frames).
A gallery wall turns blank space into a personal statement. Plan the arrangement on the floor first, then transfer it to the wall using kraft paper templates taped in place — this lets you adjust spacing without extra nail holes. Keep 2 to 3 inches between frames and center the arrangement at eye level (about 57 inches to the center, gallery standard). Mix frame styles intentionally — either all matching for a clean look or deliberately eclectic — and include one oversized anchor piece. Use proper picture-hanging hooks rather than bare nails for anything over a few pounds.
Project 8: Weatherstrip Doors and Windows
Skills learned: measuring, cutting, adhesive application. Time: 2–3 hours for a house. Cost: $20–$50.
Drafty doors and windows waste heating and cooling dollars year-round. Test with a candle or incense stick on a windy day — flickering flame means air leak. Self-adhesive foam weatherstripping, door sweeps, and V-strip tension seals are all peel-and-stick simple. This project pays for itself in one season on energy bills, and it is nearly impossible to mess up: if a strip does not seal well, peel it off and try again. Pair it with a seasonal clear-out using our room-by-room decluttering guide — an efficient house is a tidy house.
Project 9: Build Simple Storage — A Crate Shelf or Pegboard
Skills learned: assembly, wall mounting, finishing. Time: 3–5 hours. Cost: $30–$70.
Stacked wooden crates screwed together make a rustic bookshelf; a pegboard panel on a garage or craft-room wall organizes tools beautifully. Both teach the same fundamentals: square assembly, secure wall attachment (into studs for anything load-bearing), and optional finishing with sanding and paint or stain. Sand all surfaces before finishing — 120-grit followed by 220-grit gives a smooth result — and always finish in a ventilated space. Custom storage built exactly for your space beats store-bought every time.
Project 10: Install a Smart Thermostat
Skills learned: low-voltage wiring, following diagrams, app setup. Time: 1 hour. Cost: $100–$250.
Most smart thermostats install with basic tools and labeled wires — photograph the old wiring before disconnecting anything, label each wire, and follow the manufacturer’s compatibility checker first (some systems, like high-voltage baseboard heat, are incompatible). The energy savings are real: programmed schedules and learning algorithms typically cut heating and cooling costs noticeably. It is also a satisfying introduction to the smart home world without rewiring anything.
Project Comparison: Difficulty, Cost, and Payoff
| Project | Difficulty (1–5) | Typical Cost | Time | Biggest Payoff |
|---|---|---|---|---|
| Paint a room | 1 | $50–$150 | 1 weekend | Transforms any room fastest |
| Replace cabinet hardware | 1 | $40–$120 | 2–4 hours | Kitchen/bath facelift |
| Caulk tubs and windows | 1 | $15–$30 | 2–3 hours | Prevents water damage |
| Weatherstrip doors/windows | 1 | $20–$50 | 2–3 hours | Lower energy bills |
| Gallery wall | 2 | $20–$100 | 2–4 hours | Personalized blank walls |
| Floating shelves | 2 | $30–$80 | 2–3 hours | Storage + display |
| Smart thermostat | 2 | $100–$250 | 1 hour | Ongoing energy savings |
| Light fixture swap | 2 | $40–$200 | 1–2 hours | Modernizes rooms instantly |
| Crate shelf / pegboard | 2 | $30–$70 | 3–5 hours | Custom-fit storage |
| Raised garden bed | 3 | $60–$150 | Half day | Homegrown food |
Beginner Mistakes to Avoid
- Skipping prep — paint over dirty walls, caulk over old caulk, or screw into unmarked walls, and the shortcut becomes the project.
- Buying the cheapest tools — they strip screws, wobble, and break; mid-range tools pay for themselves in frustration saved.
- Not finding studs — anything heavy hung on drywall alone will eventually fail. A stud finder costs less than the repair.
- Ignoring safety gear — glasses, mask, and gloves every time. Dust and debris do not care that it is “just a quick job.”
- Starting electrical work without killing the breaker — the wall switch is not enough. Test with a voltage tester.
- Eyeballing instead of measuring — measure twice, cut once; level everything that should be level.
- Taking on too much at once — finish one project completely before starting the next; half-finished rooms drain motivation.
When to Stop and Call a Professional
Knowing your limits is a DIY skill too. Call a licensed pro for: anything involving gas lines; electrical panel work or new circuits; structural changes (removing walls, cutting joists); major plumbing (moving supply or drain lines); roofing beyond a single shingle; and anything requiring a permit you do not understand. There is no shame in it — the mark of an experienced DIYer is knowing exactly where the line is. A $200 service call beats a $2,000 repair of a botched DIY every time.
Frequently Asked Questions
What is the easiest first DIY project?
Painting a single accent wall. It teaches prep, cutting in, and rolling — the foundation skills for dozens of future projects — and mistakes cost almost nothing to fix. Cabinet hardware replacement is a close second for pure simplicity.
How much should a beginner spend on tools?
A solid starter kit (drill/driver, tape measure, level, stud finder, hand tools, safety gear) runs roughly $150 to $300 for decent mid-range quality. Buy tools per project after that rather than all at once — you will end up with exactly what you use.
Can renters do these projects?
Many of them, with permission. Painting (if you repaint before moving out), gallery walls with minimal holes, and freestanding storage are renter-friendly. Always check your lease and get written approval for anything that alters the unit — and keep the original hardware and fixtures to reinstall later.
How do I learn techniques I have never tried?
Manufacturer instructions, library books, and reputable how-to videos from established creators are excellent teachers. Practice on scrap material first — run a bead of caulk on cardboard, drill pilot holes in a scrap board — so the learning happens before the real workpiece.
What if I mess up a project?
Almost everything at the beginner level is fixable: paint gets another coat, caulk gets scraped and redone, a misdrilled hole gets filled and patched. The only unfixable mistakes are safety mistakes — which is why the breaker, the stud finder, and the safety glasses come before everything else.
DIY home projects for beginners are really about momentum: one finished project proves you can do the next one, and the next one teaches the skill after that. Start with paint or hardware this weekend, add a tool or two per project, and respect the line where professionals take over. In a year, you will look around your home and see your own work everywhere — and that feeling is worth more than any contractor’s invoice. For thrifty sourcing of project materials, our decluttering guide helps you clear space first so every project starts with a clean, workable room.
Your First-Year Project Roadmap
Ten projects can feel like a lot, so here is a sensible order that builds skills progressively across a year:
- Month 1–2: Paint an accent wall. Learn prep, cutting in, and rolling. Low stakes, huge confidence boost.
- Month 3: Replace cabinet hardware. Practice measuring and drilling on a forgiving project.
- Month 4: Caulk the bathroom. Develop patience and a steady hand; prevent water damage.
- Month 5–6: Build the raised bed. First real build — cutting, screwing, leveling — timed for planting season.
- Month 7: Install floating shelves. Apply your measuring and stud-finding skills to something visible daily.
- Month 8: Weatherstrip the house. Quick win before heating season; immediate energy savings.
- Month 9: Hang the gallery wall. A creative project to practice layout and hanging hardware.
- Month 10: Swap a light fixture. First electrical project, done carefully with the breaker off and a tester.
- Month 11: Build crate storage. Combine everything — measuring, assembly, finishing — into custom furniture.
- Month 12: Install the smart thermostat. A satisfying year-end upgrade that pays you back monthly.
By December you will own a real toolkit, a portfolio of finished work, and the judgment to know which future projects are yours and which belong to a pro. That progression — from paint to wiring in twelve months — is exactly how DIY skills compound.
Budgeting and Sourcing Like a Smart Beginner
- Set a per-project budget before shopping. It is easy to wander a home center and triple the spend; a written list and budget keep you honest.
- Buy materials 10 percent over measured needs. Miscuts and mistakes happen; a little extra is cheaper than a second trip.
- Check Habitat ReStores and salvage yards. Doors, hardware, light fixtures, and lumber at a fraction of retail — ideal for practice projects.
- Rent, do not buy, single-use tools. Tile saws, floor sanders, and drain augers rent for a day at a tenth of the purchase price.
- Keep receipts and manuals. A labeled bin of manuals, spare parts, and paint chips (with the formula sticker) saves hours on future touch-ups.
- Track what you spend. A simple spreadsheet of project costs teaches you what things really cost — invaluable when budgeting the next one.
Frequently Asked Questions (Continued)
How do I know if a wall is load-bearing before a project?
Beginner projects should never involve removing walls — that is firmly pro territory. But for context: load-bearing walls typically run perpendicular to floor joists, sit over beams or foundation walls below, and appear on original blueprints. If you are ever unsure, consult a structural engineer before touching anything. When in doubt, do not cut.
What is the best time of year for DIY projects?
Spring and fall are ideal: comfortable temperatures for painting and outdoor work, and home centers stock seasonal project materials. Indoor projects (paint, hardware, shelving) suit winter weekends; save outdoor builds for dry, mild weather. Plan electrical and plumbing-adjacent work for times when you can tolerate the system being off for a day.