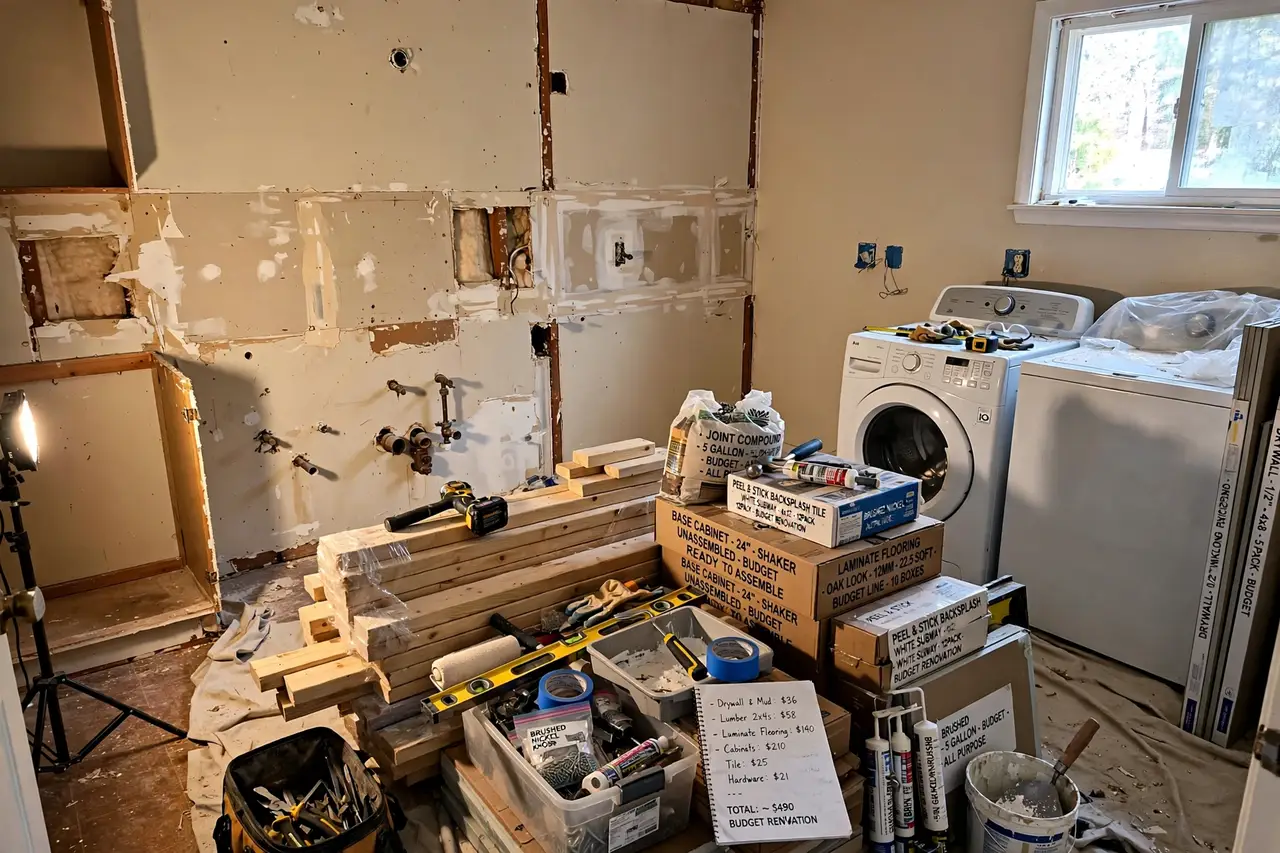
A laundry room remodel does not have to mean gutting the space or financing five figures. A budget remodel keeps the footprint, the plumbing, and the major systems where they are, and spends strategically on the surfaces and fixtures that deliver the most transformation per dollar. In a typical 40 to 80 square foot laundry room, that approach can produce a genuinely new-feeling laundry room for a fraction of full-renovation cost.
The difference between a budget remodel that looks expensive and one that looks cheap is not the total spent; it is the allocation. the Laundry Room with poor sorting systems, dim lighting, and vertical space that goes completely unused has specific high-leverage upgrades, and this guide identifies them. Laundry rooms deal with humidity, lint, and heavy vibration, so materials and layouts here need to tolerate moisture and movement without falling apart.
Below: what a budget laundry room remodel realistically costs, the save-versus-splurge decisions that matter most, which tasks to DIY and which to hire, the sequencing that prevents expensive rework, and the traps that blow budgets. Plan it here before you demolish anything.
What a Budget Laundry Room Remodel Actually Includes
Define the scope before pricing anything. A budget remodel of the laundry room typically means: same layout, no moving plumbing or electrical panels, new or refinished surfaces (paint, flooring, counters), updated fixtures and hardware, and improved lighting and storage. What it does not mean: moving walls, relocating plumbing, or rewiring circuits.
That constraint is the entire strategy. Moving a drain line or a load-bearing wall can consume half a remodel budget in labor alone. In a typical 40 to 80 square foot laundry room, layout changes also trigger cascading costs: flooring patches, electrical reroutes, and permit inspections. Keeping the footprint lets nearly every dollar show up in visible finishes.
Set the budget as a range, not a number, with a 15 to 20 percent contingency inside it. For the laundry room, realistic budget-remodel ranges run from a few thousand for surface-level work to the low five figures when flooring, counters, and fixtures are all replaced. The table below breaks it down by project tier.
Where the Money Goes: Cost Breakdown
In a typical budget laundry room remodel, the spending falls into predictable buckets. Surfaces (flooring, paint, counters, backsplash) take 40 to 50 percent. Fixtures and hardware (faucet, lighting, pulls, hinges) take 15 to 20 percent. Storage improvements (shelving, organizers, cabinet refacing) take 10 to 15 percent. Labor for the tasks you do not DIY takes 15 to 25 percent, and contingency holds the rest.
The highest-ROI line items in the laundry room: paint, lighting upgrades, and hardware consistently return the most visual change per dollar. Mid-range winners: refinishing instead of replacing (cabinet painting versus new cabinets, tub refinishing versus replacement), which typically costs 20 to 30 percent of replacement. Lowest ROI at budget level: moving anything with pipes or wires, and premium appliance upgrades that the space cannot showcase.
Get three quotes for any hired work, and make sure each quote itemizes labor versus materials. Vague lump-sum quotes hide the padding. For a typical 40 to 80 square foot laundry room, the spread between quotes is often 30 percent or more, which is pure savings for an hour of phone calls.
| Project tier | Typical scope | Budget range for a typical 40 to 80 square foot laundry room | Timeline |
|---|---|---|---|
| Surface refresh | Paint, hardware, lighting, textiles, minor storage | $800-$2,500 | 1-2 weekends |
| Standard budget remodel | Above + flooring, faucet/fixtures, cabinet painting | $3,000-$8,000 | 2-4 weeks |
| Full budget remodel | Above + counters, backsplash, storage rebuild | $8,000-$15,000 | 4-8 weeks |
| Not budget | Layout changes, moving plumbing/electrical, structural | $15,000+ | 8+ weeks |
Save vs. Splurge: The Decisions That Matter
Splurge on what you touch daily and what fails expensively in the laundry room: the faucet, the primary light fixtures, flooring underlayment and transitions, and anything waterproofing-related. A $200 faucet that works flawlessly for a decade beats a $60 one replaced twice. Save on decorative items, open shelving versus custom cabinets, and mid-tier paint over premium labels.
Refinish instead of replace wherever the bones are sound. Painted cabinets, refinished floors, reglazed fixtures, and refaced surfaces deliver 70 percent of the new look for 25 percent of the cost. Replacement is for things that are structurally failed, functionally wrong-sized, or so dated that no finish can save them.
Time your purchases. Flooring, fixtures, and appliances all have deep seasonal sales; buying during holiday weekends can cut 20 to 40 percent off big-ticket items. For the laundry room, patience on two or three major purchases often funds the entire contingency.
DIY vs. Hire: The Right Call by Task
Confident DIY territory in the laundry room: demolition of surface finishes, painting, installing click-lock flooring, swapping light fixtures (with the breaker off and a voltage tester), installing hardware, and assembling and hanging storage. These tasks are well-documented, forgiving, and where DIY saves the most labor dollars.
Hire a pro for: anything inside walls involving plumbing or electrical panels, gas lines, structural changes, tile setting in wet areas if you have never done it, and floor leveling beyond minor fixes. In the laundry room, water and electricity mistakes do not just look bad; they cause damage far beyond the project budget.
The hybrid approach wins most budget remodels: DIY the demolition, prep, and painting, hire the skilled installs. You save the labor dollars where your time is the cheapest input and spend them where expertise prevents expensive failures. Schedule hired work first in the sequence, since pros book out and their work often gates what follows.
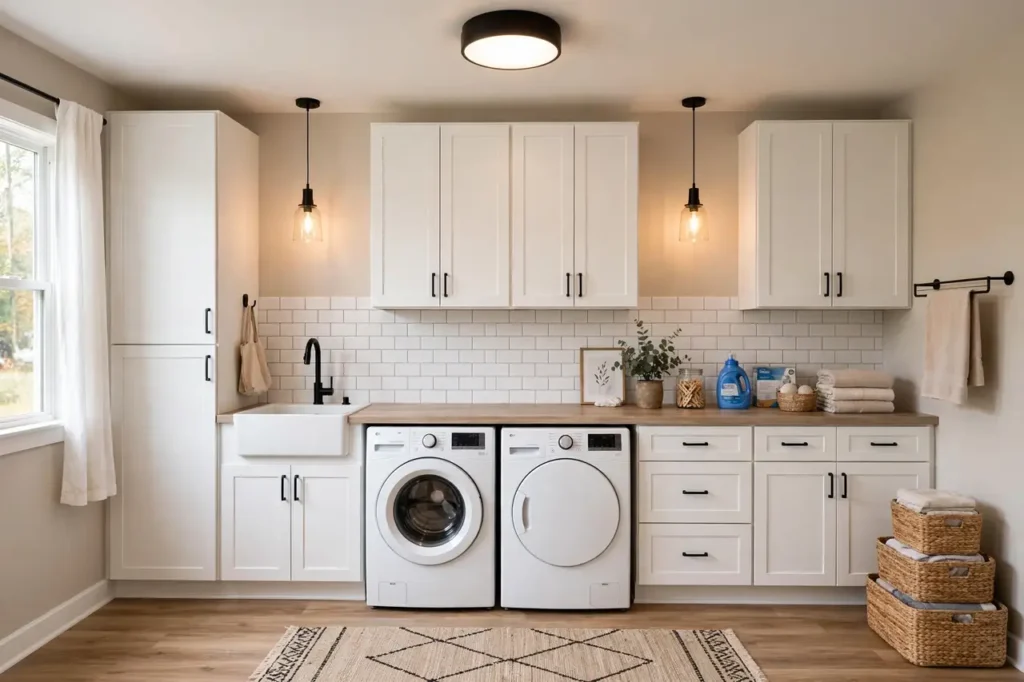
Sequencing and Avoiding Budget Blowouts
Work in this order: plan and order materials, hired rough work (plumbing/electrical), surfaces top-down (ceiling, walls, then floors), fixtures and hardware, storage and styling. Doing floors before painting is the classic sequencing error that ruins new floors. Protect finished surfaces obsessively; touch-up work eats budgets quietly.
Budget blowouts come from four sources: scope creep (one more upgrade), hidden conditions (water damage, bad wiring), decision delays (pros waiting on your tile choice bill by the day), and unprotected finishes. Defend against all four with a written scope, a contingency fund you do not pre-spend, all material decisions made before demolition, and surface protection as a line item.
Live with the plan for two weeks before starting. Tape out footprints, sample finishes in the laundry room light, and price every line item twice. The cheapest time to change a remodel plan is before the first hammer swing.
Watch and Learn: Laundry Room Transformation on a dime!
Budget remodels make the most sense when you see the money allocated in a real project. This video breaks down an actual room remodel budget line by line, showing where the dollars went, what was DIYed, and what the finished space looks like.
If the video does not load above, you can watch it directly on YouTube here: Laundry Room Transformation on a dime!.
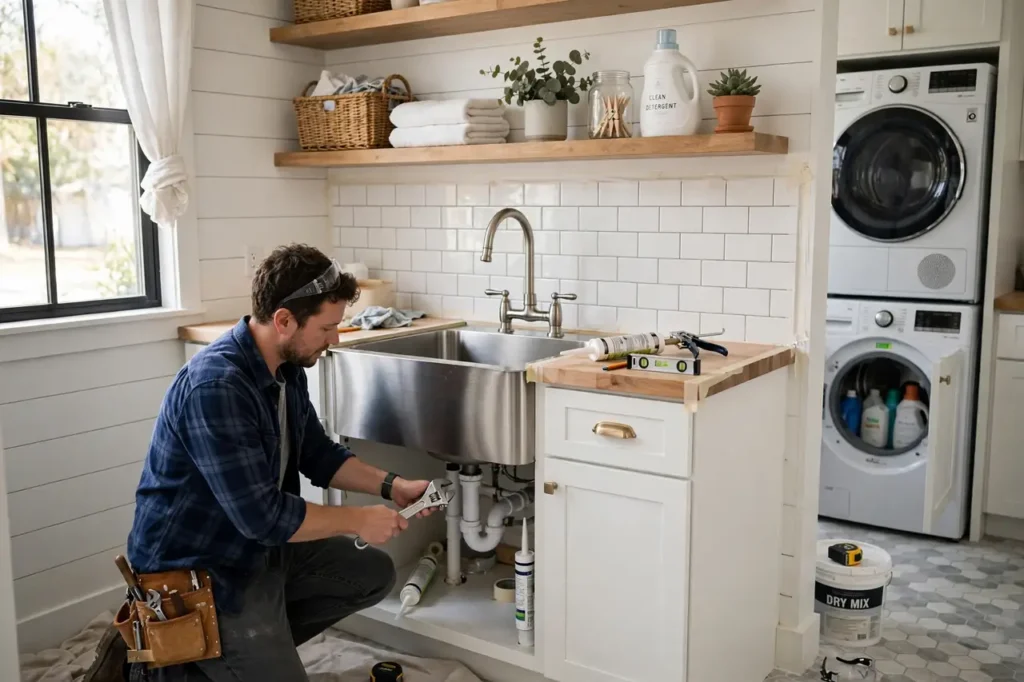
The Budget Remodel Mindset: Constraints That Create Better Design
Budget constraints improve remodel design more often than they limit it. Unlimited budgets produce bloated projects; tight budgets force the decisions that actually matter: what must change, what can stay, and where each dollar works hardest. The best budget laundry room remodels look intentional precisely because every choice was interrogated.
Adopt the surgeon’s mindset: intervene only where needed. the laundry room where poor sorting systems, dim lighting, and vertical space that goes completely unused has specific failures; list them concretely. The remodel fixes the failures and leaves the functioning parts alone. The budget remodel that replaces everything is not a budget remodel; it is an expensive remodel done cheaply, which is the worst of both worlds. Precision beats scope.
Separate the musts from the wants in writing, then price the musts first. The must list gets funded fully; the wants compete for what remains. This prevents the classic failure where wants consume the budget and musts get value-engineered into regret. the wash zone around the machines, the folding zone on a counter or table, the drying zone with a rack or rod, and the supply storage zone each generate their own musts; the cooking zone’s musts outrank the display zone’s wants every time.
Embrace the 80/20 of remodeling: 80 percent of the transformation comes from 20 percent of the possible changes. In the laundry room, that 20 percent is usually surfaces people touch and see constantly: the most visible wall, the daily-use fixtures, the lighting, the textiles. Identify your room’s 20 percent by asking what you notice every single day; the things you have trained yourself not to see are not in the 20 percent.
Finally, budget for the invisible: 15 percent contingency, the permit if needed, the disposal fees, the takeout during disruption. Budgets die on the unbudgeted, not the line items. The remodel that finishes on budget is the one that planned for reality instead of the brochure version.
Phasing the Remodel: Doing It in Stages Without Living in Chaos
Not every budget remodel happens at once. Phasing, spreading the work across months, makes bigger transformations affordable and livable. But phasing fails without a master plan; random sequential projects create a permanently half-finished laundry room. The phases must be designed as chapters of one story.
Write the master plan first: the complete vision for the laundry room with every phase defined, even the ones two years out. Each phase must leave the room fully usable and visually coherent on its own; no phase ends with “we’ll fix that later” visible. The plan prevents the phased remodel’s signature failure: phase one choices that block phase three.
Sequence by infrastructure first, surfaces last. Anything inside walls, under floors, or involving utilities goes in the earliest phase it can. There is no misery like cutting into finished work to reach a pipe. Laundry rooms deal with humidity, lint, and heavy vibration, so materials and layouts here need to tolerate moisture and movement without falling apart. so plumbing and electrical phases come before any cosmetic phase, always. Cosmetic phases then proceed from messiest to cleanest: demolition and dusty work, then paint, then finishes, then styling.
Design the livability of each phase. If the laundry room must function during the remodel, each phase needs a defined temporary setup: the cooking workaround, the contained work zone, the dust barriers. a hardworking utility space most households visit several times a week means disruption has daily costs; plan them explicitly rather than discovering them. A phase that makes the room unusable for weeks needs a better plan or a different sequence.
Lock the design before phase one. The phased remodel’s budget killer is design drift: choosing differently in phase three than phase one planned, forcing rework. Finalize colors, materials, and fixtures for all phases up front, and buy or document the selections so future you cannot “improve” them into incompatibility. Discipline now is what makes phasing work.
Negotiating With Contractors: Getting Fair Prices on Budget Work
Even budget remodels often need a professional for something: the electrical, the plumbing, the task where DIY risk exceeds DIY savings. Hiring well on a budget is a skill: the cheapest bid is rarely the cheapest outcome, and the right contractor at a fair price beats the wrong one at any price.
Get three bids minimum, and make them comparable: the same written scope given to each bidder. Vague scopes produce vague bids, and the low vague bid grows through change orders. The written scope is your protection; it turns “I thought that was included” from an argument into a document check. the laundry room where poor sorting systems, dim lighting, and vertical space that goes completely unused deserves a scope specific enough that all three bidders price the same work.
Evaluate bids on completeness, not just total. The suspiciously low bid usually omits something: the disposal, the permits, the finishing, the contingency for what walls hide. Ask each bidder what could change the price and what is explicitly excluded. The honest answers reveal who has done this work before. Never pay more than 10 percent upfront or $1,000, whichever is less, in most jurisdictions; the payment schedule should track completed milestones.
Time your hiring for value. Contractors’ slow seasons bring better prices and more attention; the spring rush brings premiums. Be flexible on scheduling and say so; the client who can wait two weeks for a gap slot often gets the better rate. And bundle the small tasks: the electrician already on site for the big job adds the small fixes cheaply, while a separate trip for each small task multiplies minimum charges.
Manage the job actively but respectfully: daily check-ins, decisions made promptly (contractor idle time is your money), and changes documented in writing with prices before the work happens. The budget remodel’s relationship with its contractor succeeds on clarity. Clear scope, clear schedule, clear payments, and the laundry room gets professional results at a price the budget survives.
Making It Work in Your Laundry Room
Everything above applies generally; this is how it lands in a typical 40 to 80 square foot laundry room. The defining reality of the laundry room is poor sorting systems, dim lighting, and vertical space that goes completely unused, and that single fact should filter every decision in this guide. Where the generic advice says “choose what you love,” the laundry room version says “choose what you love that also survives poor sorting systems.” The room’s constraints are not the enemy of the design; they are the design brief.
Walk the zones with the guide in hand: the wash zone around the machines, the folding zone on a counter or table, the drying zone with a rack or rod, and the supply storage zone. Each zone gets its own pass because each fails differently. The zone you use most deserves the best execution and the largest share of the budget; the zones that underperform get the diagnostic eye first. Laundry Room improvements should be sequenced by daily impact, not by what photographs well. Fix the zone that annoys you every morning before styling the zone guests see twice a year.
Account for a hardworking utility space most households visit several times a week. This determines durability specifications, maintenance cadence, and how much wear the finishes must tolerate. A choice that works in a low-traffic room fails here within a year; specify accordingly and the results last. It also determines the maintenance routine: the harder-working the space, the more the upkeep must be habitual rather than occasional. Build the 15-minute weekly reset into the household rhythm from day one.
Laundry rooms deal with humidity, lint, and heavy vibration, so materials and layouts here need to tolerate moisture and movement without falling apart. Let that constraint guide material and method choices at every step. And measure everything twice: a typical 40 to 80 square foot laundry room leaves no room for approximate furniture or guessed clearances. The tape measure is the most important tool in this entire guide for your laundry room.
Start this weekend with the single highest-impact move for your laundry room: the one change from this guide that addresses your biggest daily annoyance. Execute it well, live with it for two weeks, then return for the next. The laundry room transforms not through one heroic project but through sequenced good decisions, each one informed by living in the room. That is how generic advice becomes your specific, working laundry room.
Your 30-Day Laundry Room Action Plan
Reading about remodel on a budget is the easy part; the transformation happens in the doing. This 30-day plan turns the guide above into scheduled reality for a typical 40 to 80 square foot laundry room. It assumes a busy household and a realistic pace: small consistent sessions beat heroic weekends that never happen.
Days 1-7: Assess and decide. Walk your laundry room with a notebook and complete the diagnostic from this guide: what a budget laundry room remodel actually includes and note what you find. Photograph everything, measure the key dimensions, and write the one-sentence scope: what this project will and will not include. Order or gather the supplies for week two. The decisions made this week determine the project’s success; do not rush them. Share the plan with the household so everyone knows what is coming.
Days 8-14: The main work. Execute the core of the project following the guide’s sequence: where the money goes: cost breakdown. Work in focused 90-minute sessions rather than exhausted marathons; quality survives the week when energy is managed. Laundry rooms deal with humidity, lint, and heavy vibration, so materials and layouts here need to tolerate moisture and movement without falling apart. Complete the messiest tasks first so the rest of the month is finishing, not demolition.
Days 15-21: Details and layering. This is the week that separates the good from the great: save vs. splurge: the decisions that matter. Step back frequently and view the laundry room from its main viewpoints; the camera check reveals what tired eyes miss. Fix the small things now while the supplies are out and the motivation is warm. Add the styling layer that makes the functional work feel finished.
Days 22-30: Settle and systematize. Live with the result for a full week before judging it; new arrangements need a shakedown period. Note what works and what annoys, then make the final adjustments. Photograph the finished laundry room for your records and as the maintenance standard. Finally, install the upkeep routine: the weekly reset, the seasonal check, the container limits. The project ends when the maintenance begins; the 30-day plan delivers a result designed to last, not a reveal designed to fade.
How to Know It’s Working
How do you judge whether the work paid off? Not by a single after photo, but by how the laundry room performs over the following months. Here are the honest success metrics for this project.
The daily-friction test. The clearest signal: the annoyances that prompted this project should be gone on ordinary days, not just in the reveal photos. poor sorting systems, dim lighting, and vertical space that goes completely unused was the complaint; two months later, ask whether the specific frictions dissolved. If the laundry room still fights you at the same points, the project addressed symptoms rather than causes, and a targeted second pass is warranted. Success is boring: the room simply works.
The maintenance test. A result that requires heroic upkeep to sustain was designed for the photoshoot, not the household. The systems from this guide should hold with the small routines described: the weekly reset, the container limits, the seasonal checks. If maintaining the result feels like a second job, simplify: fewer objects, broader categories, more forgiving materials. The sustainable version of the result beats the perfect version that collapses.
The guest test and the photo test. Guests notice the feeling before the details; if visitors comment on how good the laundry room feels, the transformation landed. The photo test is harsher and more useful: photograph the room monthly from the same angles. The photos reveal drift, clutter re-accumulation, and the slow fade that daily familiarity hides. Compare month three against the finished photos; the gap is your maintenance report card.
When to iterate. Plan a 90-day review: what worked, what did not, what the room taught you. Most projects need one round of adjustments; that is not failure but the design process working. a hardworking utility space most households visit several times a week, so the laundry room will teach you quickly what the plan got right. Iterate once, decisively, then let the room settle. The goal was never perfection on day 30; it is a laundry room that keeps working on day 300.
Keep Reading
- At-Home Photoshoot Ideas
- Small Living Room Ideas
- Small Kitchen Organization Ideas
- Diy Home Decoration Ideas
Frequently Asked Questions
How much does a budget laundry room remodel cost?
For a typical 40 to 80 square foot laundry room, a surface refresh runs $800 to $2,500, a standard budget remodel with flooring and fixtures runs $3,000 to $8,000, and a full budget remodel with counters and storage rebuilds runs $8,000 to $15,000. Keeping the layout unchanged is what keeps these numbers achievable.
What should I splurge on in the laundry room remodel?
The faucet, primary light fixtures, flooring underlayment, and anything waterproofing-related. These are touched daily or fail expensively. Save on decor, open shelving, paint brand premiums, and anything easily swapped later.
Can I remodel the laundry room myself?
Partially. DIY the demolition, painting, click-lock flooring, hardware, and storage installation to save the most. Hire licensed pros for plumbing, electrical panel work, gas, structural changes, and wet-area tile if you are inexperienced. The hybrid approach delivers most budget remodels.
How long does a budget laundry room remodel take?
Surface refreshes take one to two weekends; standard budget remodels with flooring take two to four weeks; full budget remodels take four to eight weeks. Add 50 percent to any contractor timeline estimate, and order all materials before demolition day.
What blows up a laundry room remodel budget?
Scope creep, hidden water or electrical damage, decision delays that idle hired help, and unprotected new finishes needing rework. A written scope, a real 15-20 percent contingency, all decisions made upfront, and surface protection prevent nearly all of it.
Is it cheaper to refinish or replace in the laundry room?
Refinish when the bones are sound: cabinet painting, floor refinishing, and fixture reglazing typically cost 20 to 30 percent of replacement and deliver most of the visual change. Replace only what is structurally failed, wrong-sized, or beyond cosmetic rescue.
The Bottom Line
A laundry room remodel on a budget is an allocation exercise: same footprint, strategic surfaces, refinishing over replacing, DIY where your time is cheapest, pros where mistakes are expensive. In a typical 40 to 80 square foot laundry room, that formula reliably produces a space that feels new for thousands rather than tens of thousands.
Write the scope, price every line twice, protect the contingency, and sequence top-down. Then start with demolition knowing exactly where every dollar lands. That is how budget remodels finish on budget.