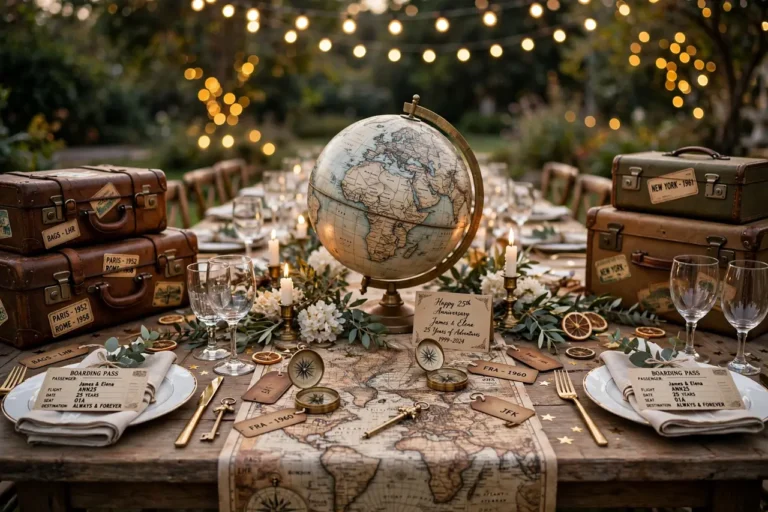
Here is an uncomfortable truth about travel memories: they have a half-life. The vivid, Technicolor recall of a trip — the smell of the night market, the exact blue of that Aegean water, the joke your partner made when you both got gloriously lost — starts decaying the moment you land home. Within a year, most of it is gone, replaced by a handful of highlight-reel moments and a phone full of photos you never look at. Learning how to preserve travel memories is not about scrapbooking nostalgia; it is about building a system that captures the texture of your adventures before time sands it smooth. This guide gives you that system — a practical, five-phase method covering what to capture while you travel, how to curate the avalanche of photos, how to keep physical mementos from crumbling, how to digitize everything as backup, and how to actually revisit it all instead of letting it rot in a cloud folder. No craft degree required.
The Three Enemies of Travel Memories
Before the method, understand what you are fighting. Travel memories die from three causes, and most people lose to all three simultaneously.
Enemy one: physical decay. Paper yellows, ink fades, photos curl, and ticket stubs turn to dust. Sunlight is the fastest killer — a boarding pass left on a sunny shelf will be illegible within a couple of years. Humidity warps, and ordinary cardboard boxes are acidic enough to stain everything they touch over a decade. Your shoebox of trip mementos is not a time capsule; it is a slow compost bin.
Enemy two: digital loss. This is the modern tragedy. Thousands of photos live on exactly one phone, backed up nowhere, one drop in a canal away from oblivion. Cloud accounts get locked, old laptops die, file formats become unreadable, and social media platforms compress your memories into mushy thumbnails. Digital feels permanent; it is the most fragile medium humans have ever invented.
Enemy three: the clutter paradox. You took 2,400 photos in Italy. You will never look at 2,400 photos. The sheer volume guarantees you look at none of them, because nobody opens a folder called “Italy FINAL final 2” for fun. Preservation is not just about preventing loss — it is about reducing the collection to a size your future self will actually revisit. A hundred perfectly chosen photos beat ten thousand uncurated ones every single time.
Every technique in this guide exists to defeat one of these enemies. Work the phases in order and you will end up with memories that survive decades and a collection you genuinely enjoy opening.
Phase 1: Capture — What to Collect While You Are Traveling
Preservation starts before you leave, with a capture mindset. The goal is not to document everything — it is to deliberately gather the raw materials your future self will need.
Pack a memory pouch: one zippered pouch in your day bag, dedicated to the day’s finds. Into it go ticket stubs, museum passes, interesting receipts, business cards from beloved restaurants, the little map the hotel gave you, a pressed flower from a garden (only where picking is legal — never in national parks or protected reserves), foreign coins, and anything flat and interesting. Each evening, take sixty seconds to write the date and a one-line note on the back of paper items: “the café where it rained and we stayed for three hours.” That one line is worth more than the ticket itself.
For photos, change your shooting habits slightly. Yes, take the sweeping landscapes and the posed couple shots — but also deliberately capture the texture shots: the chipped paint on a doorway, your breakfast table, the street sign of the lane your hotel was on, your partner’s hands holding a local pastry. Texture shots are what trigger sensory memory years later. And shoot short video clips — thirty to sixty seconds of ambient sound and motion. A still photo of a market cannot preserve the noise of it; a short clip can. Future you will be stunned how much a minute of shaky video brings back.
Finally, keep a two-minute nightly log. It does not need to be literature — a notes app entry with the day’s three best moments is enough. “1. Got lost, found the tiny chapel. 2. The octopus dinner. 3. Sunset from the castle wall while it rained on one side.” This log becomes the skeleton key for the entire trip when you curate later, because it tells you what actually mattered while the feeling was fresh. Couples can alternate nights to get both perspectives — and if you want to turn those nightly notes into something shareable, our marriage anniversary photo captions for couples can help you caption the keepers beautifully.
Phase 2: Curate — The Ruthless Edit (Do This Within Two Weeks)
Timing matters. Curate within two weeks of getting home, while you still remember which blurry photo was actually the funniest moment of the trip. After a month, every photo looks the same and the edit never happens.
Use the 50-photo rule: for a week-long trip, your final “keeper” collection should be about fifty photos. Not fifty per day — fifty total. This sounds brutal until you try it, and then it feels like liberation. Dump everything into one folder, then do three passes. Pass one: delete the obvious failures (blurry, duplicates, accidental pocket shots) without mercy. Pass two: star anything that makes you feel something. Pass three: from the starred set, choose the fifty that together tell the story of the trip — a beginning, middle, and end, with people, places, and textures represented.
Name the folder properly: “2026-05 Amalfi Coast” beats “Trip!!!” and will still make sense in twenty years. Within it, rename your fifty keepers with descriptive names or at least sequential numbers. Then — and this is the step everyone skips — write the trip summary: one page, top ten moments, funniest incident, best meal, one thing you would do differently. Save it as a text file in the folder. This single page will be the most-read document in your archive.
What about the other 2,350 photos? Keep them, but quarantine them. Move everything non-keeper into a subfolder called “raw archive.” You will almost never open it, but its existence removes the anxiety of deleting. The keepers are your living collection; the raw archive is the attic.
Phase 3: Preserve the Physical — Archival Methods That Actually Work
Your memory pouch comes home full of paper treasures. Now keep them from disintegrating. The science here is simple: light, acid, and moisture are the enemies, so you fight all three.
First, digitize before you do anything else (full method in Phase 4). Then sort the physical items into two groups: display and archive. Display items — the prettiest ticket, the best postcard — go into frames or shadow boxes with UV-protective glass or acrylic, which blocks the wavelengths that fade ink and photos. It costs modestly more than standard glass and is the single highest-impact purchase in physical preservation. Keep displayed pieces out of direct sunlight regardless; UV glass slows fading, it does not stop it.
Archive items go into acid-free storage: acid-free boxes, acid-free tissue, and archival photo sleeves. Standard envelopes, shoeboxes, and ordinary plastic sleeves contain acids and chemicals that yellow and stain paper over years — the “archival” label matters, and it is not expensive. Store the boxes in a cool, dry, dark place: a closet shelf, not the attic (heat) or basement (moisture). Add silica gel packets if you live somewhere humid.
For photos specifically: never store prints in “magnetic” albums with sticky pages — the adhesive destroys photos within a decade. Use photo corners or archival sleeves instead. If you have old family travel photos already stuck in magnetic albums, prioritize scanning them (Phase 4) and consider carefully removing them; a hair dryer on low can soften old adhesive. Handle prints by the edges — fingerprints contain oils that etch into photo surfaces over time. For a fresh batch of prints worth preserving, see our marriage anniversary photoshoot ideas at home and treat those portraits with the same archival care.
Phase 4: Digitize — Building a Backup System That Survives You
Digitization is your insurance policy. Even if every physical item were lost tomorrow, a good digital archive preserves the memory. But “it’s in the cloud” is not a system — it is a hope. Here is an actual system.
Follow the 3-2-1 rule used by professional archivists: three copies of everything, on two different types of media, with one copy off-site. In practice for a traveler: copy one is your computer’s organized photo library; copy two is an external hard drive (or a second cloud service); copy three is a cloud backup. The two-media requirement matters because cloud companies can lock accounts and hard drives can fail — redundancy across different kinds of storage is what makes the system robust.
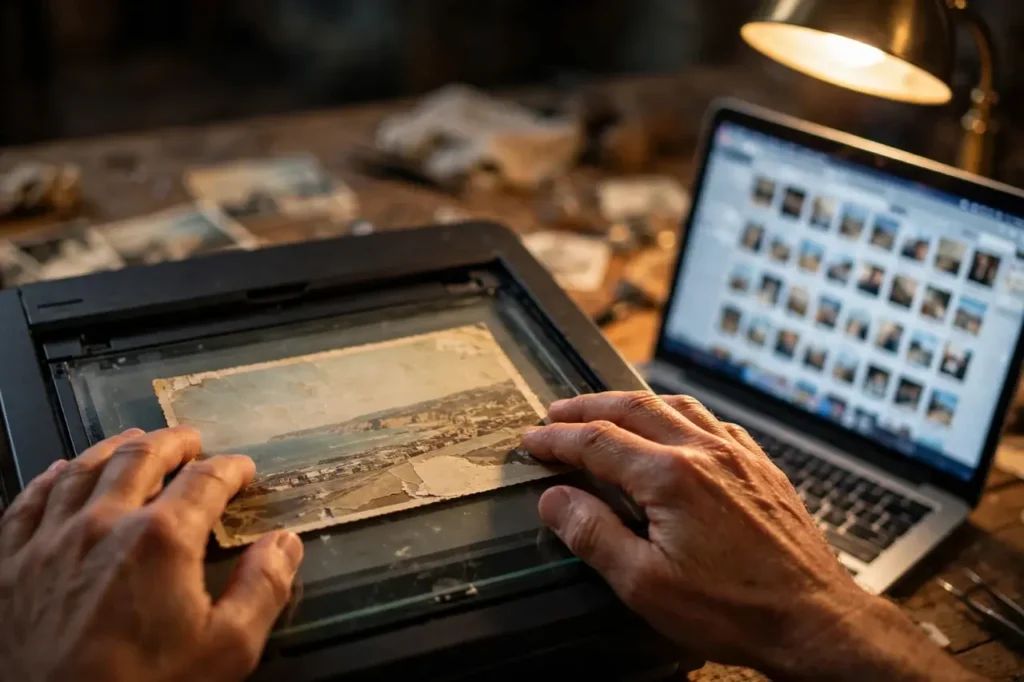
Scan paper mementos at 300 DPI minimum (600 for anything small or detailed, like ticket stubs with fine print). A phone scanning app works fine for most items if you shoot in good light on a dark background; a flatbed scanner is better for fragile or curled items. Save scans as TIFF or high-quality JPEG — avoid keeping your only copy in a proprietary format. Name files consistently: “2026-05-amalfi-boarding-pass.jpg” tells future you everything.
For old printed photos, scan at 600 DPI — you can always downscale, never upscale. If you have boxes of inherited family travel photos, consider a bulk scanning service for the sheer volume, then handle the most precious ones yourself for quality. And digitize the odd formats too: old camcorder tapes, DVDs, and MiniDV degrade steadily, so transfer them now while working players still exist. Every year you wait, working playback hardware gets rarer.
Organize with a simple, boring folder structure and stick to it forever: Year → Trip → keepers / raw / scans / video. Boring is good. Boring survives. Fancy tagging systems and clever apps get abandoned; folders endure. Once a year, on your anniversary if you like ritual, verify your backups: plug in the external drive, confirm the cloud sync is current, and spot-check that files open. A backup you never test is a rumor.
Phase 5: Display and Revisit — Preservation Is Pointless Without Ritual
Here is the phase everyone forgets, and it is the entire point. A perfectly preserved archive that nobody opens is a mausoleum. Build revisit rituals into your life.
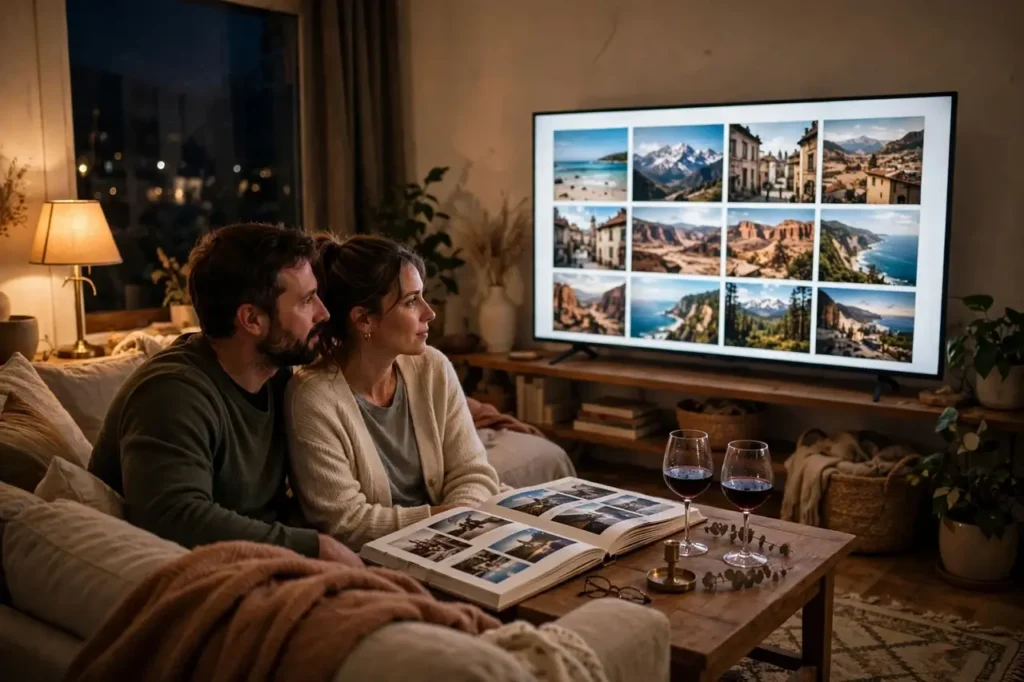
The annual anniversary review is the simplest: every anniversary, open one past trip’s keeper folder together — fifty photos, the trip summary, maybe the scanned tickets — and spend twenty minutes with it. Put it on the TV, pour something nice, and narrate to each other. Couples who do this report that old trips feel like they happened twice, which in a sense they did.
Rotate your physical displays. Keep one “current exhibition” spot — a hallway frame, a shelf, a shadow box — and change it with the seasons or per anniversary, pulling pieces from the archive boxes. Rotation keeps the collection feeling alive and gives archived items their moment. And make one physical photo book per major trip, or one per year of travel. Books get opened; folders do not. A book on the coffee table will be browsed by guests, kids, and future grandkids in a way no hard drive ever will be.
Finally, share deliberately. Once a year, send a small printed set — ten photos and a note — to the people who traveled with you or the family members who love hearing about it. Physical prints in the mail are startlingly powerful in the digital age, and they distribute your memories across other households, which is its own form of backup. The social life of a memory is part of its preservation. When you share trip highlights online, our marriage anniversary hashtags for Instagram can help the right people find them.
Special Situations: Honeymoons, Family Trips, and Inherited Memories
Some travel memories carry extra weight and deserve extra care. Honeymoon and anniversary trips are the most commonly “lost” precious memories — couples assume the photos are safe on an old phone, and five years later the phone is gone. Treat milestone trips as priority-one archives: curate them first, back them up twice, and make the photo book. The fifty-keeper rule still applies, but consider expanding to a hundred for a honeymoon; you will want the outtakes later.
Family trips with kids need a different approach because the preservers are also the exhausted parents. Simplify ruthlessly: one shared album per trip that both partners can add to, a single nightly-log sentence instead of three, and a rule that the kids pick their own ten favorite photos for the book. Children who choose their own keepers develop the curation habit early, and their picks — inevitably the ice cream, the weird bug, the hotel pool — are often the most joyful pages years later. Print a small duplicate book for grandparents; it costs little and distributes the memories to people who will treasure them.
Inherited travel memories — your parents’ slides, a grandparent’s photo albums from a 1970s road trip — are a rescue operation. The media is actively degrading, so speed matters more than perfection. Scan everything at a reasonable resolution first (300 DPI is fine for triage), interview the oldest family members about who and where while you still can, and record those conversations on your phone — the stories are the real artifact. Only after the triage scan is safe should you go back and re-scan the most important images at higher quality. Label everything with names, approximate dates, and locations, because unlabeled inherited photos become mysteries within one generation.
The 10-Minute Monthly Maintenance Habit
A preservation system only works if it stays current, and the way to keep it current is to make maintenance tiny. Once a month — tie it to the first Sunday, or payday, or any existing habit — spend ten minutes on three tasks. First, import and back up: move any new photos from phones and cameras into the proper Year → Trip folders and confirm the cloud sync ran. Second, quick-curate: if you took a batch of everyday photos worth keeping (not just trips — life happens between trips too), star the keepers. Third, one archival micro-task: scan five paper items, sleeve ten prints, or label one old folder. Five items a month is sixty a year — the shoebox empties itself without a single exhausting weekend.
This habit also catches problems early. A monthly glance at your storage will reveal the dead external drive, the full cloud plan, or the folder that never synced — all fixable in minutes when caught early, all catastrophic when discovered years later. Think of it like changing the oil: boring, brief, and the reason the engine lasts. Couples can split it — one handles digital, the other handles physical — and do it together with coffee. Ten minutes, once a month, and your memories compound instead of decaying.
At a Glance: Preservation Methods Compared
| Method | What It Protects | Typical Cost | Effort | Longevity |
|---|---|---|---|---|
| UV-protective framing | Displayed photos, tickets, art | $40–$150 per piece | Low | Decades (out of direct sun) |
| Acid-free archival boxes | Paper mementos, prints, letters | $15–$40 per box | Low | 50+ years |
| Flatbed scanning (300–600 DPI) | Everything flat | $0–$150 (scanner) | Medium | As long as files are maintained |
| 3-2-1 digital backup | All digital files | $60–$150/year | Low (after setup) | Indefinite with maintenance |
| Printed photo book per trip | Curated keepers | $30–$80 per book | Medium | Decades |
| Video transfer (old tapes/DVDs) | Legacy footage | $15–$30 per tape (service) | Low | Rescues degrading media |
| Silica gel + cool dark storage | All physical items | Under $10 | Minimal | Prevents moisture damage |
| Annual revisit ritual | The memory itself | Free | 20 min/year | Keeps memories vivid |
Watch: From Shoebox to Memory Box
Theory is useful, but watching someone transform a chaotic pile of photos and trip leftovers into an organized, beautiful memory box makes the whole system click. This video walks through building a proper photo memory box — sorting, organizing by trip, and creating something you will actually open:
Video: a step-by-step photo memory box build — the perfect visual companion to Phases 2 and 3 above, showing how to sort, organize, and house your travel photos properly.
Frequently Asked Questions
What is the best way to preserve travel memories long term?
Combine all three: curate ruthlessly (the 50-photo rule), store physical mementos archivally (acid-free, UV-protected, cool and dark), and maintain a 3-2-1 digital backup. No single method is enough — physical items decay, digital files get lost, and uncurated collections never get viewed. The system in this guide covers all three.
How do I organize thousands of travel photos?
Curate first, organize second. Apply the 50-photo rule per trip to create a small keeper collection, quarantine the rest in a “raw archive” subfolder, and use a simple Year → Trip folder structure. Do the edit within two weeks of returning, while you still remember what mattered. A small organized collection beats a massive chaotic one every time.
What DPI should I scan old travel photos at?
Scan prints at 600 DPI and paper documents or ticket stubs at 300 DPI minimum. Higher resolution preserves fine detail and gives you the option to reprint at larger sizes later. Save as TIFF or high-quality JPEG, and never keep your only copy in a proprietary format that might become unreadable.
How do I back up travel photos properly?
Follow the 3-2-1 rule: three copies, on two different media types, one off-site. For most travelers that means your computer, an external hard drive, and a cloud backup. Test the backups once a year — plug in the drive, confirm the cloud sync, and open a few random files. An untested backup is just a hope.
What is the best way to store ticket stubs and paper souvenirs?
Scan them first, then store originals in acid-free sleeves or boxes away from light and moisture. Never use ordinary shoeboxes or “magnetic” sticky albums — both damage paper over time. For display, use frames with UV-protective glass and keep them out of direct sunlight.
Should I keep every photo or delete ruthlessly?
Both: delete the obvious failures without mercy, quarantine the mediocre into a raw archive folder, and elevate about fifty keepers per week-long trip into your living collection. The keepers are what you will actually look at; the raw archive exists so deleting does not feel scary.
How do I preserve memories from trips taken years ago?
Start with triage: gather everything into one place, scan the most fragile items first (fading prints, crumbling stubs), and write down what you remember about each trip while interviewing anyone who was there. Old magnetic albums are a priority — the adhesive destroys photos over time, so scan those pages promptly and consider carefully removing the prints.
What is the easiest preservation habit for non-crafty people?
The two-minute nightly log while traveling plus the annual anniversary review at home. The log captures what mattered while it is fresh, and the yearly review keeps the memories vivid. Together they take almost no time, require zero craft supplies, and preserve more actual memory than any scrapbook.
How do I preserve travel videos and old tapes?
Transfer old tapes, MiniDV, and DVDs to digital files now — the media degrades steadily and working playback hardware gets rarer every year. A transfer service typically charges per tape and is worth it for the volume. For new trips, shoot short ambient clips and back them up under the same 3-2-1 system as your photos.
How often should we revisit our preserved travel memories?
At least once a year — tie it to your anniversary for a built-in ritual. Open one past trip’s keeper collection together, put it on the TV, and narrate. Couples who revisit regularly report far richer recall of old trips, and the ritual itself becomes a new memory layered on top of the old one.
Your Preservation Action Plan: Start This Weekend
You do not need to preserve a decade of travel in one weekend — you need to build the system once and then let it run. This Saturday, do three things: buy one acid-free storage box and a pack of archival sleeves, set up the second leg of your 3-2-1 backup (an external drive or a cloud plan), and curate the photos from your most recent trip down to fifty keepers with a one-page trip summary. That is it. Three actions, one afternoon, and your future memories are suddenly safer than your past ones ever were. Next, work backward through old trips one per month — scan the fragile stuff first, write the summaries while you still can, and rescue anything stuck in a magnetic album. Within a year, the shoebox becomes an archive, the phone dump becomes a collection, and your travels become what they were always meant to be: a library of your life together that you can open any time. For inspiration on what to do with your newly preserved photos, browse our marriage anniversary photo ideas for couples and start planning the display. And remember the deeper truth underneath all the archival sleeves and backup drives: you are not preserving paper and pixels, you are preserving proof — proof that you went, that you saw, that you were there together. Decades from now, when the details have softened, your archive will hand them back to you intact. That is worth one weekend and ten minutes a month.