Wondering how to host a coffee tasting at home? It’s easier than you think. You already host movie nights. You’ve done the taco bar, the wine-and-paint evening, maybe even a murder mystery that ended with someone “dying” in your laundry room. But there’s a gathering format that combines the cozy comfort of a dinner party with the interactive fun of a game night — and it requires nothing more exotic than the stuff in your kitchen right now.
A home coffee tasting is exactly what it sounds like: you and your guests sample several coffees side by side, sniffing, slurping, and scoring them like professional cuppers. It’s part sensory workshop, part social experiment, and part excuse to drink four kinds of coffee on a Saturday afternoon without anyone judging you.
This guide walks you through everything, from picking coffees with real contrast to setting up a scorecard station, running the tasting like a friendly pro, feeding your guests, and cleaning up without dreading the sink. No barista certification required — just curiosity and a willingness to slurp loudly in front of people you like.
Why a Coffee Tasting Party Is a Great Gathering Idea
Dinner parties are wonderful, but they come with a production cost: hours of cooking, dietary minefields, and the eternal question of whether your brisket will be done before the guests arrive. A coffee tasting flips that equation. The “cooking” takes about 45 minutes, nearly everyone can participate, and the main ingredient costs a fraction of a catering bill.
Choosing Your Coffees: Contrast Is Everything
The golden rule of a home tasting: pick coffees that are different from each other. Three near-identical medium roasts will blur together and bore everyone. Three wildly different coffees will spark debate, surprise, and the best possible party conversation.
A Winning 4-Coffee Lineup
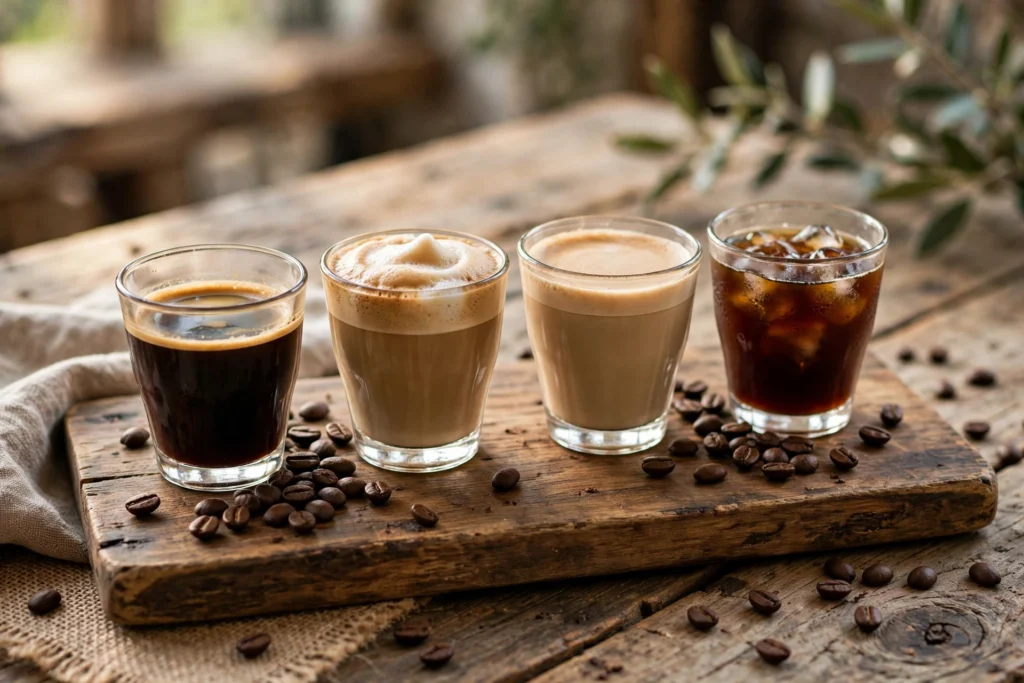
Aim for four coffees that contrast across origin, roast level, and processing method. Here’s a battle-tested lineup that never fails to produce “wait, what IS this?” reactions:
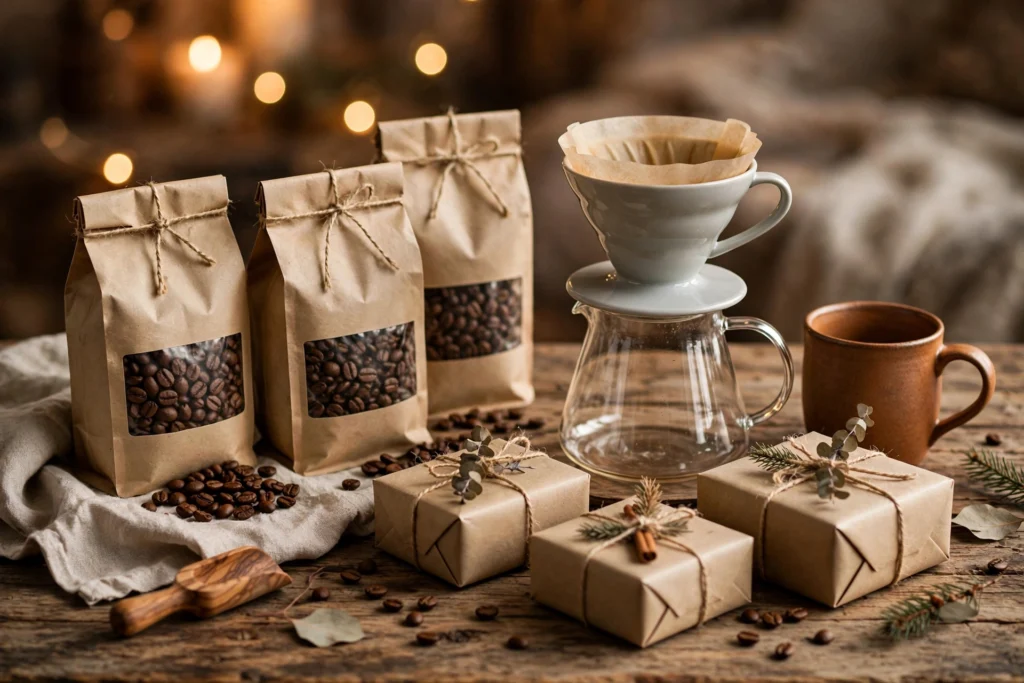
- Coffee 1 — Bright and floral: A light-roast Ethiopian, ideally a washed or natural-process single origin. These are the showstoppers of the coffee world — expect notes of blueberry, jasmine, citrus, and stone fruit. They taste like nothing most people associate with “coffee,” which makes them the perfect conversation starter.
- Coffee 2 — Sweet and balanced: A medium-roast Colombian or Brazilian. This is the crowd-pleaser: chocolate, caramel, red apple, round and comforting. Most of your guests will probably identify this as “tastes like really good coffee,” which is exactly the point.
- Coffee 3 — Bold and dark: A dark-roast Sumatran or an Italian-style espresso blend. Smoky, earthy, heavy-bodied, maybe a little spicy. Guests who swear they “only like dark roast” will be vindicated; everyone else will have opinions.
- Coffee 4 — The wildcard: A flavored coffee (hazelnut or vanilla), a decaf, or something fun like a honey-process Costa Rican or a cold brew concentrate for comparison. The wildcard keeps things playful and gives non-purists something to love.
Taste in order from lightest to darkest — that’s the standard cupping progression, because bold coffees overwhelm the palate and make subtle ones taste like hot water afterward.
The Equipment Checklist (With Budget Options)
You don’t need a barista’s countertop to do this well. Here’s what you need, split into must-haves and nice-to-haves — with honest budget alternatives.
Must-Haves
- A burr grinder — Consistency matters more than anything else at a tasting, because uneven grind makes uneven flavor. A basic manual burr grinder ($25–40) works perfectly. A blade grinder ($15) is acceptable for a casual party, but expect a little extra bitterness and don’t tell the coffee snobs.
- A consistent brewing method — Brew all four coffees the same way so the beans are the variable, not the method. A large French press ($30) or a pour-over dripper with a kettle ($25–35) both work. If you only own a drip machine, that’s fine too — just use it for everything and keep the recipe identical.
- A kitchen scale — Weighing coffee and water is the difference between “pretty good” and “actually repeatable.” Any $12 digital kitchen scale works. Use a 1:16 ratio (1 gram of coffee to 16 grams of water) as your baseline for all four brews.
- Tasting cups — Small 3–4 oz cups or ramekins, one set per coffee per guest. Demitasse cups are ideal, but paper tasting cups, shot glasses, or even small mason jars work. The key: every guest gets a fresh cup for each round.
- Scorecards and pens — Print or hand-make one scorecard per guest per coffee (more on the template below). Clipboards make this feel delightfully official.
- A kettle — For heating water to roughly 200°F (just off boiling). A stovetop kettle is fine; a gooseneck gives you pour-over control if you go that route.
Nice-to-Haves
- A second grinder or pre-weighed beans — Speeds up transitions between rounds enormously.
- Small labels or tent cards — Label each coffee A, B, C, D during the blind round. Fancy calligraphy optional; masking tape and a marker is honest and charming.
- A spittoon cup — Yes, really. Professional tasters spit. Give guests a large mug for dumping unwanted sips so nobody’s vibrating by round three. Nobody will judge; they’ll be relieved.
- A timer — Your phone works. Consistent brew times keep things fair.
- Palate cleansers — Plain crackers, sparkling water, and apple slices between rounds.
The Budget Setup (Under $60 Total)
Already own a drip coffee maker, a kitchen scale, and some mugs? You’re nearly there. Add a $25 manual burr grinder, a $10 pack of small paper cups, and print scorecards at home. The coffee itself is the real expense — four half-pound bags from a local roaster typically run $50–70 total, which for eight guests is under $10 a head. That’s cheaper than a pizza night and infinitely more memorable.
Where to Buy (and How Much)
You need surprisingly little coffee: about 2 ounces (roughly 55 grams) of whole beans per coffee per six guests, brewed as 6–8 ounces of finished coffee per person per round. For eight guests and four coffees, a half-pound bag of each is plenty, with leftovers for the morning after.
Best sources, ranked by freshness:
- A local roaster — the gold standard. Ask for the roast date (ideally within the last 1–3 weeks), and tell them what you’re doing. Most roasters light up when they hear “tasting party” and will happily recommend beans with maximum contrast.
- Online specialty roasters — great when you want specific origins. Look for roast dates on the bag or website, and order so the coffee arrives 3–10 days after roasting (a few days of rest actually improves most coffees).
- The grocery store — workable in a pinch. Choose bags with a visible “roasted on” date, not just a “best by” date, and pick the freshest one. Avoid the dusty bags that have been sitting under fluorescent lights for months.
Freshness Tips That Actually Matter
- Buy whole beans, always. Pre-ground coffee starts going stale within hours. Whole beans stay fresh for weeks.
- Grind right before brewing. This is the single biggest upgrade you can make. Grinding 10 minutes before the tasting is fine; grinding the night before is not.
- Store beans in their bag, sealed, at room temperature. Don’t freeze beans you’ll use this week — the freeze-thaw cycle does more harm than good for a tasting timeline.
- Check roast dates, not “best by” dates. Coffee is best roughly 4–21 days after roasting for most brewing methods.
More importantly, it solves the biggest problem of modern get-togethers: the dead air. There’s a reason wine tastings and beer flights are popular — having something to taste, compare, and argue about gives a group an instant shared activity. Coffee does this even better than alcohol for a few reasons. Nobody gets too tipsy to drive home. Nobody has to skip it for pregnancy, medication, or preference — decaf and half-caf options make it genuinely inclusive. And the sensory range of coffee is absurdly wide: the same plant can taste like chocolate, berries, citrus, flowers, or nuts depending on where it grew and how it was roasted. Watching your friends discover that is pure entertainment.
It’s also remarkably flexible as an event format. Host it as a Saturday morning brunch alternative, an afternoon social, or an after-dinner party when guests would normally be flagging. It works for groups of four to twelve and costs very little beyond the coffee itself.
The Tasting Method, Step by Step
This is the heart of the party. Follow this sequence and you’ll run a tasting that feels structured but never stiff — like a cooking class taught by your funniest friend.
The Scorecard: A Printable-Style Template
You don’t need graphic design skills — a simple table on printer paper works beautifully. Here’s the layout to recreate (one sheet per guest, with a row per coffee):
Header: Guest name, date.
For each coffee (A, B, C, D), score 1–5 in each category:
- Aroma (1–5) — How inviting and interesting does it smell?
- Flavor (1–5) — How good does it actually taste?
- Body (1–5) — Do you like the mouthfeel — light, medium, or heavy?
- Overall impression (1–10) — Gut reaction: would you drink this again?
Then, per coffee, two free-response lines:
- “Tastes like: _______________” (the fun part — encourage wild guesses)
- “Guess: origin or roast — _______________” (for the blind round)
Footer: “My favorite: ___ | I’d buy a bag of: ___ | Funniest tasting note I heard today: _______________”
Total possible score per coffee: 25. Tally at the end for a group ranking. Pro tip: print on cardstock if you have it — coffee rings on cardstock look intentional.
What to Serve: The Food Pairings Menu
Coffee is the star, but food keeps the party grounded — literally. Caffeine on an empty stomach turns a fun afternoon into a shaky one, so feed people well before and during the tasting.
The Pre-Tasting Spread (Serve 30 Minutes Before Round One)
Put out a real breakfast or brunch spread so nobody tastes on empty. Good options: a quiche or frittata, a bagel and cream cheese board, fresh fruit, yogurt parfaits, or a simple egg-and-potato hash. The goal is substance — protein and carbs that slow caffeine absorption.
Palate Cleansers Between Rounds
Set these out on the tasting table itself: sparkling water (the single best palate reset), plain water crackers or breadsticks, and apple or pear slices. Guests should sip water and nibble a cracker between coffees. It genuinely sharpens the tasting — and it gives fidgety hands something to do.
What to Avoid
Some foods actively sabotage a tasting, so keep them off the table until after the final scores are in:
- Anything strongly flavored — garlic, onion, blue cheese, pickles, and spicy foods will hijack everyone’s palate for the next two rounds.
- Mint — toothpaste-adjacent freshness nukes coffee flavor. Skip the mints until the party’s over.
- Very sweet desserts during the tasting — sugar recalibrates the palate and makes the next coffee taste sour or bitter. Save the pastries for the after-party.
- Milk and heavy creamer at the tasting table — tasting is about the coffee itself. (Set up a proper coffee-and-treats station afterward for guests who want their usual.)
The After-Tasting Treat Table
Once scores are tallied, bring out the good stuff: biscotti, shortbread, chocolate croissants, a cheese board, brownies. Now that the “work” is done, let everyone doctor their favorite coffee however they like and graze. This is also when you break out the decaf or a fun flavored coffee for anyone who’s hit their limit.
Step 1: Prep Before Guests Arrive
Weigh out your coffee and water for all four rounds in advance. For eight guests drinking 6 oz per round, that’s roughly 28 grams of coffee and 450 grams of water per coffee — round up slightly for spillage and refills. Label four stations or trays A through D. Set out cups, scorecards, pens, water, and crackers. Put the beans in opaque containers labeled with letters only (save the big reveal for the end).
Step 2: Welcome and Ground Rules (10 Minutes)
When guests arrive, give them the two-minute version of what’s about to happen: “We’re tasting four coffees from lightest to darkest. You’ll smell them, slurp them — yes, slurping is mandatory — score them, and guess what they are. There are no wrong answers. Dump what you don’t like in the big mug; nobody’s keeping score of your scorecard but you.” Demonstrate the slurp once. Everyone will laugh. Then everyone will do it.
Step 3: Grind Fresh, One Coffee at a Time
Grind each coffee just before its round. Let guests smell the dry grounds first — this is called the “fragrance” stage, and it’s often the most aromatic moment of the whole tasting. Pass the grounds around and ask what people smell. Write the answers on a whiteboard or big pad if you have one; reading them aloud later is comedy gold.
Step 4: Brew Consistently
Use the same recipe for every coffee: same ratio, same water temperature (about 200°F), same brew time. If you’re using a French press, that’s 4 minutes steep, then break the crust and skim. For pour-over, keep your pour pattern identical. Consistency is what makes the comparison fair — and it’s what separates a tasting from “we made four random pots of coffee.”
Step 5: Smell the Aroma, Then Slurp
Pour about 3–4 ounces per guest (half cups keep everyone functional). First, smell the hot coffee — the “aroma” stage, which is different from the dry fragrance. Then the main event: take a spoonful or a sip and slurp it loudly, aerating the coffee across your whole palate. It feels ridiculous the first time. By the third coffee, your quietest friend will be slurping like a pro and everyone will be cackling.
Ask guests to notice three things: aroma (what does it smell like?), flavor (what does it actually taste like — fruit? chocolate? nuts? smoke?), and body/mouthfeel (is it light and tea-like, or heavy and syrupy?). Finish — the lingering aftertaste — is a bonus round for the detail-oriented.
Step 6: Score and Discuss
Give everyone 3–4 minutes per coffee to fill in their scorecard before moving on. Then do a quick group share: “What did everyone get on B?” You’ll hear “blueberry!” and “my grandma’s attic!” in the same breath, and both answers are valid. This discussion is the soul of the party — don’t rush it.
Step 7: The Big Reveal
After all four rounds, reveal what each coffee was: origin, roast level, process, and where you bought it. Announce the group’s highest-scored coffee with appropriate ceremony. This is also the moment to crown winners of any side games (see the interactive twists below).
Fun Interactive Twists
The tasting itself is engaging, but a few games turn it from “nice afternoon” into “we have to do this every year.”
The Blind Tasting Challenge
Sample Party Timeline: The 2-Hour Schedule
Two hours is the sweet spot — long enough to feel like an event, short enough that nobody’s watching the clock. Here’s how it breaks down for eight guests:
0:00–0:25 — Arrival and pre-tasting spread. Guests arrive, grab food, mingle. Coffee is ground and the first round is brewing. Keep background music on and the vibe relaxed — this buffer also absorbs latecomers.
0:25–0:35 — Welcome and ground rules. The two-minute briefing, the ceremonial first slurp demonstration, scorecard handout. Get everyone seated at the tasting table.
0:35–1:35 — The four tasting rounds. Budget 15 minutes per coffee: 3 minutes to grind and brew (do this while guests discuss the previous round), 2 minutes for fragrance and aroma, 5 minutes for tasting and scoring, 5 minutes for group discussion. It sounds tight, but the rhythm becomes natural fast. Enforce the light-to-dark order.
1:35–1:50 — The big reveal and awards. Reveal each coffee, tally scores, announce the group favorite, crown the blind-tasting champion, vote on the silly categories. This is the emotional peak — milk it.
1:50–2:00+ — After-party. Bring out the treat table, open the “doctor your coffee” station with milk, sugar, and syrups, attempt latte art, take the group photo with everyone’s scorecards. Guests drift out happy, caffeinated, and already asking when the next one is.
Timing note: If your group runs chatty (most do), pad the tasting rounds to 18 minutes each and trim the arrival window. The schedule is a guide, not a prison.
Cleanup and Storage Tips
The party’s over, the guests are gone, and your kitchen looks like a coffee shop exploded. Here’s how to make recovery painless.
During the party: Keep a “bus tub” — any large bowl or basin — on a side table for used tasting cups. Guests will happily clear their own cups between rounds if there’s an obvious place to put them. Line your tasting table with a washable tablecloth or kraft paper; coffee rings become decor instead of damage.
After the party: Rinse the French press or dripper immediately — coffee oils go rancid fast and stain. Tasting cups can soak in hot soapy water while you deal with the rest. Wipe down the grinder (a dry brush or uncooked rice run through it picks up oily residue). Scorecards make great keepsakes — snap a photo of the funniest ones before recycling.
FAQ
How many coffees should I serve at a home tasting?
Three to four is the sweet spot for a home party. Fewer than three doesn’t give enough contrast to make it interesting; more than four and palate fatigue sets in — everything starts tasting the same around cup five or six, and your guests start tasting mostly caffeine. If you have a bigger group or more time, you can add a fifth “bonus round,” but keep the core tasting to four.
Do I need expensive equipment to host a coffee tasting?
Not at all. The only things that genuinely matter are fresh whole beans, a grinder (even a $25 manual burr grinder), a consistent brewing method, and a kitchen scale. Everything else — fancy cups, gooseneck kettles, printed scorecards — is atmosphere. Some of the best home tastings run on a drip machine and paper cups, because the host nailed the coffee selection and kept the energy fun.
Should the tasting be blind or should guests know what they’re drinking?
Blind is more fun, full stop. Knowing what’s in the cup creates expectations — people taste what they expect to taste. When the labels come off, guests give more honest scores, make bolder guesses, and the reveal at the end becomes a genuine event. Keep the bags hidden until the big reveal; the suspense is half the entertainment.
What if some guests don’t drink caffeine?
Easy to include everyone: make one of your four coffees a quality decaf (Swiss Water Process decafs can be genuinely delicious), or brew a half-caf round. You can also offer smaller tasting pours — 2 to 3 ounces per round keeps total caffeine around one strong cup of coffee across the whole event. And the dump mug is always there; nobody has to finish anything.
How do I keep everyone’s palate fresh between rounds?
Sparkling water is the best reset — the carbonation scrubs the palate clean. Plain crackers or bread and apple slices work well too. Avoid anything flavored, sweet, or minty during the tasting itself. Also, taste from light to dark roast; going the other direction lets bold coffees bulldoze the subtle ones.
Can I host a coffee tasting in the evening?
You can, but plan around the caffeine. An after-dinner tasting works beautifully if you use smaller pours, include a decaf round, and start early enough that guests aren’t staring at the ceiling at 2 a.m. Alternatively, lean into it: an evening tasting with a decaf-only lineup (yes, good decaf exists) plus dessert pairings makes a fantastic dinner-party finale.
What’s the best brew method for a tasting?
The best method is the one you can repeat identically four times. A French press is the most forgiving crowd option — it’s hard to mess up and it highlights body and richness. Pour-over gives the cleanest, clearest flavors but demands more attention. A drip machine is perfectly fine if that’s what you own. Whatever you choose, use it for all four coffees so the beans are the only variable.
How far in advance should I buy the coffee?
Buy beans so they’re between 4 and 21 days off roast on party day — that’s the peak flavor window for most coffees. From a local roaster, buying 3–7 days before the event is ideal. If ordering online, check the roast date and shipping time, and order so the coffee arrives a few days before the party (most coffees actually improve with 3–5 days of rest after roasting). Grind only on the day, right before each round.
This is the classic for a reason: label the coffees only A through D and don’t reveal anything until the end. Guests guess the origin, roast level, or even just “which one is the expensive one?” Offer a small prize — a bag of the winning coffee, a goofy trophy, a coffee-scented candle — for the most correct guesses. People get intensely competitive about this, in the best way.
Vote for Favorites (With Categories)
Beyond the scorecards, run live votes with silly-serious categories: “Most Likely to Replace My Morning Cup,” “Weirdest (in a Good Way),” “Best Smell,” “Biggest Surprise.” Write nominees on a whiteboard, let everyone vote by show of hands or sticker dots. It takes five minutes and generates the loudest debates of the day.
The Latte Art Attempt
If you have an espresso machine or a milk frother, set up a latte art station after the tasting. Give everyone a crash course in steaming milk, then let them pour. Nobody’s first rosetta looks like a rosetta — expect blobs, accidental abstract art, and at least one pour that looks like a potato. Photograph every attempt.
Guess the Tasting Note
Professional coffee bags list tasting notes like “jasmine, bergamot, black tea.” Read a bag’s notes aloud without showing which coffee it belongs to, and have guests match the notes to cups A–D. It’s harder than it sounds and produces fantastic arguments about whether something tastes like “stone fruit” or “a Yankee Candle.”
The Caffeine Bracket
For groups that love competition, run the tasting as a tournament bracket: A vs. B, C vs. D, then winners face off in a final head-to-head. Fill out the bracket on a big sheet of paper, March-Madness style.
Conclusion
A home coffee tasting is one of those rare party ideas that’s cheap, easy, inclusive, and genuinely unforgettable all at once. You don’t need expertise — you just need four interesting coffees, a way to grind and brew them consistently, some scorecards, and friends willing to slurp loudly. The structure does the entertaining for you: the contrast between the coffees sparks the conversation, the blind guessing sparks the competition, and the reveal gives everyone a story to take home.
Storing leftover beans: Squeeze the air out of each bag, reseal tightly (a clip or rubber band works), and store at room temperature away from light. Use within two to three weeks for best flavor. Label the bags with what they are while you still remember — “the blueberry one” is not a useful label next month.
The morning after: You have leftover coffee from four bags. This is not a problem; this is a gift. Brew your favorite from yesterday’s winner and relive the glory.