A grand opening is the first impression your business will ever make, and first impressions are formed in seconds. Yet many new owners assume that a memorable launch requires a luxury decorator’s budget. The truth is far more encouraging: some of the most photographed, most talked-about grand openings in recent years cost less than a single catered lunch. With smart planning, a few hours of DIY effort, and the right materials, you can create a celebration that feels premium on a budget that would make any accountant smile.
This guide walks you through ten proven grand opening decoration ideas on a budget, each with realistic cost estimates, step-by-step setup notes, and the practical details that separate a polished event from a forgettable one. Whether you are opening a bakery, a boutique, a dental clinic, or a fitness studio, these ideas scale to your space and your wallet. We will also cover a complete $500 budget plan, a DIY-versus-hire cost comparison, a seven-day setup timeline, and the mistakes that waste money so you can avoid them.
Before we dive in, one mindset shift matters more than anything else: guests remember feelings, not price tags. A room filled with light, color, and energy registers as “impressive” whether the garland cost $12 or $120. The budget ideas below are designed around that principle, using high-impact visual tricks that professional event stylists use on large jobs and adapting them to a lean launch budget.
Why Budget Decorations Work Just as Well as Luxury Ones
It helps to understand what actually makes event decor feel expensive. Research in environmental psychology consistently shows that people judge spaces by a handful of cues: brightness, color saturation, fullness, scent, and symmetry. A room that is bright, colorful, full, fragrant, and symmetrical reads as luxurious even when every element was bought at a discount store. A dim, sparse room reads as cheap even when the single chandelier hanging in it cost thousands.
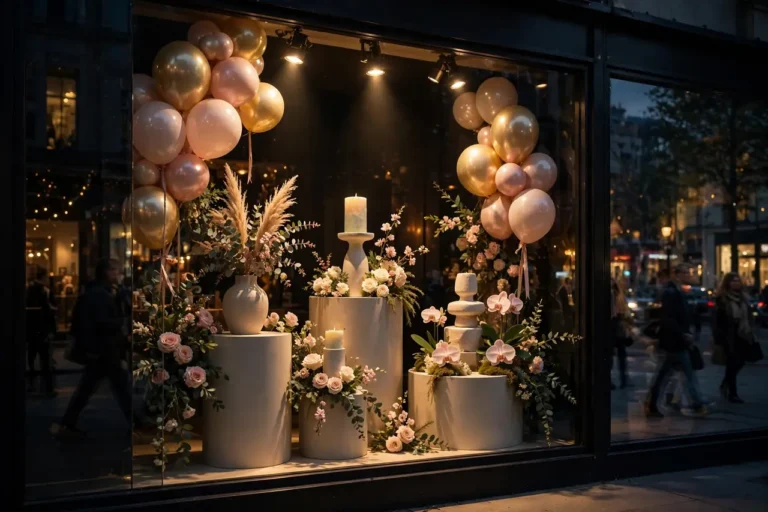
This is why balloons work so well. An organic balloon garland spanning your entrance delivers brightness, color saturation, and fullness in one gesture, and the raw materials cost a fraction of a custom floral installation. The same logic applies to drapery: yards of inexpensive chiffon or tablecloth fabric, properly gathered and lit, create the fullness and movement that guests associate with high-end venues.
There is also a storytelling advantage to budget-friendly decor. Customers love the narrative of a founder who built their shop with their own hands. Photos of you and your team hanging the bunting the night before opening make wonderful social media content, and that authenticity builds the emotional connection that turns first-day visitors into loyal regulars. Luxury decor can feel distant; handmade touches feel personal.
Finally, budget decorating forces focus. When you can only afford a handful of statement pieces, you are forced to decide what matters: the entrance, the photo moment, and the product display. Those are precisely the three zones that drive foot traffic, social shares, and sales. Many over-decorated launches spread money thinly across a dozen forgettable vignettes instead of concentrating it where it counts.
10 Grand Opening Decoration Ideas on a Budget
Each idea below includes an honest cost estimate based on typical US retail prices in 2026, a difficulty rating, and the time required. Mix and match to fit your venue and theme.
1. Organic Balloon Garland Over the Entrance
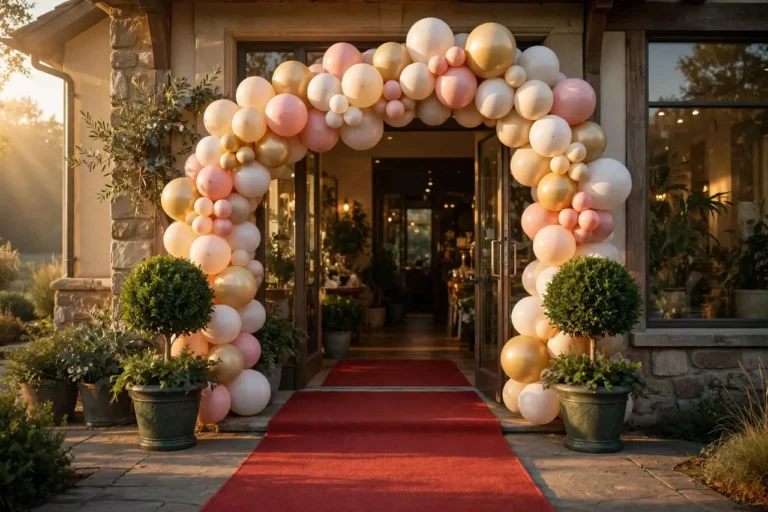
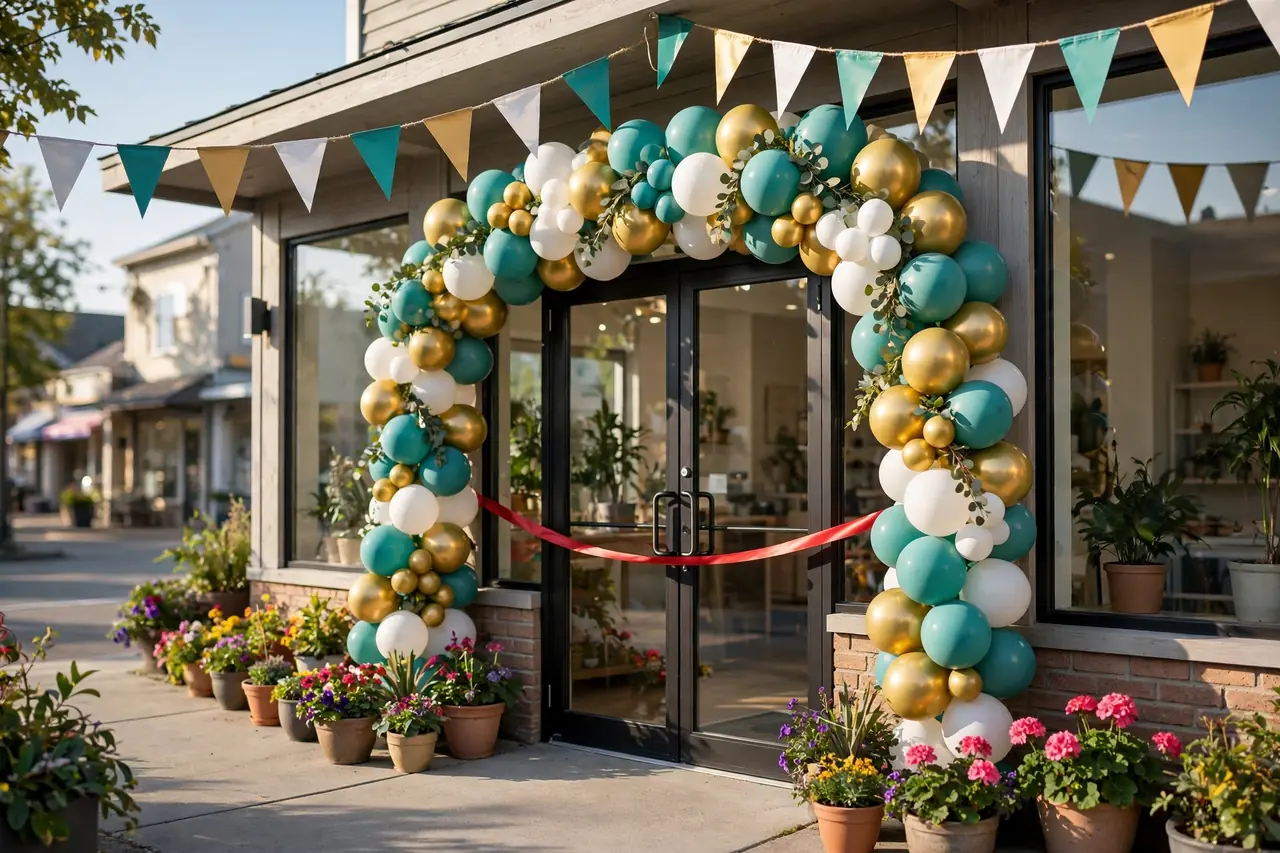
Nothing says “grand opening” like a full, colorful balloon garland framing your door. The organic style, with balloons of varied sizes clustered along a garland tape or fishing line, looks far more premium than the old-fashioned symmetrical arch, and it photographs beautifully. Choose two or three brand colors plus a neutral like white or gold for a cohesive look that reinforces your identity from the first glance.
You will need two or three bags of mixed-size latex balloons (one 72-count kit typically suffices for a 6-foot garland), a roll of balloon garland tape or a spool of fishing line, an electric balloon pump, and wall hooks or command strips for hanging. Inflate the largest balloons first and attach them to the tape, then fill gaps with smaller balloons, working from the center outward. A hand pump works, but an electric pump turns a two-hour chore into a forty-minute job and costs under $20.
Estimated cost: $35 to $60. Time: 1 to 2 hours. Difficulty: easy. For a sturdier outdoor garland, add fishing line and sandbag weights, and avoid placing dark balloons in direct midday sun, where they can pop in the heat. If you want the tutorial shown on video, the step-by-step guides available online for garland tape method make this genuinely beginner-friendly.
2. DIY Vinyl Banner with Your Grand Opening Message
A custom vinyl banner is one of the highest-ROI decorations you can buy. Hung above your entrance or across the storefront, it announces the event to every passerby for days before and after opening day. Online print shops produce a 3-by-6-foot full-color vinyl banner with grommets for the price of a nice dinner, and many deliver in three to five business days.
Design it in Canva or any free design tool using your brand fonts and colors. Keep the text short: your business name, “Grand Opening,” the date, and one hook like “20% Off Everything Today Only” or “Free Treats for the First 100 Guests.” From across the street, only the largest words will be readable, so make “Grand Opening” the biggest element. High contrast wins: dark text on a light background or white text on your brand color.
Estimated cost: $25 to $55 for a 3×6-foot banner. Time: 30 minutes to design, 15 minutes to hang. Difficulty: easy. Hang it with bungee cords, rope, or zip ties through the grommets, and check that it reads correctly from the direction of main foot and vehicle traffic before you tighten everything down.
3. Red Ribbon and Oversized Ceremonial Scissors
The ribbon cutting is the signature moment of a grand opening, and it deserves a dedicated display. Even if you schedule the actual cutting for a specific time, hang a wide red satin ribbon across your entrance or across a small stage area for the first hours of the day. The ribbon itself photographs as a symbol of the occasion, and guests will instinctively pose beside it.
Oversized ceremonial scissors, the kind with 20- to 25-inch blades, cost a fraction of what they look like and turn a simple snip into a photo moment. Many are available in gift sets that include the ribbon and a presentation case. After the ceremony, the scissors make a wonderful keepsake for your office wall, and the moment gives local press and social media a natural image to share.
Estimated cost: $20 to $45 for ribbon plus oversized scissors. Time: 10 minutes. Difficulty: easy. Invite a local official, a loyal early customer, or a community leader to do the honors alongside you. Announce the cutting time on your banner and social channels so foot traffic builds toward it.
4. Balloon Columns Flanking the Door
If a garland feels too fussy, balloon columns are the classic alternative: two freestanding towers of stacked balloons, one on each side of the entrance, topped with a large foil star or a balloon printed with your logo. Columns take less skill than a garland, stand up well outdoors, and create a natural “gateway” that draws the eye and the camera.
The simplest build uses a weighted base (a bucket of sand or a water-filled balloon weight), a PVC pipe or broom handle as the pole, and quads of balloons, four balloons tied together, threaded onto the pole and stacked. Alternate your brand colors in pairs or spirals for a professional look. Two six-foot columns take roughly 60 to 80 balloons total.
Estimated cost: $30 to $50 for a pair. Time: 1 to 1.5 hours. Difficulty: easy to moderate. Weight the bases well if you are outdoors, and build the columns the morning of the event since latex balloons at their best look last about 12 to 24 hours in warm weather.
5. Photo Backdrop Wall with a Step-and-Repeat Feel
A designated photo spot is the single most powerful decoration for a grand opening because every guest photo becomes free advertising. You do not need a printed step-and-repeat backdrop; a DIY version works beautifully. Stretch a plastic or fabric tablecloth, a sequin curtain panel, or a grass wall mat across a portable backdrop stand or even a clean wall, add your banner or a few balloon clusters at the edges, and place a small sign with your hashtag and social handle at eye level.
Position the backdrop where the light is best, near a window or just inside the entrance, and keep the floor area in front of it clear. Add two or three fun props on a small table: oversized sunglasses, a speech-bubble sign reading “I was here on opening day,” or a frame guests can hold up. Props cost almost nothing and dramatically increase the number of photos taken.
Estimated cost: $40 to $90. Time: 45 minutes. Difficulty: easy. A ring light or a simple floor lamp aimed at the backdrop makes phone photos look dramatically better after sunset, which matters if your event runs into the evening.

6. Tissue Paper Pom-Poms and Honeycomb Balls
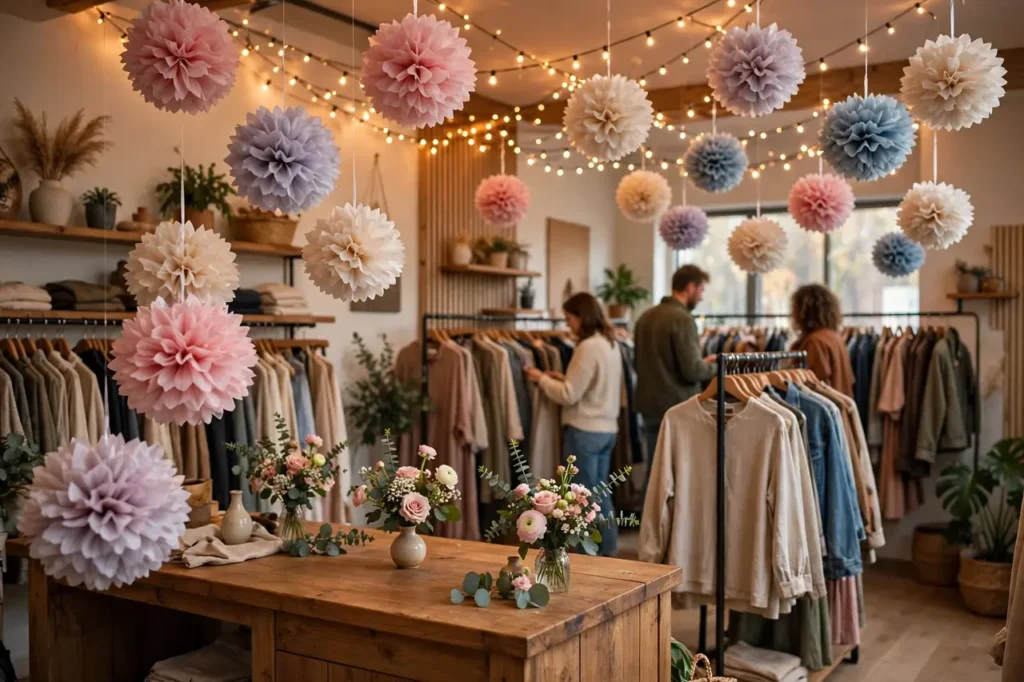
Tissue pom-poms and honeycomb paper balls are the secret weapon of budget decorators everywhere. Hung at varying heights from the ceiling with clear fishing line, they fill empty vertical space, add color and movement, and cost almost nothing per piece. A dozen large pom-poms can transform a plain white ceiling into something festive in under an hour.
Buy them pre-made in bulk packs matched to your color scheme, or make pom-poms yourself from tissue paper the night before while watching television. The DIY route costs pennies per pom-pom but takes time; pre-made packs trade a little money for a lot of convenience. Honeycomb balls open with a satisfying pop and can be flattened and reused, which makes them the more sustainable choice if you plan anniversary events.
Estimated cost: $15 to $35 for 12 to 20 pieces. Time: 30 to 60 minutes. Difficulty: easy. Hang them in clusters of three at staggered heights rather than in a straight line; odd numbers and varied heights look intentional and designer-made rather than random.
7. Fresh Flower Touches at Key Spots
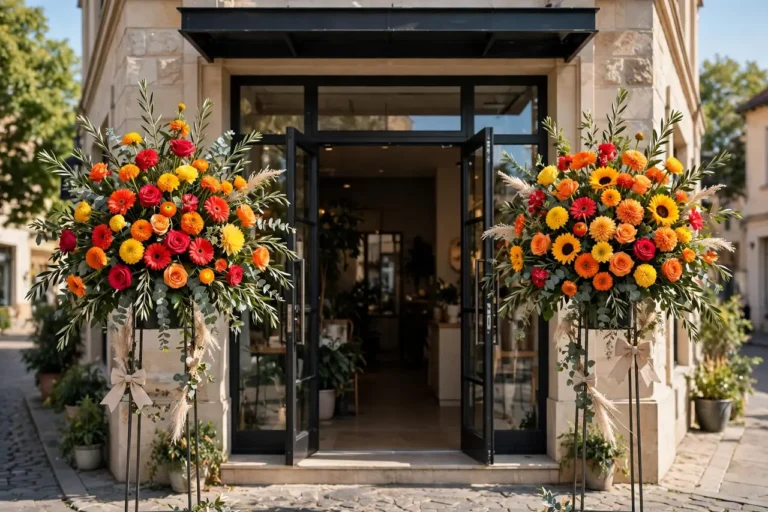
You do not need a florist to get the effect of fresh flowers. A few well-placed grocery-store bouquets, split into smaller arrangements, bring life, color, and scent to your checkout counter, reception desk, restroom, and photo backdrop. Flowers signal care and attention to detail, and guests notice them even if they cannot articulate why the space feels welcoming.
Buy two or three large mixed bouquets the morning of the event, trim the stems at an angle, and divide them among small vases, mason jars, or even clean tin cans wrapped in ribbon. Place one arrangement anywhere guests will pause: the entrance table, the product display, the seating area. The scent of fresh flowers near the entrance creates a subtle positive association that lasts the whole visit.
Estimated cost: $20 to $40. Time: 30 minutes. Difficulty: easy. For more ambitious floral ideas scaled to grand openings, see our guide to wedding-day table decoration ideas, whose tablescape techniques transfer directly to retail and hospitality counters. Choose long-lasting varieties like carnations, chrysanthemums, and alstroemeria, which look fresh all day without wilting.
8. Chalkboard and Acrylic Welcome Signs
Hand-lettered signs add personality that printed graphics cannot match. A large chalkboard easel by the door with “Welcome to Our Grand Opening” in your best lettering, plus a few smaller signs marking the refreshment table, the photo spot, and the checkout, makes the whole event feel curated. If your handwriting is not your strength, chalk markers with stencils or printed quotes taped inside acrylic frames achieve the same effect.
Acrylic floating frames with printed inserts are reusable for every future event: print new inserts for holiday sales, anniversary celebrations, and seasonal promotions. One set of frames serves you for years. For the grand opening, inserts can include your story (“We opened our doors after 10 years of dreaming”), your opening-day offers, and your social media handles.
Estimated cost: $25 to $60 for easel plus frames. Time: 1 hour. Difficulty: easy. Keep sign text to seven words or fewer per line; guests read signs while walking, and brevity is what gets the message across.
9. String Lights and Fairy Light Canopies
Lighting transforms a space more dramatically than any other single element, and string lights are the cheapest way to get there. Draped across the ceiling, wrapped around columns, or strung across an outdoor patio, warm-white fairy lights create the glow that makes everything, and everyone, look better. They also extend your event comfortably into the evening.
Battery-operated copper-wire fairy lights are ideal because they need no outlets and can be tucked into balloon garlands, centerpieces, and window displays. For larger areas, plug-in commercial string lights with shatterproof bulbs give a bistro feel that suits restaurants, cafes, and outdoor retail beautifully. Buy warm white (2700K) rather than cool white; the warm tone flatters skin and food.
Estimated cost: $20 to $50. Time: 30 to 45 minutes. Difficulty: easy. Test every strand the night before, bring spare batteries, and run cords along walls or ceilings where nobody will trip. If your venue allows it, dim the overhead fluorescents and let the string lights carry the mood.
10. Branded Floor Decals and Window Clings
Floor decals that guide guests from the sidewalk to your door (“Grand Opening This Way” with arrows) are inexpensive, weather-resistant, and remarkably effective at converting foot traffic. Window clings with your logo, hours, and opening-day offers turn your glass into a billboard. Both are available from online printers for modest prices and apply in minutes with a spray bottle of soapy water.
Design floor decals as a trail: one at the nearest intersection or parking lot, one at the sidewalk, and one at the threshold. Each one builds anticipation. Window clings should include a call to action, not just information: “Step Inside for Free Samples Today” outperforms a plain “Now Open” because it gives passersby a reason to cross the threshold right now.
Estimated cost: $30 to $70 for decals plus clings. Time: 30 minutes. Difficulty: easy. Check local signage rules first; some shopping districts restrict sidewalk decals. Removable vinyl avoids damage and comes off cleanly after the event.
The $500 Grand Opening Decoration Budget Plan
Here is how the ten ideas above combine into a complete decoration plan that stays under $500. This assumes a small retail storefront or service business; scale quantities up or down for your space.
| Decoration Item | Estimated Cost | Priority | Notes |
|---|---|---|---|
| Organic balloon garland (entrance) | $45 | Essential | 72-count kit, garland tape, electric pump |
| Custom vinyl banner (3×6 ft) | $40 | Essential | Order 7 days ahead for standard shipping |
| Red ribbon + oversized scissors | $30 | Essential | Keepsake for the office afterward |
| DIY photo backdrop + props | $60 | High | Sequin curtain, stand rental or wall mount |
| Tissue pom-poms and honeycomb balls (16 pcs) | $25 | High | Ceiling and interior fill |
| Fresh flowers (3 bouquets, split) | $30 | High | Buy morning of event |
| Chalkboard easel + acrylic frames | $45 | Medium | Reusable for future events |
| String lights (4 strands, battery + plug-in) | $35 | Medium | Warm white 2700K |
| Floor decals + window clings | $50 | Medium | Check local signage rules |
| Balloon columns (pair, DIY) | $40 | Optional | Skip if garland covers the entrance |
| Total | $400 | $100 buffer for tape, hooks, batteries |
Notice what this plan does: it concentrates spending on the entrance, the photo moment, and the interior atmosphere, the three zones guests actually remember. It also favors reusable items (frames, lights, scissors, easel) that serve every future promotion, which means your effective cost per event drops with each celebration you host.
If your budget is even tighter, the absolute minimum viable decoration kit is a balloon garland, a vinyl banner, and a ribbon for under $120. Those three items alone create the visual signal of a grand opening: color at the entrance, a readable announcement, and a ceremonial moment. Everything else is enhancement.
DIY vs. Hiring a Decorator: An Honest Cost Comparison
Doing it yourself saves money but costs time and carries execution risk. Hiring a decorator costs money but buys expertise and peace of mind. Here is how the trade-offs actually break down for a typical small-business grand opening.
| Factor | DIY Approach | Hiring a Decorator |
|---|---|---|
| Total decoration cost | $150 to $500 | $800 to $2,500+ |
| Your time invested | 8 to 15 hours (planning, shopping, setup) | 2 to 4 hours (consultation, approvals) |
| Design quality | Good with research; limited by experience | Professional polish, cohesive theme |
| Setup-day stress | High; you are the crew | Low; crew handles install and teardown |
| Customization | Total control, personal touches | Guided by portfolio; revisions cost extra |
| Reuse of materials | You keep everything you buy | Decorator often keeps rentals |
| Best for | Tight budgets, hands-on owners, small spaces | Large venues, VIP guest lists, zero free time |
The hybrid approach often wins: hire help for the single most technical element (say, a large balloon installation or a floral arch) and DIY everything else. Many balloon artists and florists offer “install only” pricing if you supply materials, which cuts the professional cost nearly in half while guaranteeing the centerpiece looks right.
Whichever route you choose, the money-saving principles in our Christmas on a budget saving tips guide apply surprisingly well to event planning: buy early, reuse ruthlessly, and spend where guests look. Seasonal decor strategies translate directly to grand openings because the underlying economics, high visual impact per dollar, are identical.
Your 7-Day Grand Opening Decoration Timeline
Decoration disasters almost always come from doing everything the day before. Spread the work across a week and opening day feels calm instead of chaotic.
Day 7: Plan and order. Finalize your color scheme, order the vinyl banner, floor decals, window clings, ribbon, and scissors online. Confirm delivery dates. Sketch where each decoration will go, entrance, photo spot, counters, ceiling, and assign a helper to each zone.
Day 6: Shop locally. Buy balloons, garland tape, tissue pom-poms, string lights, chalkboard, frames, and command hooks. Test the electric balloon pump and every light strand. Charge batteries. This is also the day to confirm any hired help and the ribbon-cutting guest’s arrival time.
Day 5: Build what keeps. Assemble pom-poms, prep the photo backdrop frame, design and print acrylic frame inserts, and letter the chalkboard. Store finished pieces where they will not be crushed. Prep work done now is work you will not be doing at midnight before opening.
Day 4: Hang the semi-permanent. Install window clings, ceiling pom-poms, and string lights. These do not wilt or deflate, so hanging them early is safe. Step back and photograph each zone on your phone; the camera reveals crooked lines and gaps your eyes miss.
Day 3: Signage and details. Hang the vinyl banner, place floor decals, set out frames and the chalkboard easel. Lay out the photo props. Do a full walk-through as if you were a guest arriving for the first time, and fix anything confusing.
Day 2: Rest and confirm. Confirm helpers, the ribbon-cutting guest, and any vendors. Buy non-perishables for refreshments. Charge camera batteries and clear phone storage for photos. Go to bed early; you will thank yourself.
Day 1 (opening day): Fresh elements only. Build the balloon garland and columns in the morning, split and arrange the fresh flowers, hang the red ribbon, and do a final walk-through 30 minutes before doors open. Balloons and flowers are the only things that must be same-day, which keeps the morning manageable.
5 Budget Decorating Mistakes That Waste Money
Mistake 1: Buying before measuring. A banner that does not fit the storefront, a backdrop stand wider than the wall, a garland too short for the entrance, all of these come from skipping the tape measure. Measure every surface before ordering anything, and write the dimensions on your shopping list.
Mistake 2: Too many colors. A rainbow of unrelated colors reads as a children’s party, not a brand launch. Pick two brand colors plus one neutral and repeat them everywhere. Restraint looks expensive; chaos looks cheap regardless of what you spent.
Mistake 3: Decorating zones guests never see. The storage hallway does not need a garland. Concentrate every dollar on the entrance, the photo spot, and the main product or service area. If a zone is not on the guest path or in photos, leave it plain.
Mistake 4: Ignoring lighting. The most beautiful decorations disappear in bad light. Budget for string lights and, if your event runs past sunset, for making the entrance and photo spot bright enough for phone cameras. Guests cannot share photos of what they cannot see.
Mistake 5: Forgetting teardown. Command strips, removable vinyl, and deflatable balloons make cleanup fast. Anything glued, nailed, or taped with permanent adhesive becomes a repair bill. Plan removal as carefully as installation, especially in leased spaces where wall damage costs real money.
For at-home celebration styling techniques that transfer beautifully to small business launches, our wedding day decoration ideas at home guide is full of low-cost, high-charm tricks, from tablescapes to entryway styling, that work just as well in a boutique or cafe as in a living room.
Watch: Grand Opening Decor in Action
Sometimes the fastest way to learn is to watch a real setup come together. This walkthrough shows a full grand opening decoration installation, from branded photo props to the ribbon-cutting moment, and it is packed with ideas you can adapt to any budget.
Watch on YouTube: How to make a Dollar Tree Balloon Arch (no stand required!)
Frequently Asked Questions
How much should I budget for grand opening decorations?
Most small businesses spend between $150 and $500 on decorations for a grand opening. A minimum viable setup, a balloon garland, a vinyl banner, and a ribbon for the cutting ceremony, costs under $120. Larger venues or businesses expecting press coverage may spend $800 to $1,500. The plan in this guide delivers a complete, photo-ready look for about $400, and roughly a quarter of that buys reusable items you will use again.
How far in advance should I start decorating?
Start planning two weeks out and begin physical setup seven days before opening, following the timeline in this guide. Order printed items like banners and decals at least seven to ten days ahead to allow for production and shipping. Balloons and fresh flowers should always be done the morning of the event, since latex balloons look their best for 12 to 24 hours and cut flowers wilt quickly in warm rooms.
Can I decorate a grand opening entirely by myself?
Yes, for a small space. One determined person can execute the full $400 plan in about 10 to 12 hours spread across a week. The balloon garland is the most labor-intensive single task, so recruit one helper for that morning if you can. For spaces over 2,000 square feet or events with more than 200 expected guests, at least two or three helpers, or one hired installer for the centerpiece, will keep setup day sane.
What colors work best for grand opening decorations?
Your brand colors, always. A grand opening is a brand launch, so decorations should reinforce your identity, not compete with it. If your brand colors are muted, add one metallic accent, gold, silver, or copper, for festive energy. Avoid introducing more than three colors total; restraint reads as premium. Red, gold, and white remain the classic grand-opening palette because they photograph well and signal celebration across cultures.
How do I keep balloons from popping outdoors?
Keep dark-colored balloons out of direct midday sun, since heat expands the air inside and weakens the latex. Under-inflate balloons slightly, about 90 percent full, so they have room to expand. Avoid placing balloons near rough surfaces, thorny plants, or gravel. In wind, use heavier weights and shorter garlands, or switch to air-filled columns on weighted bases, which handle gusts far better than helium arches.
Should I hire a professional decorator or DIY?
DIY the majority and hire selectively. The comparison table in this guide shows DIY costing $150 to $500 versus $800 to $2,500+ for full-service decorating. The sweet spot for most new businesses is DIY everything except the single most technical element, often a large balloon installation or entryway arch, where professional execution is visibly better. Many decorators offer install-only pricing if you supply materials.
What decorations photograph best for social media?
The photo backdrop wall, the balloon garland at the entrance, and the ribbon-cutting moment generate the most shared images, in that order. Bright, saturated colors photograph better than pastels on phone cameras. Make sure your business name or hashtag appears in the backdrop so every shared photo carries your brand. Good lighting matters more than expensive decor: a $15 ring light aimed at the photo spot improves pictures more than $200 of extra decorations.
How can I reuse grand opening decorations later?
Choose reusable formats from the start: acrylic frames with swappable printed inserts, battery string lights, the chalkboard easel, oversized scissors, and honeycomb paper balls that fold flat. Store them labeled in one bin marked “event kit” and you will cut the decoration cost of every future promotion, holiday, and anniversary by half or more. Vinyl banners can be reused for anniversary sales if you design them without a specific year.
Do I need permission to put decorations outside my store?
Often, yes. Sidewalk decals, A-frame signs, balloon displays on public sidewalks, and anything attached to a building facade may require a permit or landlord approval, depending on your city and lease. Check with your property manager and your city’s signage or encroachment rules at least two weeks before opening. Interior decorations rarely need permission, but anything affecting fire exits, sprinklers, or occupancy signage must comply with fire codes.
What is the one decoration I should never skip?
The entrance treatment, a balloon garland, columns, or at minimum a bold banner. Your entrance is the first thing every guest and passerby sees, and it sets the emotional tone for the entire visit. If your budget covers exactly one decoration, spend it where the outside world meets your business. A plain interior with a spectacular entrance outperforms a decorated interior with a bare doorfront every time.
A grand opening only happens once, but the impression it creates compounds for years. The ten budget ideas in this guide prove that impact comes from focus, color, light, and a little courage, not from a large invoice. Start with the entrance, build one great photo moment, keep your palette tight, and let your enthusiasm do the rest. Your guests will remember how the day felt, and with these decorations in place, it will feel like the beginning of something worth celebrating, because it is.