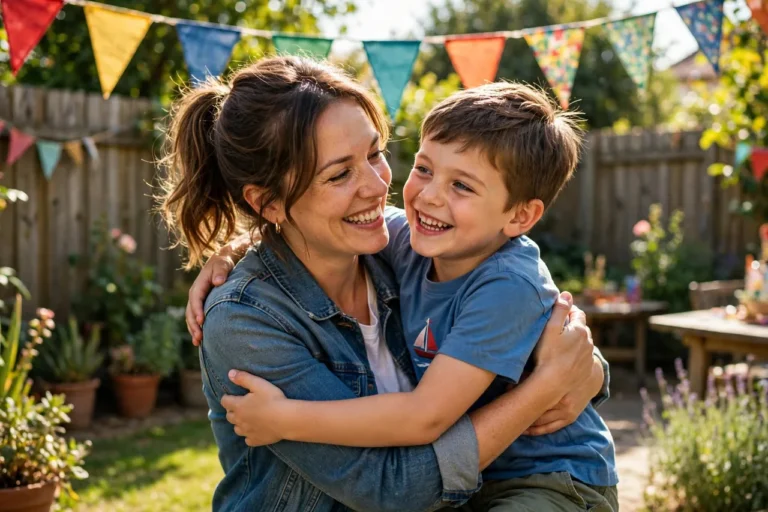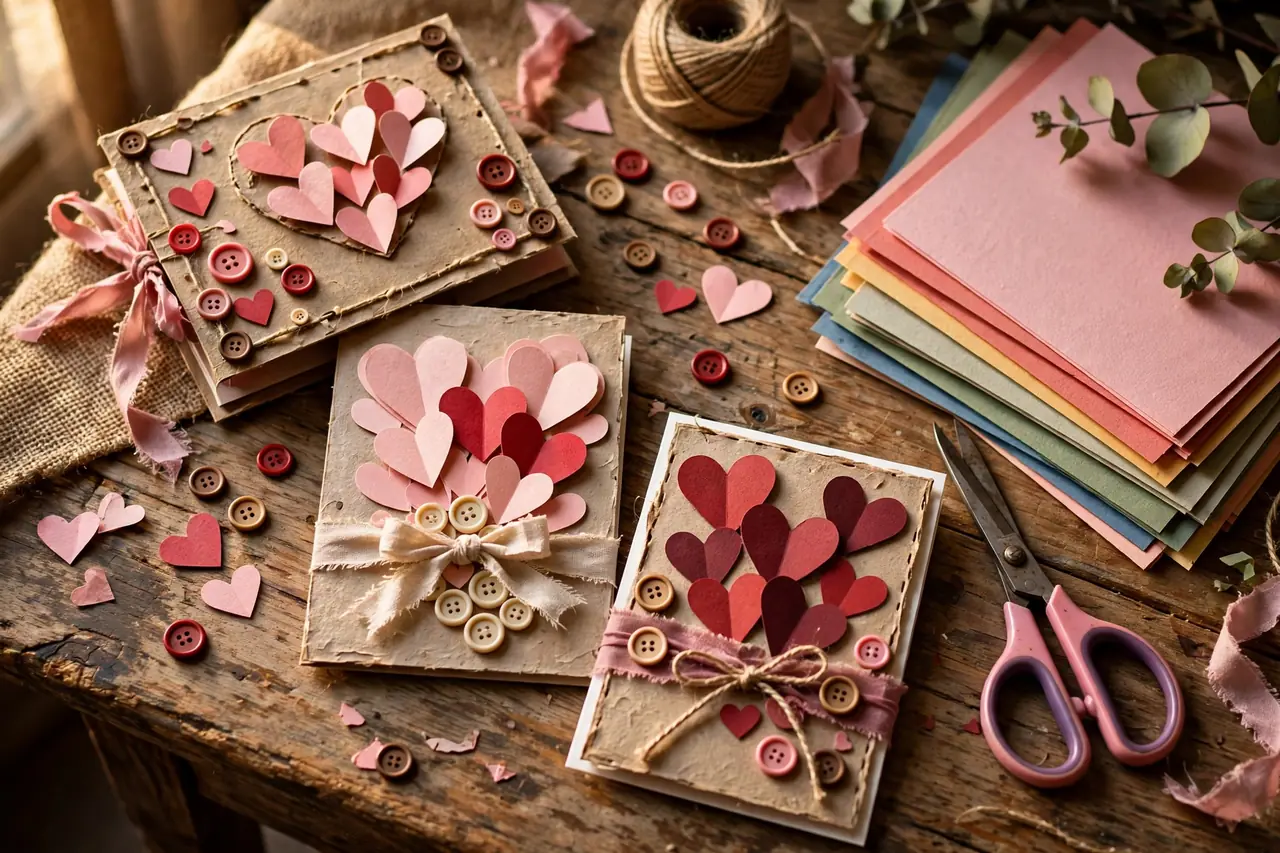
A store-bought card says “I remembered.” A handmade card says “I sat down and thought about you.” That difference is the entire reason DIY siblings day card ideas beat the greeting-card aisle every single time — especially on Siblings Day, April 10, a holiday built entirely around the bond between brothers and sisters. A card made by hand carries fingerprints, crooked glitter, and inside jokes no mass-printed verse could ever include.
The best part? You do not need to be “crafty.” Most of the card designs in this guide use paper, scissors, glue, and whatever pens you already own. What makes a handmade card special is not technique — it is specificity. A card that references the summer you both got poison ivy, or your brother’s legendary snoring, or the exact way your sister laughs when she is trying not to, will be kept for decades. Generic pretty will be recycled by June.
Below you will find 20 DIY siblings day card ideas organized from simplest to most impressive, plus the only three card-making techniques you actually need to learn, a message library with 40+ lines you can copy or adapt, and answers to the questions everyone asks (yes, you can mail a lumpy card — more on that below). Grab some cardstock and let’s make something worth keeping.
The Only 3 Techniques You Need
Every card in this guide is built from three basic skills. Learn these once and you can improvise forever.
1. The Clean Fold
Score cardstock before folding: run a ruler and an empty ballpoint pen firmly along the fold line, then fold. This one trick is the difference between a card that looks homemade-charming and one that looks homemade-sad. Fold with the scored line on the inside for a crisp edge.
2. Layering
Cut a slightly smaller colored panel and glue it centered on the card front, then add your design on top of that panel. Instant depth, instant “wow, you made this?” Layering is the fastest way to make a simple card look designed rather than decorated.
3. The Pop-Up Strip
Cut two parallel slits into the fold of the card’s inside, push the strip inward, and you have a pop-up platform. Glue a shape to it — a heart, a star, a tiny photo — and it springs up when the card opens. This single technique upgrades any card from nice to unforgettable.
| Card style | Difficulty | Time | Best for |
|---|---|---|---|
| Folded + decorated | Easy | 15–20 min | Kids, last-minute makers |
| Layered panels | Easy | 25–35 min | Anyone wanting a polished look fast |
| Pop-up | Medium | 40–60 min | Impressing an older sibling |
| Shaker card | Medium | 45–60 min | Glitter lovers (all ages) |
| Gatefold / tri-fold | Medium | 35–50 min | Long messages, photo cards |
| Quilled or 3D embellished | Harder | 1–2 hours | Craft enthusiasts, keepsake cards |
10-Minute Wonders: Cards Anyone Can Make Tonight
Short on time or confidence? These five designs look intentional with almost zero skill required. They are also perfect for kids — pair them with our screen-free activities for kids for a full Siblings Day craft afternoon.
1. The Giant Heart Card
Fold a sheet of red or pink cardstock in half and cut a half-heart shape with the fold as the heart’s center — when opened, it is a full heart. Write your message across the inside. Simple, bold, impossible to mess up.
2. Photo Strip Card
Print three or four small photos of you and your sibling, glue them in a vertical strip on the card front like a photo booth reel, and add captions under each (“us, being us”). Instant nostalgia, minimal effort.
3. The “Top 5” List Card
Front cover: “Top 5 Reasons You’re My Favorite Sibling.” Inside: a numbered list, handwritten, with at least one joke entry (“5. You let me win at Mario Kart that one time and never told anyone”). Funny lists get read aloud at family gatherings — plan accordingly.
4. Washi Tape Wonder
Cover the card front in diagonal strips of washi tape, trim the edges, and add a simple stamped or handwritten sentiment. Washi tape forgives every mistake and comes in every pattern imaginable.
5. Handprint Card
Trace your hand on the card front, decorate each finger as a little character or write one word per finger (“B-E-S-T B-R-O”). Kids love this; adults find it weirdly touching. Works for all ages, no paint required.
Level Up: Cards That Look Store-Bought (But Better)
Ready to invest a little more time? These designs use the layering and pop-up techniques above to create cards that genuinely surprise people.
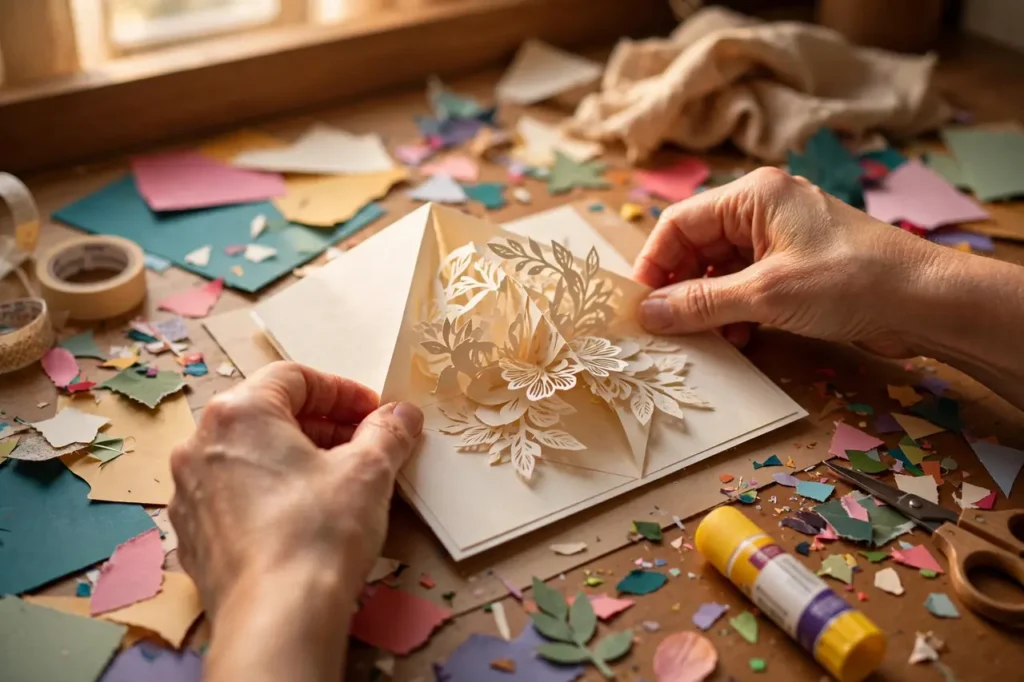
6. The Classic Pop-Up Heart
Use the pop-up strip technique to make a large 3D heart spring from the card’s center. Surround it with smaller flat hearts and a handwritten message. This is the single highest wow-per-minute card in this guide.
7. Shaker Card
Cut a window in the card front, seal it with clear acetate (overhead-projector sheets or packaging plastic work), and trap sequins, tiny beads, or glitter between the window and the card’s inside back. Shake it — it is endlessly satisfying. Pro tip: run a thin line of foam tape around the window to keep the shaker bits contained.
8. Gatefold Photo Card
Score the card front into two doors that meet in the middle. Decorate the outside simply; inside the doors, mount a favorite sibling photo with a message underneath. The reveal feels ceremonial.
9. Quilled Initial
Roll thin strips of paper into coils and glue them onto the card front in the shape of your sibling’s initial. Quilling looks intricate but is just rolling and gluing — meditative, and the result is genuinely beautiful.
10. Watercolor Wash Card
Paint a loose watercolor wash across watercolor paper, let it dry, then add a bold black-marker sentiment and a few doodles. The contrast between soft color and crisp lettering looks professional with almost no skill. Even a “failed” wash looks artistic.
11. Embroidered Card
Poke holes in cardstock with a pin following a simple pattern (a heart, a star, their initial), then stitch with embroidery floss. Sewn cards feel precious and heirloom-like, and the technique takes ten minutes to learn.
12. Interactive Pull-Tab Card
Build a simple pull-tab: a strip of paper that slides to reveal a hidden message (“pull for a compliment”). Kids are obsessed with these, and adults are secretly delighted too. There are simple templates online; the mechanism is just a folded paper track.
Themed Cards: Match the Card to Your Sibling
Generic “Happy Siblings Day” is fine. A card built around who your sibling actually is? Unforgettable. These themed DIY siblings day card ideas give each personality type the tribute it deserves.
13. The Gamer Card
Design the card like a video game screen: pixel-art hearts (graph paper makes this easy), a “Player 2” badge, and a message like “Thanks for always being my Player 2.” For a retro touch, make the card open like an old game cartridge case. Pair it with one of our gaming gift ideas and you have a full Siblings Day present.
14. The Foodie Card
Shape the card like their favorite food — a pizza slice, a taco, a donut — with the message “You’re the [topping] to my [base].” (“You’re the cheese to my pizza” is a classic for a reason.) Add a gift card to their favorite restaurant inside for maximum effect.
15. The Nostalgia Card
Recreate a childhood photo on the card front as a drawing, then put the real photo inside with the caption “We’ve come a long way (and you still owe me $5 from 2009).” This one reliably produces tears.
16. The Minimalist Card
For the sibling who hates clutter: heavy white cardstock, one perfect line of hand-lettering, lots of empty space. “You’re my favorite person. That’s it. That’s the card.” Restraint is a design choice.
17. The Funny Card
Lean into sibling humor: a card shaped like a remote control (“Thanks for never changing the channel on me”), a fake “bill” for all the things they’ve stolen from you over the years, or a “certificate of toleration” for putting up with you. Inside jokes only — the more specific, the funnier.
18. The Long-Distance Card
For siblings who live far apart: a map-themed card with a dotted line connecting your two cities, or a “wish you were here” postcard style. Include a QR code linking to a video message or playlist. It bridges the miles beautifully.
19. The Big Family Card
When there are three, four, or more siblings: make one large card that unfolds into panels, one per sibling, each contributing a message and doodle. Pass it around secretly in the weeks before Siblings Day. The collaborative secrecy is half the fun.
20. The “Coupon Card” Hybrid
Combine a heartfelt card with redeemable coupons inside: “This card entitles the bearer to one home-cooked dinner,” “one airport pickup, no complaining.” It is a card and a gift in one — perfect for the sibling who has everything.
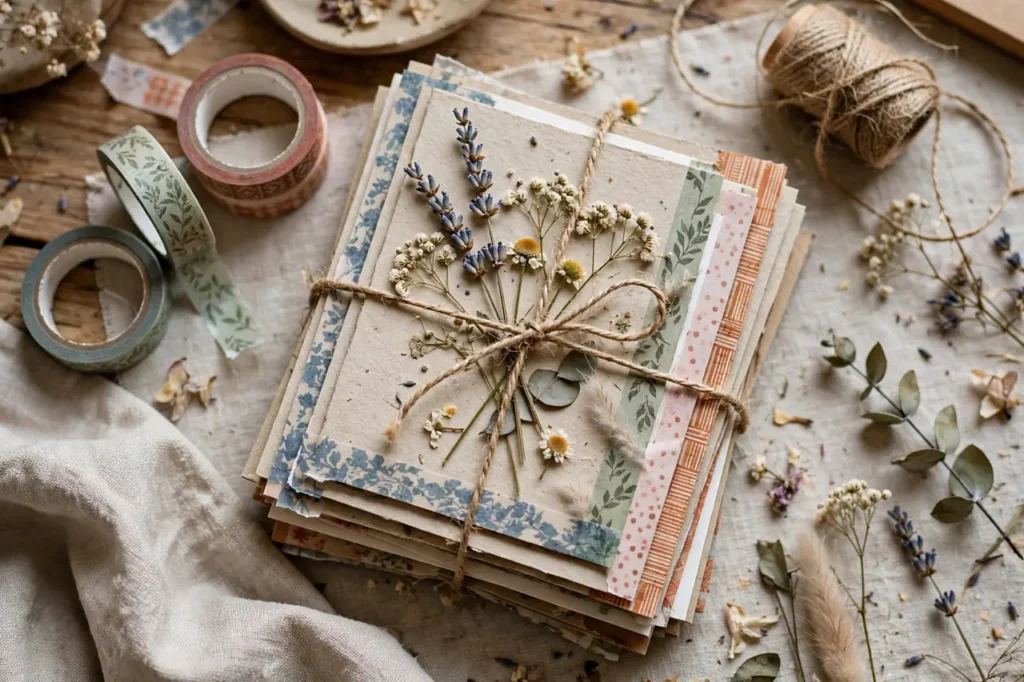
Watch: Handmade Card for a Brother, Start to Finish
Sometimes the easiest way to learn is to watch someone do it. This video walks through making a heartfelt handmade card for a brother — the techniques transfer directly to any Siblings Day card.
The Message Library: 40+ Lines to Steal
The design gets them to open it; the words make them keep it. Borrow freely, mix and match, and always add one detail only you two share.
Sweet & Heartfelt
- “Of all the people in the world, I’m glad I got stuck with you.”
- “You were my first friend and you’re still my best one.”
- “Thanks for the childhood I wouldn’t trade for anything.”
- “Home was never a place — it was wherever you were.”
- “I hope you know how proud I am to be your sibling.”
- “You make ordinary days feel like occasions.”
- “No matter how far apart we live, you’re never far from my thoughts.”
- “Growing up with you was the greatest adventure of my life.”
Funny
- “Happy Siblings Day to the only person who knows all my secrets and hasn’t used them against me. Yet.”
- “Thanks for being the reason Mom has gray hair so I didn’t have to be.”
- “I’d share my fries with you. That’s how you know this is real.”
- “You’re the peanut butter to my jelly and the reason for half my therapy bills.”
- “Remember when we were kids and I was your favorite? Good times.”
- “Siblings Day: the one day a year I admit I like you. Don’t get used to it.”
- “You stole my clothes, my snacks, and my spotlight. Somehow I still like you.”
- “Congratulations on surviving another year as my sibling. It wasn’t easy.”
For an Older Sibling
- “Thanks for paving the way — and for taking the blame often enough that I got a head start.”
- “You were my hero before I knew what the word meant.”
- “Everything I know about being brave, I learned watching you.”
For a Younger Sibling
- “Watching you grow up has been my favorite thing to witness.”
- “You taught me patience, generosity, and how to share the TV remote. Mostly.”
- “I picked on you because I loved you. Science probably backs this up.”
Short & Punchy (for small cards or gift tags)
- “Built-in best friend since [year].”
- “Same parents, same chaos, same team.”
- “Partners in crime, then and now.”
- “You + me = unstoppable (usually).”
- “My first roommate. My forever friend.”
Pro Tips: Mailing, Timing & Presentation
- Mailing lumpy cards: Use a padded mailer, not a standard envelope, for anything with 3D elements. Add “hand cancel” request at the post office to protect pop-ups from sorting machines. Budget a few extra days.
- Presentation matters: Slip the card into a slightly larger decorative envelope, tie with twine, or tuck it into a small gift bag with tissue. The unwrapping is part of the experience.
- Timing: Mail 7–10 days before April 10 for domestic delivery. Hand-delivered cards can be made the night before — some of the best ones are.
- Photo backup: Photograph every handmade card before giving it away. You will want these pictures later, trust us.
- Pair it up: A handmade card plus a small thoughtful gift beats an expensive gift alone. Browse homemade food gifts for edible pairings, or brunch host gifts if you are celebrating over a meal.
- Kid-made cards: Let children write or dictate their own message — misspellings and backward letters are features, not bugs. Resist the urge to “fix” their work.
DIY Siblings Day Card FAQ
What is the easiest DIY siblings day card idea for someone who is not crafty?
The giant heart card or the “Top 5” list card. Both need only paper, scissors, and a pen, take under 20 minutes, and look intentional. The photo strip card is equally easy if you have a printer.
How do I make a pop-up card for Siblings Day?
Cut two parallel slits into the center fold of the card’s interior, fold the strip inward to create a platform, and glue a shape (heart, star, photo) to it. When the card opens, the shape springs up. Practice on scrap paper first.
What should I write in a Siblings Day card?
Be specific: mention a shared memory, an inside joke, or something you admire about them. Start with one of the message library lines above and add a personal detail. Sincerity plus specificity beats poetry every time.
Can I mail a handmade card with 3D elements?
Yes — use a padded mailer, request hand-canceling at the post office, and mail 7–10 days early. Keep pop-up elements relatively flat or protect them with a layer of tissue inside the mailer.
What are good DIY card ideas for a brother specifically?
The gamer card, the funny “certificate of toleration,” the food-shaped card, and the nostalgia card with a childhood photo all land well with brothers. Humor and shared memories outperform sentimentality for most brothers — but know your audience.
How can kids make Siblings Day cards?
Handprint cards, sticker story cards, washi tape designs, and giant heart cards are all kid-friendly. Let children dictate messages for you to write, and never “correct” their artwork — the wobbles are the charm.
What supplies do I need to start making handmade cards?
Cardstock, a paper trimmer or scissors, glue stick, and pens cover 80% of designs. Add washi tape, a scoring tool (or empty ballpoint pen), and foam adhesive dots to unlock layered and 3D effects.
How early should I start a handmade Siblings Day card?
Simple cards: the night before is fine. Pop-up, shaker, quilled, or embroidered cards: give yourself 3–5 days in case of mistakes or drying time. Mailed cards need 7–10 extra days for delivery.
Your Card Is Going to Be Great
Here is the truth about handmade cards: nobody has ever received one and thought “this is worse than a store-bought card.” The crooked glitter, the slightly smudged ink, the joke only the two of you understand — that is the whole point. A DIY Siblings Day card is proof of effort in a world of two-tap text messages, and effort is the rarest gift there is.
So pick one idea from this guide — just one — and make it tonight. Score your fold, layer your panels, write something true, and sign it with the nickname only your sibling uses. Then watch their face when they open it. That look is why we make things by hand. Happy Siblings Day.
More Card Designs: 8 Additional Ideas
Twenty ideas was just the start. These eight extra DIY siblings day card ideas cover advanced techniques, kid-specific designs, and the all-important envelope.
21. Iris Folding Card
Iris folding creates a mesmerizing spiraled pattern from folded paper strips arranged around a cut-out window — traditionally a heart or circle. It looks incredibly intricate but follows a numbered template (free templates are widely available online). The result looks like stained glass made of paper. Difficulty: medium. Time: 1 hour.
22. Tunnel / Diorama Card
Cut graduated window layers into 3–4 stacked card panels, then bind them so the card opens into a 3D scene — siblings’ silhouettes in a park, a tiny living room, a campsite. Looking through the layers feels like peering into a memory. This is the showstopper card for craft enthusiasts. Difficulty: harder. Time: 1.5–2 hours.
23. Scratch-Off Card
Write compliments or jokes on the card, cover them with scratch-off stickers (or DIY scratch paint: dish soap mixed with metallic acrylic paint over packing tape), and let your sibling scratch to reveal each one. Interactive, surprising, and deeply satisfying. Difficulty: easy. Time: 30 minutes plus drying.
24. Flip-Book Card
Staple a small stack of paper to the card’s edge and draw a simple animation across the pages — a heart growing, a stick figure waving, your sibling’s name assembling itself. Flip it and it moves. Nobody expects a card to have animation. Difficulty: medium. Time: 45–60 minutes.
25. The Accordion Card
Fold a long strip into accordion panels, one memory or photo per panel, so the card unfolds into a timeline of your relationship. It opens like a story — because it is one. Tie it closed with ribbon for the reveal. Difficulty: easy. Time: 40 minutes.
26. Stained-Glass Tissue Card
Cut a design from black cardstock (a heart, their initial, a tree), then fill the negative space with colorful tissue paper on the back. Held to light, it glows like stained glass. Simple enough for kids with pre-cut shapes, beautiful enough for anyone. Difficulty: easy. Time: 30 minutes.
27. The Envelope as Art
Do not neglect the envelope — it is the first impression. Decorate it with washi tape borders, hand-lettered addresses, doodles in the corners, and a wax seal (a crayon melted with a glue gun works in a pinch). A gorgeous envelope builds anticipation before the card is even opened. Some recipients frame the envelope with the card.
28. The Card-in-a-Box
Instead of a flat card, build a small exploding box: four walls that fall open when the lid lifts, each covered in photos, messages, and tiny embellishments, with a small gift or pop-up in the center. It is a card, a gift box, and a keepsake display in one. Tutorials are everywhere; the basic construction is just scored and folded cardstock. Difficulty: medium. Time: 1–2 hours.
Card-Making With Kids: A Survival Guide
Children’s cards are the best cards — but the process needs managing. Set kids up for success:
- Prep the pieces. Pre-cut the card base, pre-fold, and lay out limited choices (three colors, not thirty). Constraints boost creativity and reduce overwhelm.
- One technique per card. Let them master a single idea — stickers, or handprints, or washi tape — rather than combining everything into chaos (glorious chaos, but still).
- Write for them, not instead of them. Let kids dictate the message while you scribe, or let them write it themselves in glorious invented spelling. Never rewrite their words “properly.”
- Protect the workspace, not the outcome. Smock them, cover the table, then let go. A card with the heart on upside-down is perfect if a six-year-old made it with love.
- Make it a sibling activity. Siblings making cards for each other simultaneously — at the same table, sneaking peeks — is peak Siblings Day. Our siblings day craft ideas for kids has a full afternoon plan built around exactly this.
Displaying & Keeping Handmade Cards
The tragedy of a beautiful handmade card is the junk drawer. Treat keepsake cards like the art they are:
- The card gallery. String a wire or washi-tape line and clip up the year’s cards each Siblings Day. Photograph the display before taking it down.
- The keepsake box. One box per relationship — every card you have ever received from that sibling, in chronological order. Reading through it on a bad day is better than therapy (not medical advice, just true).
- Framing. Truly special cards — the pop-up, the quilled initial, the kid’s first handprint card — deserve frames. A framed handmade card on a desk beats any store-bought art.
- Photograph everything. Before giving a card away, photograph the front, inside, and any 3D elements. You made it; keep the record.
Even More Card FAQ
How do you make a card look professional, not childish?
Three things: score your folds, limit your palette to 2–3 colors, and leave white space. Restraint reads as design. A single perfect layer with clean typography beats ten embellishments.
What paper is best for handmade cards?
Cardstock (65–110 lb) for the base — it stands up and takes glue well. Regular printer paper is too flimsy; watercolor paper is lovely for painted designs. Buy white cardstock in bulk and add colored panels for variety.
Keep Making Cards Year-Round
Here is a secret from lifelong card-makers: the Siblings Day card gets easier and better every year you do it. Save your leftover supplies in one box — cardstock scraps, washi tape, the good scissors — so starting next year’s card takes zero setup. Photograph each year’s card before giving it away; after five years you will have a gallery of your evolving style and your evolving relationship. Some families turn it into a friendly competition with categories voted on each April: most heartfelt, funniest, most elaborate, best use of glitter (a contested title).
And do not limit handmade cards to April. Birthdays, thank-yous, congratulations, just-because notes — every occasion is improved by a card with your fingerprints on it. The techniques in this guide (the clean fold, layering, the pop-up strip) transfer to all of them. Once you have made one great card, you will never walk past the greeting-card aisle without thinking “I could make that better.” You can. You just proved it.