There is a special pride in walking into your grand opening and knowing you built the celebration yourself — the backdrop, the centerpieces, the signs, all of it made by your hands (and probably a few loyal friends with glue guns). DIY grand opening decorations are not just about saving money, though they absolutely do that. They are about infusing your opening with personality that no rental catalog can match, and about the story you will tell for years: “We decorated the whole place ourselves the night before we opened.”
This guide is your complete DIY playbook: the essential toolkit that handles 90% of projects, 35 specific DIY decoration ideas with real instructions (not just “be creative!”), three full step-by-step tutorials for the highest-impact projects, budget and time planners so you finish before midnight, and the honest truth about which projects to DIY and which to leave to professionals. Grab your scissors — the craft-store kind this time — and let’s build a grand opening.
The DIY Decor Toolkit: Everything You Need
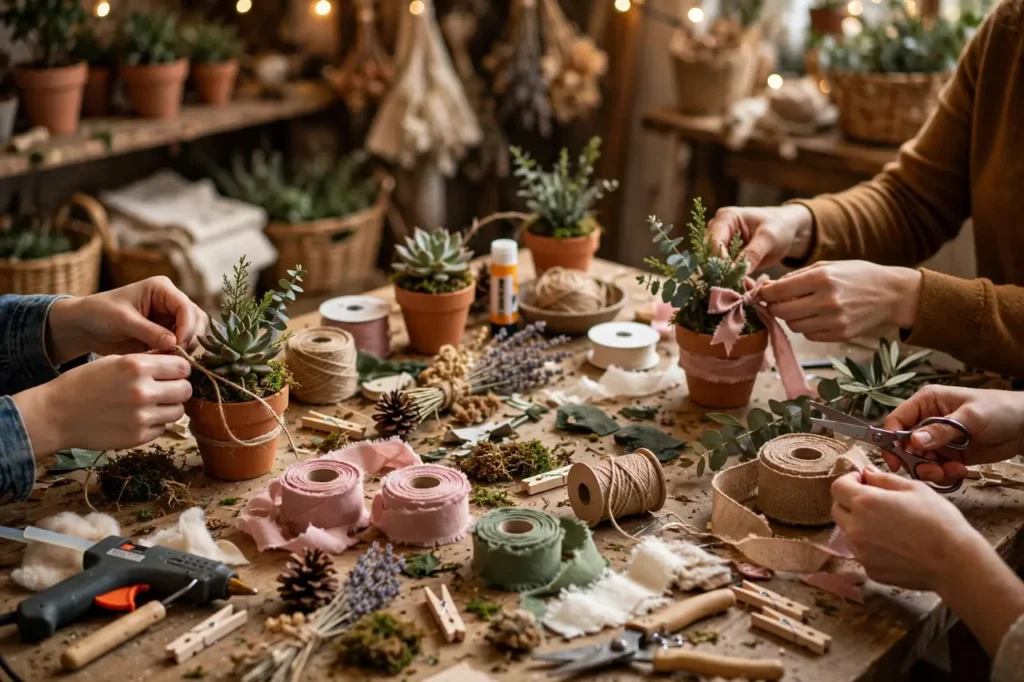
Before buying a single decoration, assemble this toolkit. These fifteen items handle nearly every DIY grand opening project, and most are reusable for future events.
| Tool / supply | What it does | Est. cost |
|---|---|---|
| Hot glue gun + sticks | Bonds almost anything, fast | $12 |
| Electric balloon pump | Inflates hundreds of balloons without misery | $25 |
| Craft scissors + paper trimmer | Clean cuts for banners and signage | $15 |
| Painter’s tape + double-sided tape | Damage-free hanging on walls | $10 |
| Fishing line + Command hooks | Invisible hanging for ceiling decor | $12 |
| Chalk markers | Write on chalkboards, windows, mirrors | $10 |
| Acrylic paint set + brushes | Custom signs, props, touch-ups | $15 |
| Cardstock in brand colors | Banners, signs, fans, table cards | $12 |
| Tissue paper | Pom-poms, tassels, confetti | $8 |
| Crepe paper streamers | Ceiling swags, backdrops, wrapping | $6 |
| Balloon decorating strips | Pro-looking garlands with zero skill | $10 |
| Fairy lights (2 strands) | Instant magic on anything | $20 |
| Drop cloths | Protect floors during the work party | $8 |
| Label maker or stencil set | Professional-looking labels and signs | $15 |
| First aid for crafts (band-aids!) | Hot glue burns are a rite of passage | $5 |
Total toolkit investment: roughly $180, and you will use it for every event, holiday, and celebration for years. Buy the glue gun with a fine tip (precision matters), get the dual-temperature model if anyone is burn-prone, and do not skip the drop cloths — your venue’s floors will thank you.
Paper and Signage Projects (Ideas 1–9)
Paper is the cheapest decor material and, in skilled hands, the most versatile. These nine projects cost almost nothing and deliver outsized impact.
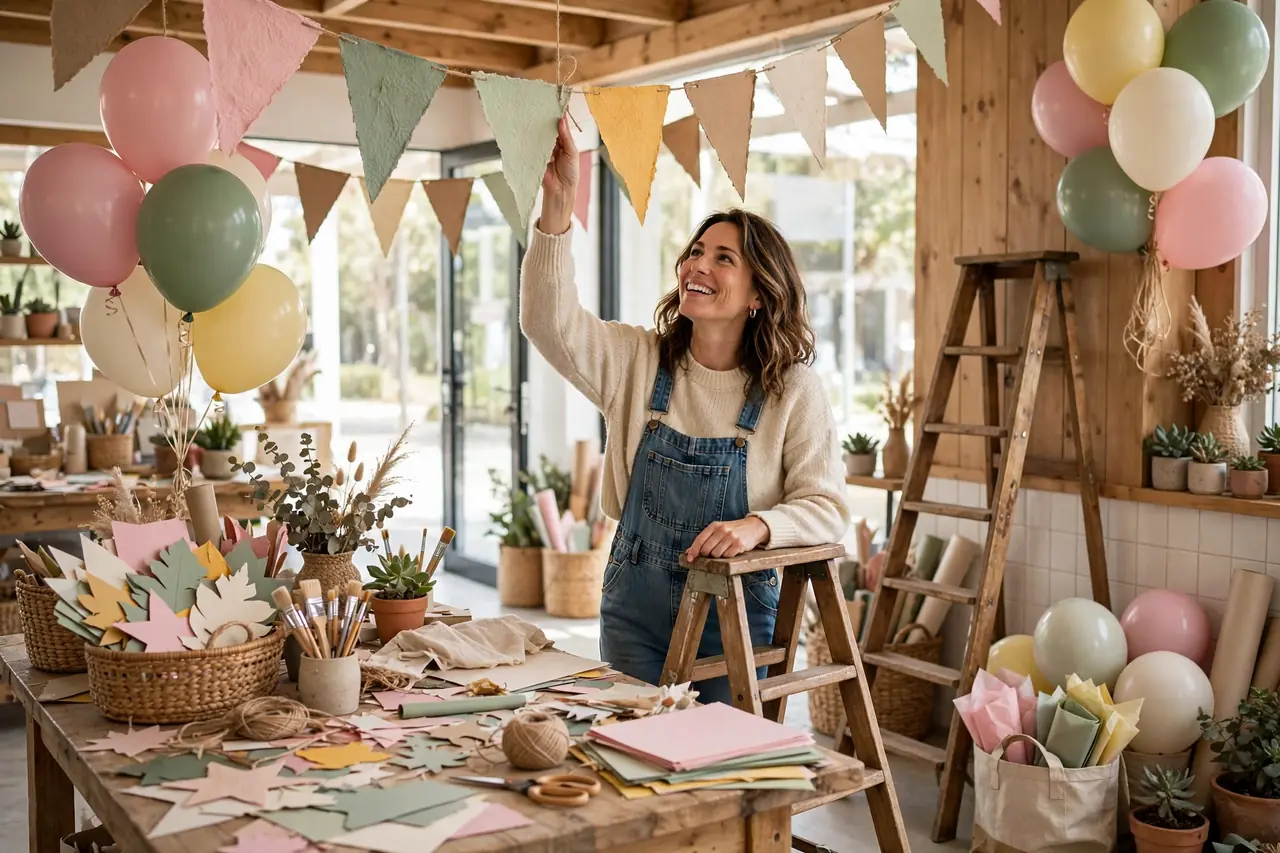
1. Giant paper fans. Accordion-fold large sheets of cardstock in brand colors, secure the center, and fan into circles — mount on walls in clusters of 5–7. A full wall of fans costs under $15 and photographs as high-end event styling. (Full tutorial below.)
2. Hand-lettered chalkboard signs. Thrift-store frames + chalkboard paint + chalk markers = unlimited custom signage. Welcome signs, menu boards, directional signs, quote boards. Practice lettering on paper first; simple block letters beat failed calligraphy.
3. The “reasons we’re here” banner. A long kraft-paper banner where team members each write one reason they are excited, hung prominently. It is decor, team-building, and storytelling in one.
4. Tissue pom-poms. Layer 8 sheets of tissue, accordion-fold, tie the center, cut the ends round or pointed, and fluff. Hang in clusters from the ceiling at varying heights. Eight pom-poms from one $5 tissue pack.
5. Photo timeline garland. Print your journey in photos (the empty space, the buildout, the team), clip to twine with mini clothespins, and hang as a garland. Guests will stand and read every one.
6. Custom table tents. Folded cardstock tents on every table with opening-day specials, your hashtag, and a QR code to your review page. Marketing disguised as decor.
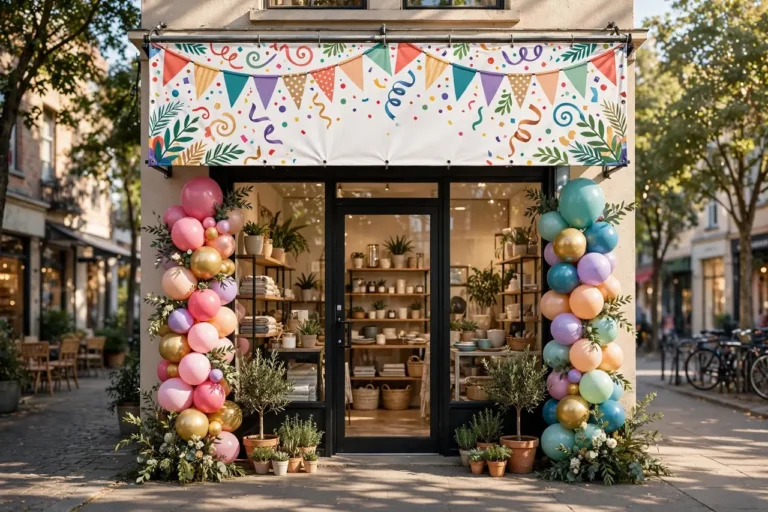
7. Window paint art. Washable window paint (or chalk markers on glass) turns windows into canvases — “Grand Opening!” in big letters with doodled balloons and stars. Visible from the street, removable in minutes.
8. Paper chain countdown. In the week before opening, hang a paper chain in the window and remove one link daily on social media. It builds anticipation and becomes opening-day decor.
9. The guest signature poster. A large printed poster of your logo on foam board where guests sign with metallic markers. Display it permanently afterward — it is the guest book that becomes wall art.
Balloon DIY Projects (Ideas 10–15)
Balloons are the most DIY-friendly decor in existence. These six projects need no professional skill — just the pump, the strips, and a free afternoon.
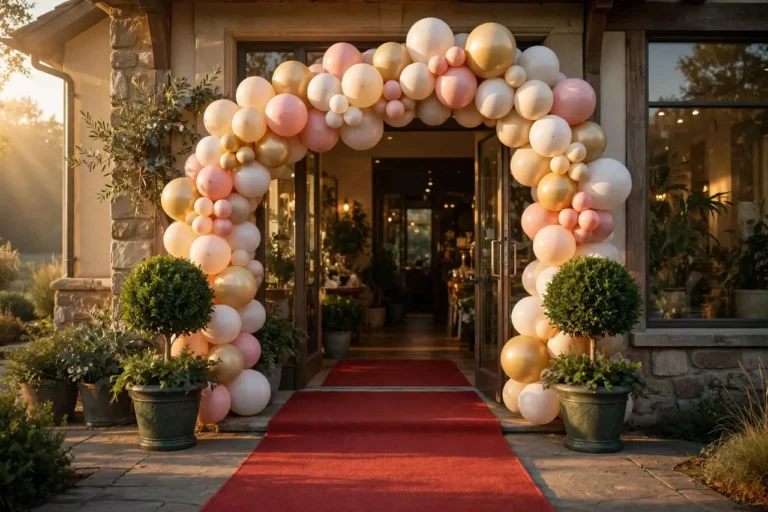
10. Strip garland entrance. Thread 60–80 balloons through decorating strips, alternating your brand colors, and hang over the entrance. Ninety minutes, $25, and it looks genuinely professional. (Full tutorial below.)
11. Balloon topiary trees. Fill a weighted flowerpot with a dowel rod, top with a clustered balloon “bush” of 15–20 balloons. Two flanking the door for under $30 total.
12. Ceiling balloon drop net. Stretch a cheap plastic tablecloth between ceiling points, load with 100 balloons, and rig a pull-cord release for the ribbon-cutting moment. The most dramatic $15 you will ever spend.
13. Confetti balloons. Stuff clear balloons with tissue confetti (made from your brand-color paper scraps) before inflating. They catch light beautifully and cost nothing extra.
14. Balloon photo frame. Build a rectangular frame from PVC pipe ($10), cover entirely with small balloons in an ombre pattern. Guests pose “inside” the frame — endlessly photographable.
15. Weighted table balloons. Tie single large balloons to small potted succulents ($3 each) as combined centerpiece-and-favor. Guests take the plant home; the balloon lasts the day.
Table and Centerpiece Projects (Ideas 16–22)
16. Succulent centerpieces. Small potted succulents in painted terracotta pots (paint them your brand color) — $3–$4 each in bulk, guests take them home, zero waste.
17. Candle clusters. Group pillar candles of varying heights on mirrored trays (dollar store) with scattered petals. For evening events, the glow is transformative.
18. Branded favor bags. Brown paper bags stamped with your logo (custom stamp, $20), filled with a sample, a discount card, and candy. Stacked decoratively, they are a display until guests take them.
19. “Menu” of the day. A framed, hand-lettered menu of tastings, activities, and the ceremony schedule on each table. It orients guests and looks intentional.
20. Flower bar. Buckets of inexpensive blooms (carnations, baby’s breath) where guests assemble their own mini-bouquet to take home. Interactive, fragrant, memorable — $50 of flowers entertains 100 guests.
21. Tiered display stands. Stack plates and bowls with candle pillars between them for instant tiered displays of products, favors, or treats. Thrift stores are goldmines for the components.
22. Table number alternatives. Instead of numbers, name tables after milestones in your journey (“The First Lease,” “Permit Day,” “The Buildout”) with a one-line story on each tent. Guests read them all.
Photo Moment DIY Projects (Ideas 23–27)
23. Crepe paper backdrop. Twist long crepe streamers and tape them vertically, overlapping, across a 8-foot span — a full shimmering backdrop for under $10. Layer two brand colors for depth.
24. The hashtag sign. A large foam-board sign with your event hashtag in bold letters, decorated with paper flowers. Place it at every photo spot — guests cannot tag what they cannot spell.
25. Prop sticks. Print speech bubbles, mustaches, giant glasses, and phrases (“Just Opened!”, “Shop Local”) on cardstock, glue to dowel rods. Thirty props for under $10.
26. Polaroid guest wall. Hang a clothesline with mini clothespins; guests take instant photos (or print from a portable printer) and clip them up. The wall fills through the day — a living art installation.
27. The “wishing” jar station. A large glass jar, paper slips, and pens — guests write wishes for the business and pose holding their slip. Photograph each one for a priceless anniversary post next year.
For more budget-styling inspiration, our budget decoration ideas and DIY gift and favor ideas share the same make-it-beautiful-for-less philosophy.
Entrance, Lighting, and Upcycled Projects (Ideas 28–35)
28. Painted pallet sign. A reclaimed pallet, sanded and painted with your business name and “Grand Opening,” staked by the entrance. Rustic-chic for under $10 (pallets are often free).
29. Ribbon curtain doorway. Hang long satin ribbons in brand colors from a tension rod across the entrance — guests walk through a shimmering curtain. $15 of ribbon, magical effect.
30. Mason jar lanterns. Fill mason jars with fairy lights or tea lights, hang from shepherd’s hooks or place along walkways. A dozen jars transform an evening entrance for under $30.
31. Chalkboard easel welcome. A large chalkboard on an easel with a hand-lettered welcome message and the day’s schedule. Update it through the event.
32. Upcycled crate displays. Wooden crates (often free from stores) stacked as rustic display shelving for products, favors, or flowers. Sand lightly, stain or paint brand colors.
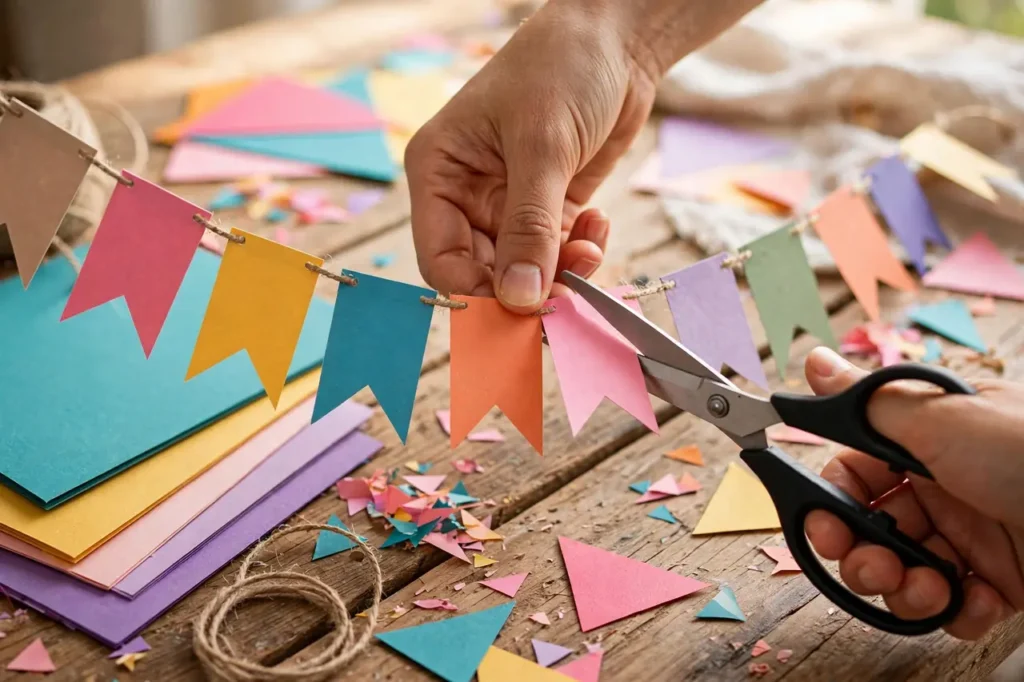
33. Fabric bunting. Cut triangles from fabric scraps or old brand-color tablecloths, sew or glue onto twine. Washable, reusable, and far more substantial-looking than paper pennants.
34. The “red carpet” alternative. A canvas drop cloth painted with your logo repeated in a pattern — a custom carpet for $20 that guests photograph constantly.
35. Donation decor. Ask friends, family, and neighboring businesses to lend plants, lanterns, and furniture for the day. A “community furnished” opening is charming, free, and a great story — just label everything and return it promptly with thank-you notes.
Step-by-Step Tutorial 1: Giant Paper Fans
Time: 15 minutes per fan. Cost: under $2 each. Makes: stunning wall clusters.
Step 1: Take two 12×12 inch cardstock sheets in the same color. Accordion-fold each into 1-inch pleats — crisp folds matter, so crease firmly.
Step 2: Fold each pleated sheet in half to find the center. Apply hot glue to one center edge and join the two sheets, forming a semicircle. Repeat with the fold to complete the full circle.
Step 3: Secure the center back with a glued cardstock circle for stability. Let cool for two minutes.
Step 4: Make fans in three sizes (12″, 9″, 6″) and two to three colors. Arrange on the wall in odd-numbered clusters (5 or 7), largest in the center-back, overlapping slightly. Attach with painter’s tape loops or Command strips.
Pro tip: alternate solid colors with one patterned paper for visual interest, and leave breathing room between clusters — a full wall of fans looks busy; three well-placed clusters look designed.
Step-by-Step Tutorial 2: The Strip Balloon Garland
Time: 60–90 minutes for 10 feet. Cost: $25–$35. Makes: a professional-looking entrance garland.
Step 1: Inflate balloons in three sizes: 11″ (the base), 5″ (filler). Use the sizer so 11″ balloons are uniform — uniformity is what reads as professional. Do not overinflate; leave a small “nipple” so balloons stay round, not pear-shaped.
Step 2: Starting at one end of the decorating strip, pull balloon knots through the holes, alternating colors in your chosen pattern (e.g., two brand color, one white, repeat). Push each balloon snug against the last.
Step 3: Once the strip is full, hang it in position with Command hooks or tied to the structure. Step back and identify gaps.
Step 4: Fill gaps by attaching 5″ balloons with glue dots, tucking them into empty spaces. Add a few 16″ balloons at intervals for the organic, varied look. Weave in faux greenery if using.
Step 5: Do the ten-foot test — step back ten feet and photograph. Adjust any lopsided sections. The camera reveals what your eyes miss.
Step-by-Step Tutorial 3: Hand-Lettered Chalkboard Signs
Time: 30–45 minutes per sign. Cost: $5–$10 each. Makes: unlimited custom signage.
Step 1: “Season” the chalkboard by rubbing chalk over the entire surface and wiping off — this prevents ghosting and gives an even background.
Step 2: Sketch your layout lightly in pencil or thin chalk: headline at top, details in the middle, decorative border last. Rule of thirds — headline large, details smaller.
Step 3: Letter with chalk markers (not real chalk — markers are brighter and do not smudge). Use simple block letters or faux calligraphy (thick downstrokes, thin upstrokes). One accent color maximum.
Step 4: Add simple flourishes — a hand-drawn border, small doodles (balloons, stars, arrows), underlines beneath key words. Less is more; white space is your friend.
Step 5: Let dry 10 minutes, then display on an easel at eye level. Photograph it — chalkboard signs are among the most-shared decor elements.
For more hands-on project inspiration, our at-home decoration ideas include papercraft and styling techniques that adapt beautifully to grand opening projects.
The DIY Budget Planner
Here is what a fully DIY-decorated grand opening costs when you make nearly everything. This assumes you own the basic toolkit (or split it with a friend).
| Project | Materials cost | Time | Helpers needed |
|---|---|---|---|
| Paper fan wall clusters (3) | $20 | 3 hours | 1 |
| Strip balloon garland entrance | $30 | 1.5 hours | 2 |
| Helium ceiling canopy (60 balloons) | $60 | 1 hour | 2 |
| Chalkboard signs (5) | $30 | 3 hours | 1 |
| Tissue pom-poms (12) | $10 | 2 hours | 1–2 |
| Crepe paper photo backdrop | $10 | 1.5 hours | 1 |
| Prop sticks (30) | $10 | 1.5 hours | 1 |
| Succulent centerpieces (15) | $50 | 1 hour | 1 |
| Mason jar lanterns (12) | $25 | 1 hour | 1 |
| Painted pallet sign | $10 | 2 hours + drying | 1 |
| Favor bags (50) | $40 | 2 hours | 2 |
| Ribbon curtain doorway | $15 | 1 hour | 1 |
Total: roughly $310 and 22 person-hours for a completely decorated grand opening — entrance, interior, photo moments, tables, and favors. Split across a Saturday work party with four friends, that is one full day of crafting with pizza. Compare that to $1,500–$3,000 for professional installation of equivalent coverage, and the DIY case makes itself — provided you start early enough.
The DIY Time Planner: When to Make What
DIY fails when everything happens the night before. Spread the work:
Three weeks out: painted pallet sign (needs drying time), fabric bunting, custom stamp for favor bags. Order all materials now.
Two weeks out: paper fans, tissue pom-poms, prop sticks, chalkboard signs (lettering takes longer than you think). Store flat in a dry place.
One week out: favor bags assembly, succulent potting, ribbon curtain prep, photo timeline printing. Do a practice balloon garland if you have never made one.
Day before: all air-filled balloon structures, crepe paper backdrop, hanging installations, table setup. This is the big work-party day — feed your helpers well.
Morning of: helium elements only, fresh flowers, final placement, the walkthrough. Morning-of should be styling, not building.
What to DIY vs. What to Hire: Honest Guidance
DIY everything in this guide with confidence — except these: hire a pro for the single most-photographed element if your skills are shaky (usually the entrance arch, $250–$400 — it is worth it); hire an electrician for anything involving wiring beyond plug-in fairy lights; and rent, do not DIY, anything structural (tents, staging, large installations that could fall on people). Everything else? Your hands, your friends, your glue gun. The imperfections in DIY decor read as charm and authenticity — guests love knowing the owner made the decorations. It becomes part of your founding story.
Watch: Setting Up a Retail Space From Scratch
The video below follows a small business owner setting up a retail space from empty to open — the real-world version of everything in this guide. Watch the sequencing: the big structural work first, the styling and details last, and the constant stepping back to see the whole picture.
Watch on YouTube: Small Business Vlog | Setting Up My First Retail Booth From Start to Finish
What the video captures perfectly is the emotional arc of DIY setup — the overwhelm at the start, the rhythm once the work begins, and the pride at the end. Your grand opening decor work party will feel exactly like this. Embrace the chaos; it is part of the story you will tell.
Frequently Asked Questions
How much money can I save with DIY grand opening decorations?
A fully DIY-decorated opening costs roughly $300–$500 in materials versus $1,500–$3,000 for professional installation of equivalent coverage — a savings of 70–80%. The trade-off is time: budget 20–25 person-hours spread over three weeks, ideally with a work party of friends. The hybrid approach (DIY everything except one pro-installed entrance arch) captures most of the savings while guaranteeing a flawless focal point.
What are the easiest DIY grand opening decorations for beginners?
Start with these five: tissue pom-poms (fold, tie, fluff — impossible to mess up), strip balloon garlands (the strip does the work), chalkboard signs (chalk markers forgive everything), crepe paper backdrops (tape and overlap), and prop sticks (print, cut, glue). Each takes under two hours, costs under $30, and looks genuinely professional. Do one practice run of any balloon project a week before the event.
How far in advance should I start DIY decorating?
Start three weeks out with projects needing drying time (painted signs, fabric bunting). Two weeks out, make paper goods and signage. One week out, assemble favors and centerpieces. Build all air-filled balloon structures the day before, and inflate helium elements the morning of. Never leave more than the helium and final styling for ceremony day — morning-of should be calm, not construction.
How do I make DIY decorations look professional, not cheap?
Three rules: commit to a strict color palette (two colors plus one metallic, everywhere), prioritize uniformity (same-size balloons via a sizer, consistent lettering, even spacing), and finish edges (trim threads, hide tape, tuck raw edges). Professional-looking DIY is 20% materials and 80% discipline. Step back ten feet and photograph everything — the camera reveals sloppiness your eyes miss, and it is the same camera your guests will use.
What should I not try to DIY for a grand opening?
Do not DIY anything structural or safety-related (tents, staging, overhead installations that could fall), anything electrical beyond plug-in lights, or the single most-photographed element if your skills are genuinely shaky — one $300 professional arch is worth it when every hero photo depends on it. Also do not DIY food beyond simple pre-packaged items unless you understand local health codes. Everything else is fair game.
Where do I buy cheap materials for DIY decorations?
Dollar stores (tissue paper, tablecloths, candles, frames), craft stores with weekly coupons (cardstock, paint, ribbon — never pay full price), online marketplaces in bulk (balloons, strips, fairy lights), thrift stores (frames, vases, crates, fabric), and your own recycling (jars, pallets, cardboard for structures). Buy balloons from one manufacturer for color consistency, and always buy 20% more than you need.
How do I organize a decoration work party?
Invite 4–6 friends for a Saturday three to seven days before the opening. Set up stations (one for paper crafts, one for balloons, one for assembly), print the tutorials from this guide, provide pizza and music, and assign one experienced person per station. Most people craft happily for 4–5 hours with good company and food. Thank helpers publicly at the ceremony and with a small gift — they literally built your opening.
Can DIY decorations work for an upscale or luxury brand?
Absolutely — restraint is what reads as luxury, not expense. A salon or boutique should DIY with discipline: a restrained palette (black, white, gold), fewer but perfect elements (one flawless garland beats ten okay ones), quality materials (real ribbon, not plastic; glass, not plastic), and immaculate finishing. Some of the most elegant openings are DIY — the key is editing ruthlessly and executing precisely.
How do I transport DIY decorations to the venue?
Transport flat (fans, signs, backdrops), in labeled bins by zone (entrance bin, table bin, photo bin), with a printed setup map showing where everything goes. Balloons travel best inflated on-site — bring the pump, not the balloons. Assign one carload per zone and one person to own each zone’s setup. Arrive with a plan, not a pile.
What do I do with DIY decorations after the grand opening?
Keep the best as permanent decor (chalkboard signs become menu boards, the neon-style sign stays, garlands refresh weekly). Gift centerpieces to guests (succulents, favor bags). Donate usable items to schools or community groups. Save one complete set of photos of your work — they are portfolio pieces for your business story and proof for the next event that you can do this. The pallet sign? Hang it in your office. You earned it.
DIY grand opening decorations are proof that the best celebrations are built, not bought. Assemble the toolkit, pick your projects, spread the work over three weeks, throw a work party with good pizza, and finish with the helium on ceremony morning. Your guests will not know what cost $300 and what would have cost $3,000 — they will only know it felt personal, joyful, and unmistakably yours. Years from now, when someone asks about your opening day, you will not talk about the decorations themselves. You will talk about the night you and your friends stayed up late building them together, laughing over glue-gun burns and crooked banners. And that is the whole point.