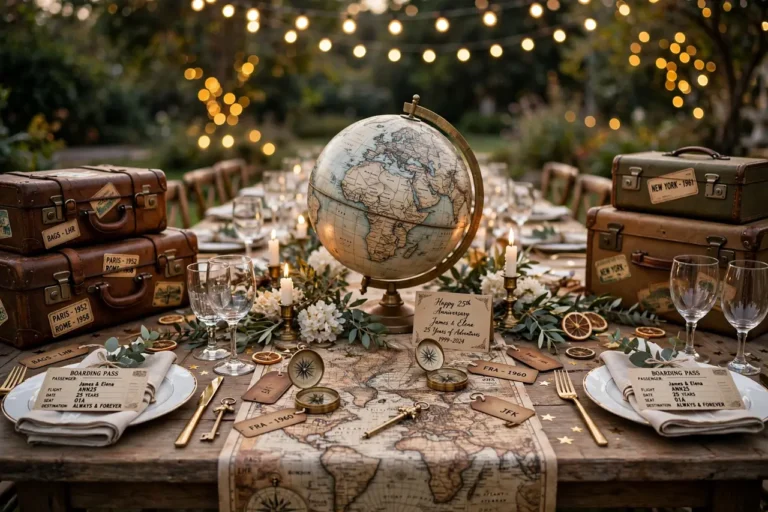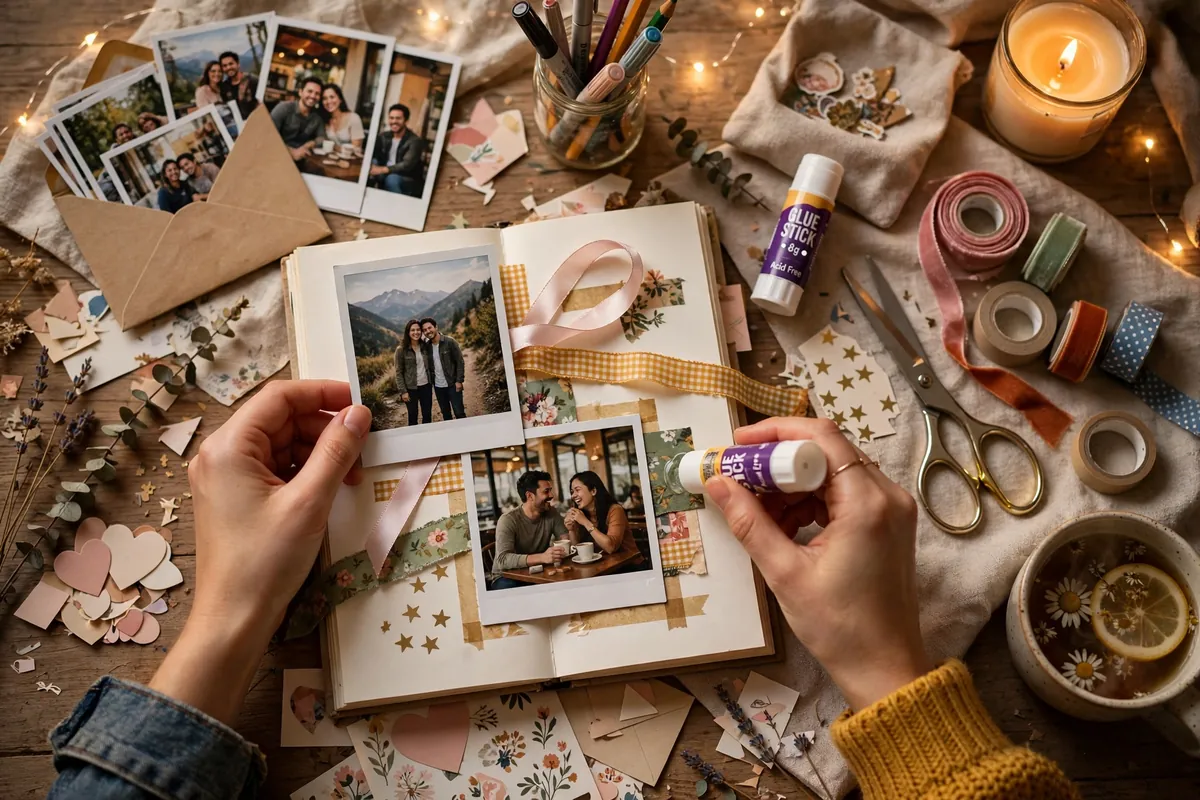
Nothing says “I love you” quite like something made by hand. These DIY engagement gift ideas go beyond the generic — each one includes a full materials list, step-by-step instructions, time and cost estimates, so you can pick the perfect project for your skill level and schedule. Whether you are crafty or have never held a glue gun, there is a handmade keepsake here that will mean more than anything store-bought.
Before You Start: 7 Rules for DIY Gift Success
- Start earlier than you think. Glue needs to dry, paint needs to cure, and orders for custom parts take time. Give yourself at least a week of buffer.
- Do a test run. Try the technique on scrap materials first. Your first attempt is practice; the gift is attempt two.
- Buy 20% more materials than you need. Mistakes happen. Running out mid-project at 11 PM is how gifts get abandoned.
- Keep it simple and execute well. A perfectly made simple gift beats an ambitious messy one every time.
- Personalize with specifics. Names, dates, inside jokes, coordinates — the personal details are what elevate craft into keepsake.
- Finish like a pro. Trim threads, wipe smudges, let everything dry fully. The last 10% of finishing is 90% of the perceived quality.
- Present it beautifully. Handmade deserves beautiful packaging — a nice box, tissue paper, and a handwritten note explaining what you made and why.
Project Difficulty & Time Guide
| Project | Difficulty | Time | Cost |
|---|---|---|---|
| 1. Memory scrapbook | Easy | 4–6 hours | $20–$35 |
| 2. “Open when” letter collection | Easy | 2–3 hours | $5–$10 |
| 3. Custom photo puzzle | Easy | 1 hour + printing | $15–$25 |
| 4. Engraved wooden keepsake box | Medium | 3–4 hours | $25–$40 |
| 5. Hand-poured candle set | Medium | 2–3 hours | $20–$30 |
| 6. “Our story” illustrated timeline | Medium | 5–8 hours | $15–$30 |
| 7. Embroidered hoop art | Medium | 6–10 hours | $10–$20 |
| 8. Custom recipe book | Easy | 3–5 hours | $15–$25 |
| 9. String art “love” sign | Medium | 3–5 hours | $15–$25 |
| 10. Memory jar / date jar | Easy | 1–2 hours | $10–$15 |
| 11. Hand-bound love letter book | Hard | 8–12 hours | $20–$35 |
| 12. Painted couple mugs | Easy | 2 hours + baking | $10–$20 |
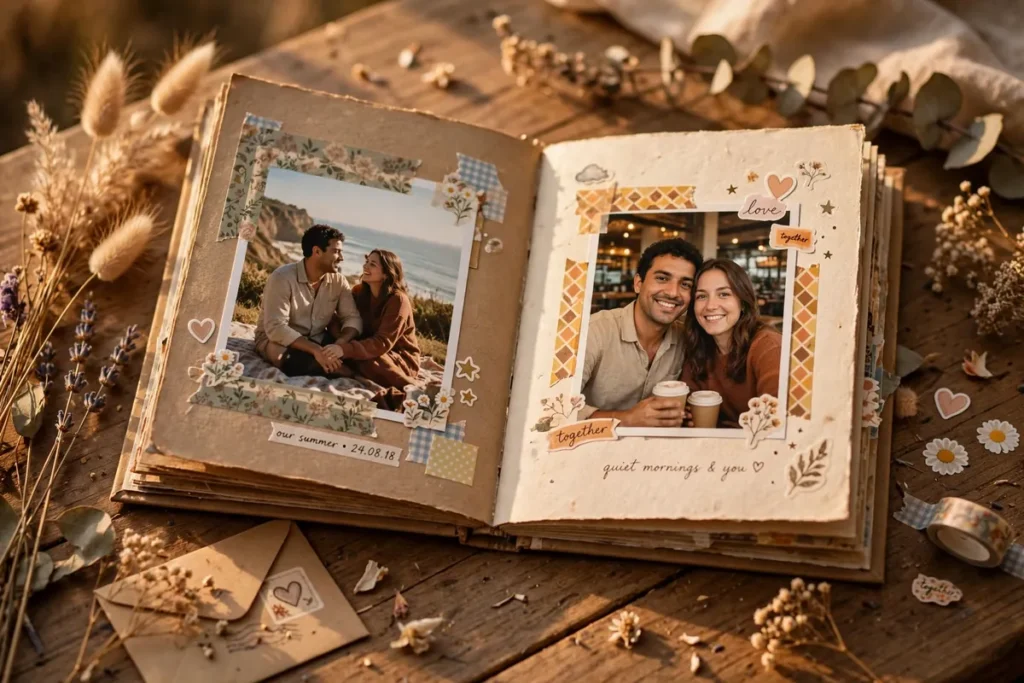
Project 1: The Memory Scrapbook
The gift: A hand-assembled scrapbook telling your love story from first meeting to proposal, with photos, ticket stubs, notes, and captions.
Materials: Blank scrapbook or binder with cardstock pages ($12–$18), printed photos ($5–$10 at a drugstore or online printer), adhesive (double-sided tape or glue dots — avoid liquid glue that wrinkles), scissors, washi tape and stickers for decoration, pens for journaling, memorabilia (tickets, maps, dried flowers).
Steps:
- Sort your photos chronologically and pick 30–50 favorites. Print them in mixed sizes for visual interest.
- Plan the page flow: first meeting, early dates, milestones, trips, the proposal, and one blank “future” section at the end.
- For each spread, arrange photos loosely before sticking anything down. Leave white space — crowded pages look messy.
- Add one journaling block per spread: a date, a memory, or a quote. Handwriting beats printing for warmth.
- Tuck in memorabilia with photo corners or small envelopes so items can be removed and held.
- Decorate sparingly — a strip of washi tape or a single sticker per page is plenty.
- Write a dedication on the first page and leave the last pages blank with a note: “To be continued.”
Pro tip: Include one “blooper” page with the outtakes and funny photos. It is always the page they show people first.
Project 2: “Open When” Letter Collection
The gift: A box of sealed envelopes, each labeled with a moment to open it — for the wedding morning, tough days, anniversaries, and ordinary Tuesdays.
Materials: 15–25 envelopes ($4), a nice box or keepsake container ($5–$15), good pens, stickers or wax seal for sealing (optional, $5).
Steps:
- Brainstorm 15–25 moments: “Open when you miss me,” “Open on our wedding morning,” “Open when wedding planning stresses you out,” “Open when you need to laugh,” “Open on our first anniversary.”
- Write each letter by hand. Aim for at least half a page each — specific memories, honest feelings, encouragement.
- Seal each envelope and label the front clearly. Decorate lightly.
- Arrange in the box with the “open first” letter on top (usually “Open when you get this”).
- Include an index card listing all the envelopes so none get lost.
Pro tip: Ask their best friend or sibling to secretly contribute 2–3 letters. The surprise of other handwriting inside is magical.
Project 3: Custom Photo Puzzle
The gift: A jigsaw puzzle made from a favorite photo of the couple — fun to assemble together, frameable afterward.
Materials: A high-resolution favorite photo, a custom puzzle printing service (many print a 500-piece puzzle for $15–$25), or a blank puzzle + decoupage kit for the fully handmade route ($12).
Steps (handmade route):
- Print the photo at the exact size of a blank jigsaw puzzle (commonly 8×10″).
- Apply a thin, even layer of decoupage medium to the puzzle surface.
- Carefully lay the photo down, smoothing from center outward to avoid bubbles.
- Let dry 24 hours, then seal with two thin topcoats.
- Break the puzzle apart, box it beautifully, and include a note: “Our love story, piece by piece.”
Pro tip: Write a message on the back of a few pieces before assembling — hidden notes they discover while building it.
Project 4: Engraved Wooden Keepsake Box
The gift: A wooden box personalized with the couple’s names and engagement date — for letters, photos, and mementos.
Materials: Unfinished wooden box with hinged lid ($12–$20 at craft stores), wood-burning tool ($15–$25, reusable for future projects) OR alphabet stamps + ink, sandpaper (220 grit), wood stain or paint, clear sealant, soft cloth.
Steps:
- Sand the box lightly with 220-grit sandpaper, wiping dust away with a damp cloth.
- Practice your design on scrap wood first — names, date, and a simple motif like a heart or their initials.
- Burn or stamp the design onto the lid. Work slowly; wood-burning is permanent.
- Apply stain or paint if desired, let dry fully.
- Seal with two thin coats of clear sealant, sanding lightly between coats.
- Line the inside with felt or decorative paper using spray adhesive.
- Fill it with a starter memento: a copy of the proposal photo and your letter.
Pro tip: If wood-burning intimidates you, vinyl lettering or a custom stencil with paint gives a clean result with zero special tools.
Project 5: Hand-Poured Candle Set
The gift: Custom-scented candles in beautiful containers, labeled with names and meanings for each scent.
Materials: Soy wax flakes ($10 for enough for 4–6 candles), candle wicks with stickers, fragrance oils (2–3 scents, $12 total), heat-proof containers (mason jars, teacups, or tins), a pouring pot or old saucepan, thermometer, labels.
Steps:
- Choose scents with meaning: the flower from the proposal bouquet, the smell of the restaurant where you had your first date, a cozy scent for home.
- Melt wax to 170°F, remove from heat, stir in fragrance oil at 150°F (about 1 oz per pound of wax).
- Secure wicks in containers with stickers, keeping them centered.
- Pour wax slowly, leaving half an inch at the top. Let cool undisturbed for 24 hours.
- Trim wicks to 1/4 inch. Design labels with the scent name, a memory, and the engagement date.
- Box the set with a note explaining each scent’s story.
Pro tip: Name each candle after a memory — “First Date,” “The Proposal,” “Our Future Home.” The naming is what makes it a keepsake rather than just candles.
Project 6: “Our Story” Illustrated Timeline
The gift: A long, beautiful timeline poster of the relationship — every milestone illustrated and dated, suitable for framing.
Materials: Long roll of kraft or watercolor paper ($8–$12), fine-tip pens and markers, watercolors or colored pencils, ruler, printed mini photos (optional).
Steps:
- List every milestone with dates: first meeting, first date, first trip, moving in, the proposal. Aim for 10–20 points.
- Draw a horizontal line across the paper and mark dates evenly.
- Illustrate each milestone simply — a coffee cup for the first date, a plane for the first trip, a ring for the proposal. Stick figures are charming.
- Add one-sentence captions in your best handwriting.
- Add decorative borders, small doodles, and color washes.
- Leave space at the end labeled “The best is yet to come” with the wedding date if set.
- Roll in a tube or frame it — framing makes it look like art.
Pro tip: Imperfect drawing is part of the charm. This gift’s value is 100% heart, 0% artistic skill.
Project 7: Embroidered Hoop Art
The gift: A hand-embroidered hoop with the couple’s initials, wedding date, or a meaningful quote — folk-art beautiful and deeply personal.
Materials: Embroidery hoop ($3–$5), linen or cotton fabric, embroidery floss in 2–3 colors ($5 total), needle, water-soluble pen for tracing, small scissors.
Steps:
- Sketch the design on paper first: initials intertwined, a date in elegant script, or a short phrase like “est. 2026.”
- Trace onto fabric with a water-soluble pen. Mount fabric taut in the hoop.
- Learn two stitches from a free video tutorial: backstitch (for lettering) and French knots (for decoration). That is all you need.
- Stitch slowly — this project is meditative. Expect 6–10 hours total across several evenings.
- Add small embellishments: tiny flowers, hearts, or stars around the design.
- Rinse away pen marks, let dry, remount, and trim the back fabric neatly.
- Finish the back with a felt circle glued on for a professional look.
Pro tip: Start this project at least three weeks before you need it. Rushing embroidery shows.
Project 8: Custom Recipe Book
The gift: A hand-assembled cookbook of meaningful recipes — family favorites, dishes from memorable dates, and blank pages for future favorites.
Materials: Blank recipe book or binder with recipe cards ($10–$15), printed recipe cards, photos of dishes or cooking together, dividers, pens.
Steps:
- Collect 15–25 recipes: family recipes (ask both families!), dishes from favorite restaurants you have recreated, meals from trips.
- Write or print each recipe on a card with the story: “The pasta from our third date,” “Mom’s lasagna.”
- Organize with dividers: appetizers, mains, desserts, “our future favorites” (blank).
- Add photos where you have them — cooking together, the restaurant, the dish.
- Leave 10+ blank cards at the back with a note: “For all the meals we have not cooked yet.”
- Decorate the cover with the couple’s names and “est.” date.
Pro tip: Secretly get one recipe from each of their parents. Those two cards will be the most treasured pages.
Project 9: String Art “Love” Sign
The gift: A wooden board with nails and wound string forming “LOVE,” initials, or a heart — rustic, striking wall art.
Materials: Wooden board or plaque ($8–$12), small nails and hammer, embroidery thread or string in chosen colors ($5), printed template of your word/design, tape.
Steps:
- Print your word in a bold font at the size of your board. Tape it centered on the wood.
- Hammer nails along the outline of each letter, about half an inch apart, leaving them raised half an inch.
- Carefully tear away the paper template.
- Tie string to one nail and wind it around the outline nails to define the shape, then crisscross randomly inside for the filled effect.
- Experiment: outline in one color, fill in another. Tie off securely and trim.
- Stain or paint the board edges for a finished look. Add hanging hardware on the back.
Pro tip: “LOVE” is classic, but their shared last name or “est. 2026” is more personal. Keep words short — each letter is real work.
Project 10: Memory Jar / Date Jar
The gift: A beautiful jar filled with 50+ folded notes — memories, date ideas, reasons you love them, or a mix.
Materials: Large glass jar with lid ($8–$12), colored paper or cardstock, pens, ribbon and label for the jar.
Steps:
- Choose a theme: memories (“50 favorite moments”), future dates (“52 date ideas”), or love notes (“100 reasons”).
- Cut paper into uniform strips. Write one item per strip — be specific, not generic.
- Fold each strip and drop it in. Fill the jar at least three-quarters full for visual abundance.
- Decorate the jar: ribbon, a custom label (“Open when you need us”), maybe paint the lid.
- Write instructions on the tag: “One per week,” “Open anytime,” or “Save for our first anniversary.”
Pro tip: This is the highest impact-per-hour project in the guide. Two hours of writing creates a gift they enjoy for a year.
Project 11: Hand-Bound Love Letter Book
The gift: A book you literally bind yourself, containing letters for every stage: now, the wedding morning, the first anniversary, and beyond.
Materials: Quality paper (24+ sheets), needle and waxed thread for binding, awl, cutting mat and ruler, decorative cover paper or fabric, glue stick, bone folder (or a spoon handle).
Steps:
- Write your letters first — 5–10 letters for different moments. This is the heart of the gift; take days over it.
- Fold sheets into signatures (groups of 4–6 folded sheets). You will need 4–6 signatures.
- Punch holes along the fold of each signature with an awl, using a template for consistency.
- Bind using a simple pamphlet stitch or Coptic stitch — free video tutorials walk through both clearly.
- Create the cover from decorative paper or book cloth, slightly larger than the pages.
- Attach the cover, press the book under heavy books overnight.
- Title the spine and add a dedication page.
Pro tip: This is the most ambitious project here. Start a month out, bind a practice booklet first, and remember: slightly imperfect binding looks handmade in the best way.
Project 12: Painted Couple Mugs
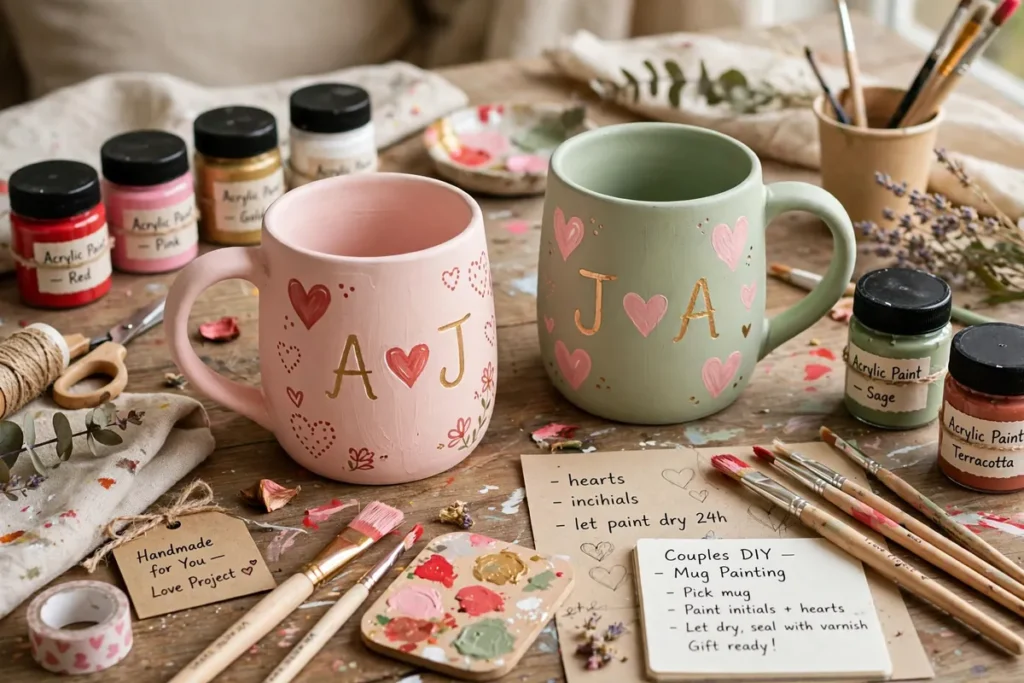
The gift: Hand-painted ceramic mugs — his-and-hers with initials, a date, or a design that means something to them.
Materials: Plain white ceramic mugs ($3–$5 each), oil-based paint pens or ceramic paint ($10 set), oven for curing, rubbing alcohol for prep.
Steps:
- Wash mugs and wipe with rubbing alcohol. Let dry completely.
- Sketch the design lightly in pencil: initials, the date, a simple motif (hearts, mountains from a trip, their pet).
- Paint with ceramic paint pens, working in thin layers. Let each layer dry before adding detail.
- Fix mistakes immediately with a damp cotton swab — ceramic paint lifts easily before curing.
- Let cure 24 hours, then bake per paint instructions (usually 350°F for 30 minutes) to set.
- Hand-wash only — include a sweet care note: “Handle with love, like us.”
Pro tip: Keep designs simple and bold. Fine detail is hard on curved ceramic; big initials and clean lines look professional.
Bonus: 5 Thirty-Minute DIY Gifts (No Special Skills)
Truly last-minute but still want handmade? These five take under 30 minutes each:
- The compliment deck. Write one genuine compliment on each card of a new deck of playing cards. Shuffle, box, done. Fifteen minutes, unforgettable.
- Photo clothesline. String, mini clothespins, and 12 printed photos. Hang it across their doorway for a surprise they walk into.
- “Our song” QR art. Generate a free QR code linking to your song or a video message, print it large, frame it with a caption. Ten minutes, looks like tech-art.
- Memory matchbox. Fill a small box with folded notes — one memory per slip. Decorate the lid with their initials in marker. Twenty minutes.
- Framed “first” ticket. That old movie ticket, concert stub, or boarding pass from your first trip — float-mounted in a simple frame with the date written beneath. The artifact does all the work.
Troubleshooting Common DIY Disasters
| Disaster | Rescue |
|---|---|
| Glue wrinkles on paper | Switch to double-sided tape or glue dots; place heavy books on the page overnight to flatten |
| Paint smudged on ceramic | Wipe immediately with a damp cotton swab before curing; keep a steady hand by resting your wrist |
| Wood-burning mistake | Sand the area down and reburn; or pivot — incorporate the “mistake” into the design as texture |
| Candle has sinkholes | Do a second pour: reheat leftover wax and top up the candle, then cool slowly away from drafts |
| Embroidery puckers | Keep fabric drum-taut in the hoop and do not pull thread too tight; steam the back to relax fibers |
| Ran out of time | Downscale, do not rush: a finished simple project beats a half-finished ambitious one every time |
Packaging Your Handmade Gift Like a Pro
- Box it, don’t bag it. Rigid boxes protect handmade items and feel more significant.
- Layer with tissue. Crumpled tissue nests the gift and adds ceremony to unwrapping.
- Include a “made by” note. A small card explaining what you made, how long it took, and why you chose it. This card often becomes as treasured as the gift.
- Photograph before wrapping. You will want to remember it, and they may want to share it.
- Add care instructions. “Hand-wash only,” “keep out of direct sun” — practical and thoughtful.
Watch: 10+ Handmade Gift Ideas
See more than ten heartfelt handmade gift ideas demonstrated step by step — great for visual learners and extra inspiration beyond these twelve projects.
More Engagement Inspiration on DayZora
- 120+ Sweet Wedding Day Messages for Couples — words to include with your handmade gift.
- 100+ Wedding Day Wishes for Your Best Friend — when your best friend is the one engaged.
- 150+ Funny Wedding Day Quotes for Couples — for the lighthearted card to go with the gift.
- 130+ Romantic Wedding Day Quotes for Her — lines worth embroidering, engraving, or framing.
Where to Get Materials Without Overspending
DIY should save money, not secretly cost more than buying. Smart sourcing keeps every project in this guide under $40:
- Dollar and discount stores for jars, frames, candles, ribbon, and basic craft supplies — quality is fine for most projects.
- Craft store coupons — the big chains almost always have 40–50% off one-item coupons; time your wood, fabric, and tool purchases around them.
- Thrift stores for frames, baskets, teacups (candle containers), and vintage boxes with character.
- Your own home first — check junk drawers and closets before buying. Half of most projects can be assembled from things you already own.
- Buy photo prints in bulk — drugstore and online printers drop per-print prices dramatically at 50+ prints; you will use them across multiple projects.
- Share with a friend — splitting a bag of wax, a pack of hoops, or a wood-burning tool with someone halves the cost of the pricier supplies.
Frequently Asked Questions
What is a good DIY engagement gift?
The best DIY engagement gifts combine personal meaning with solid execution: a memory scrapbook, an “open when” letter collection, a hand-poured candle set with meaningful scents, an embroidered hoop with their date, or a memory jar filled with notes. Choose based on your skill level and the time you have — a simple project done beautifully beats an ambitious one done poorly.
How far in advance should I start a DIY engagement gift?
Start 2–4 weeks before you need it for most projects. Embroidery and bookbinding need 3–4 weeks; scrapbooks and letter collections need 1–2 weeks; candles, mugs, and jars can be done in a weekend. Always add buffer for drying, curing, and the inevitable redo of one element.
I am not crafty. Can I still make a DIY engagement gift?
Absolutely. The memory jar, “open when” letters, photo puzzle, and painted mugs require zero craft experience — just time and sincerity. The projects in this guide are ordered with true beginners in mind, and every one includes the option to simplify further. Heart matters more than technique.
How much does a DIY engagement gift cost?
Most projects in this guide cost $10–$40 in materials. The real investment is time (2–12 hours depending on the project). That time is precisely what makes handmade gifts so valued — the recipient knows you spent hours thinking about them.
Should I tell them it is handmade?
Yes — proudly. Include a small “made by” note explaining what you made and why. Far from diminishing the gift, knowing it is handmade multiplies its perceived value and emotional weight. People treasure the story of the making almost as much as the object.
What if my DIY gift does not turn out perfectly?
Imperfection is part of the charm of handmade — it proves a human made it with love. That said, if something is genuinely broken or unusable, fix it or choose a simpler project. The standard is “made with care,” not “factory perfect.” When in doubt, ask a crafty friend for a 10-minute rescue session.
Can I combine a DIY gift with a store-bought one?
This is often the ideal approach: pair something handmade (a letter, a jar of notes) with something purchased (a nice candle, quality chocolates, a bottle of champagne). The handmade piece provides the heart; the purchased piece provides the polish. Together they feel abundant and thoughtful.
Final Thought
Of all the DIY engagement gift ideas in this guide, the best one is the one you will actually finish — so pick the project that excites you, not the one that impresses you. A simple jar of handwritten notes, made with love on a Sunday afternoon, will outshine any elaborate project abandoned halfway. Start early, work with care, and remember: you are not just making an object. You are making a memory they will keep long after the wedding flowers have faded.