
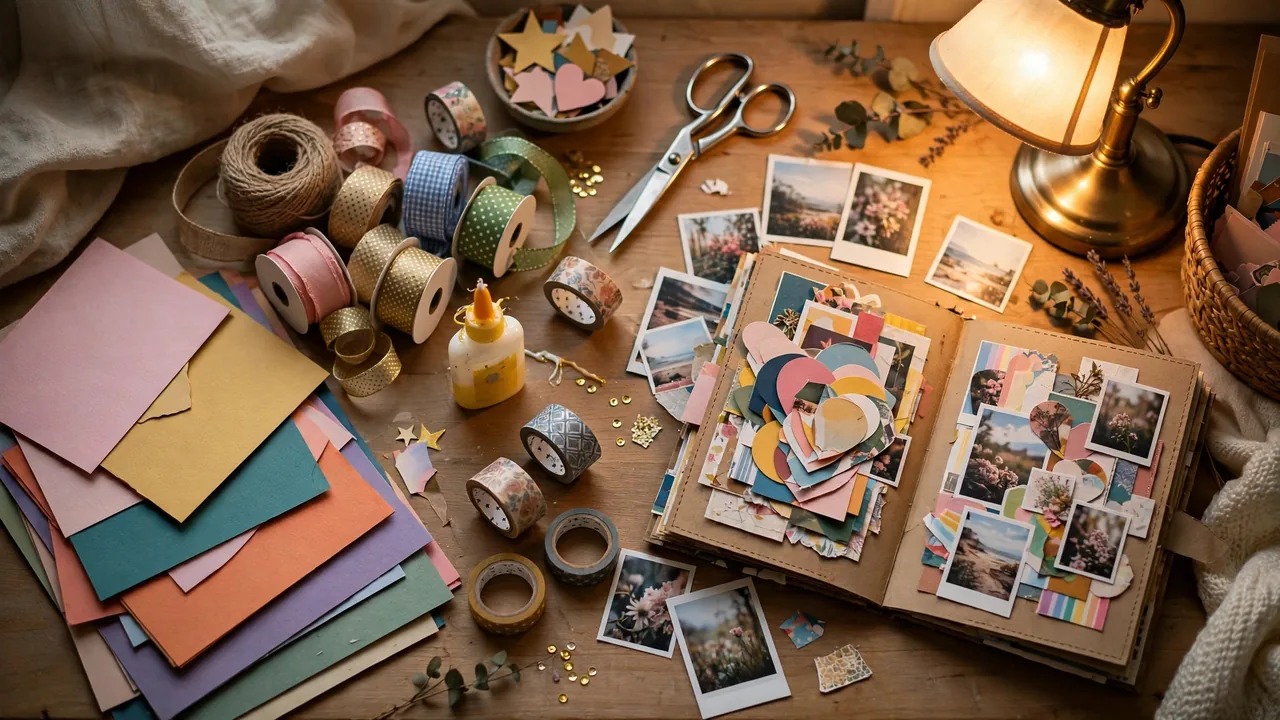
There is a special category of gift that money cannot buy and stores cannot sell: the thing you made with your own hands, specifically for your best friend. DIY birthday gifts for best friend occasions hit differently because every hour you spent is visible in the result. She will know you chose the photos, picked the colors, wrote the words, and probably burned your finger with the glue gun at least once. That effort is the gift — the object is just where it lives.
But let us be honest about the fear: “I’m not crafty.” Good news — you do not need to be. The projects below are chosen for maximum emotional impact with minimum skill requirement. Each one includes a complete materials list, honest time and cost estimates, and step-by-step instructions written for actual beginners. Pick one project (not three — focus is your friend), gather the supplies, put on a good playlist, and make something she will keep for years.
If you want even more handmade inspiration beyond birthdays, our DIY wedding day gift ideas guide has 42 step-by-step projects using the same techniques — many adapt perfectly to a best friend’s birthday.
Before You Start: The $20 DIY Toolkit
Almost every project below draws from the same small pool of supplies. Buy these once and you are equipped for all of them — and for every handmade gift you will ever make.
| Supply | Why You Need It | Typical Cost |
|---|---|---|
| Hot glue gun + sticks | Bonds almost anything in seconds; the backbone of quick crafts | $8–$12 |
| Good scissors + craft knife | Clean cuts make everything look professional | $6–$10 |
| Double-sided tape / glue dots | Invisible adhesive for paper projects — no wrinkling | $4–$6 |
| Kraft paper + cardstock pack | Boxes, cards, tags, wrapping — the universal base | $5–$8 |
| Ribbon, twine & washi tape | Instant decoration for any project | $5–$10 |
| Fine-tip markers / gel pens | Hand lettering for cards, tags, and labels | $6–$10 |
| Mod Podge or clear sealant | Seals and protects photo and decoupage projects | $6–$9 |
| Small gift boxes + tissue | Presentation for every finished piece | $5–$8 |
You probably own half of this already. Total outlay for the rest: roughly $20, and it covers dozens of future gifts. Now, the project picker.
Project Picker: Choose Your Build
| Project | Difficulty | Time | Cost | Best For |
|---|---|---|---|---|
| 1. Memory Explosion Box | Easy | 2–3 hrs | $10–$15 | The sentimental best friend |
| 2. “Open When” Letters | Easy | 1–2 hrs | $5–$8 | Long-distance friendships |
| 3. Custom Photo Coasters | Easy | 1 hr + drying | $10–$12 | Practical + personal combo |
| 4. Friendship Bracelets, Elevated | Easy–Medium | 1–2 hrs | $5–$10 | Matching set for both of you |
| 5. Handmade Spa Kit | Easy | 1 hr | $12–$18 | The stressed-out friend |
| 6. “Our Story” Recipe Book | Medium | 3–4 hrs | $10–$15 | The foodie friend |
Project 1: The Memory Explosion Box
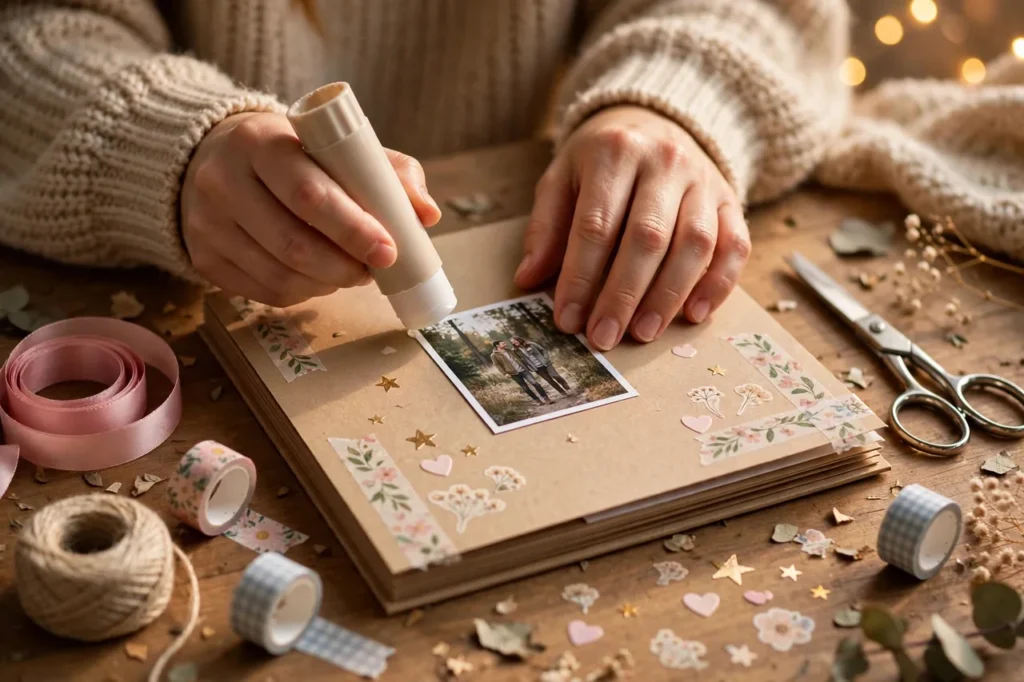
This is the showstopper — a box that literally explodes outward with photos and notes when the lid is lifted. It looks incredibly impressive and is secretly just folded cardstock. This is the number-one most-gifted DIY project for a reason.
Materials
| Material | Specs | Where to Get It |
|---|---|---|
| Cardstock (12×12 sheets) | 4–5 sheets, her favorite colors | Craft store |
| Small rigid box with lid | About 4-inch cube | Craft or dollar store |
| Printed photos | 20–30 small prints (2×3″) | Drugstore photo kiosk or home printer |
| Double-sided tape | 1 roll | Toolkit |
| Washi tape, stickers, ribbon | For decoration | Toolkit / craft store |
| Fine-tip pen | For captions and notes | Toolkit |
Step-by-Step
Step 1 — Build the layers. Cut three squares of cardstock: 12″, 9″, and 6″. Score and fold each into a box shape without a top (fold up 3″ on the 12″ sheet, 2.25″ on the 9″, 1.5″ on the 6″), creating three nested open boxes. Nest them inside each other, largest at the bottom, and place the stack inside your rigid box.
Step 2 — Decorate the panels. Each folded-up side is a canvas. Attach photos with double-sided tape, write captions and inside jokes beneath them, add washi tape borders and stickers. Work chronologically if you like — oldest memories on the outer layer, recent ones inside — or theme each side (adventures, everyday moments, milestones).
Step 3 — The center surprise. In the very center of the smallest box, attach a small treat, a folded letter, or a tiny gift (a necklace, a gift card, her favorite candy). This is the treasure at the heart of the explosion.
Step 4 — Close and wrap. Fold all the layers back up, nest them, put the lid on, and tie the whole box with ribbon. When she lifts the lid, the layers cascade open. Film her reaction — you will want to keep it.
Pro tip: Write more than you think you should. The photos get the “aww,” but the handwritten captions — the story behind each picture — are what make people cry.
Project 2: The “Open When” Letter Collection
A set of sealed envelopes for every emotional occasion, each containing a letter, a memory, or a tiny surprise. It is the gift that keeps giving for months.
Materials
| Material | Specs | Notes |
|---|---|---|
| Envelopes | 12–15, colorful or kraft | Mix sizes for visual interest |
| Stationery or cardstock | Enough for 12–15 letters | Pretty paper elevates the whole thing |
| Stickers, washi, stamps | For sealing and decorating | Wax seals look amazing if you have one |
| Tiny extras | Tea bags, stickers, a $5 bill, photos | One small surprise per envelope max |
| Box or ribbon | To bundle the set | Tie with ribbon like a stack of letters |
Step-by-Step
Step 1 — Choose your occasions. Write this list: Open when… you need a laugh / you miss me / work is awful / you can’t sleep / you need courage / it’s our friendiversary / you’re celebrating / you need advice / you’re homesick / you just want to smile. Pick 12 that fit her life.
Step 2 — Write the letters. One page each is plenty. Match the tone to the label: the “need a laugh” letter should be your funniest shared story; the “need courage” letter should remind her what she is capable of, with specific examples. This is the heart of the project — give it your real attention.
Step 3 — Add one tiny extra per envelope. A tea bag in “can’t sleep,” a silly sticker in “need a laugh,” a photo in “miss me.” Keep extras flat and small.
Step 4 — Seal, label, and bundle. Seal each envelope with a sticker or wax, write the “Open when…” label on the front in your best handwriting, stack them, and tie with ribbon. Include a top card explaining the rules: one at a time, no peeking ahead.
Project 3: Custom Photo Coasters
Practical, personal, and permanent — a set of coasters featuring your favorite photos together, sealed to survive actual use. She will see them every single day.
Materials
| Material | Specs | Notes |
|---|---|---|
| Ceramic tiles | 4×4″, set of 4 | Hardware store, ~$0.50 each |
| Photos | 4 prints, trimmed to 3.75″ | Matte prints work best |
| Mod Podge | 1 small bottle | The waterproof formula if available |
| Clear acrylic sealer | 1 can, matte or gloss | Essential for heat/moisture protection |
| Felt pads | 4, adhesive-backed | Protects her furniture |
| Foam brush | 1″ | For smooth Mod Podge application |
Step-by-Step
Step 1 — Prep. Wipe tiles clean and let dry. Trim photos to fit with a small border of tile showing.
Step 2 — Adhere. Brush a thin layer of Mod Podge on the tile, place the photo, smooth out bubbles from center outward with your fingers, then brush another thin layer over the top. Let dry 20 minutes. Repeat for all four.
Step 3 — Seal. Once fully dry, spray 2–3 light coats of clear acrylic sealer (outdoors or ventilated area), letting each coat dry. This is what makes them survive coffee mugs.
Step 4 — Finish. Stick felt pads on the bottom of each tile. Stack, tie with ribbon, and done. Choose photos with variety — one silly, one sweet, one adventure, one everyday — so the set tells a story.
Project 4: Friendship Bracelets, Elevated
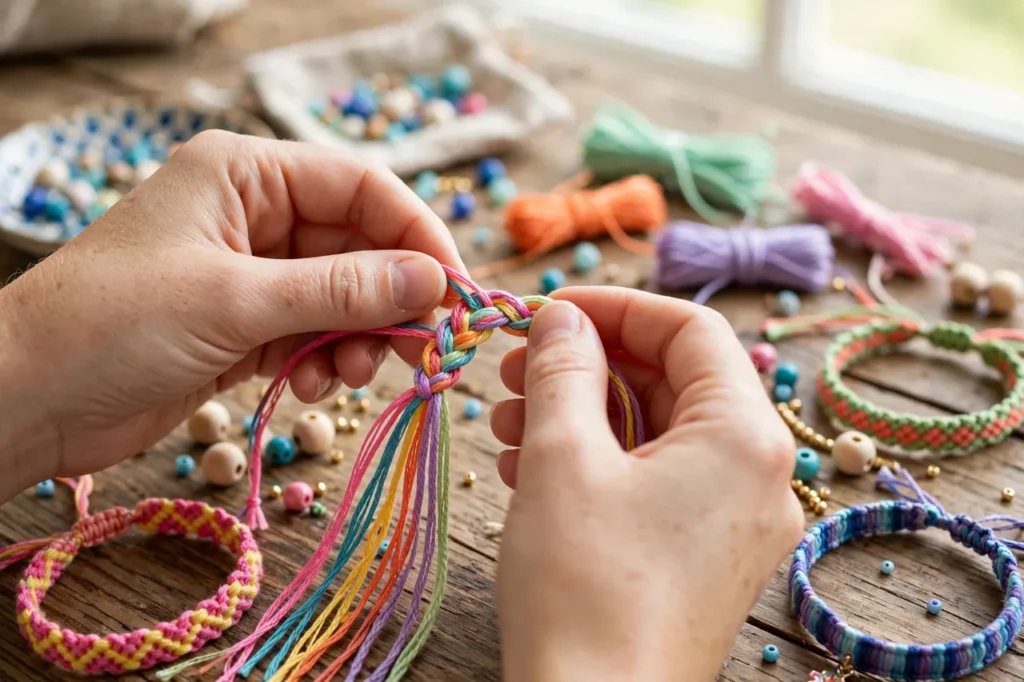
Not the lumpy camp-craft version — a refined, adult take on the classic, made as a matching set: one for her, one for you.
Materials
| Material | Specs | Notes |
|---|---|---|
| Embroidery floss | 2–3 colors she loves | DMC floss is ~$0.60/skein |
| Small gold/silver beads | 4–6 per bracelet | The “elevated” secret ingredient |
| Adjustable cord ends (optional) | 2 sets | Sliding knots work fine too |
| Tape or clipboard | To anchor while braiding | You own this already |
Step-by-Step
Step 1 — Cut and anchor. Cut six strands of floss, each about 30 inches. Knot together at the top, tape to a table.
Step 2 — Braid simply. A basic three-strand braid (two strands per section) looks clean and modern — skip the complex knotting patterns. Braid about 5 inches.
Step 3 — Add beads. Thread 2–3 small metal beads onto the center strands, continue braiding, add 2–3 more near the end. The beads are what make it look like jewelry instead of camp craft.
Step 4 — Finish with adjustable closure. Tie sliding knots at each end (plenty of 60-second tutorials exist) so it fits any wrist. Make two — one for each of you — and present hers in a small box with a note: “One for you, one for me. Distance-proof.”
Project 5: The Handmade Spa Kit
Mix up genuinely effective sugar scrub and bath soak from kitchen ingredients, package them beautifully, and give the gift of an evening off.
Materials & Recipes
| Item | Recipe | Packaging |
|---|---|---|
| Brown sugar scrub | 1 cup brown sugar + 1/2 cup coconut oil + 1 tsp vanilla + zest of 1 orange | Small glass jar with ribbon |
| Lavender bath soak | 1 cup Epsom salt + 1/2 cup baking soda + 10 drops lavender oil + dried lavender buds | Mason jar with kraft label |
| Lip scrub | 2 tbsp sugar + 1 tbsp honey + 1 tsp olive oil | Tiny jar or tin |
| The extras | A face mask sachet, a candle, fuzzy socks (bought) | Arranged in a basket or box |
Step-by-Step
Step 1 — Mix. Each recipe takes five minutes: combine in a bowl, stir, done. Make sure coconut oil is melted but not hot when mixing the scrub.
Step 2 — Jar and label. Spoon into clean jars. Make labels from kraft paper: product name, ingredients, and a “made with love by [you], [date]” line. Handwritten labels are the whole aesthetic — do not print them.
Step 3 — Assemble the kit. Nestle jars into a basket or box with tissue paper, add the bought extras (candle, socks, face mask), and include a card prescribing the ritual: “Step 1: run the bath. Step 2: light the candle. Step 3: use everything. Step 4: text me how amazing you feel.”
Safety note: List all ingredients on the labels in case of allergies, and keep essential oil amounts modest. When in doubt about sensitivities, go fragrance-light.
Project 6: “Our Story” Recipe Book
For the foodie best friend: a handmade book of the recipes that define your friendship — the pancakes from every sleepover, the pasta from the broke-college era, her birthday cake recipe.
Materials
| Material | Specs | Notes |
|---|---|---|
| Blank journal or binder | Hardcover preferred | The “book” itself |
| Printed recipes | 8–12 recipes | Format consistently for a pro look |
| Photos | Of the dishes + of you two | Food photos make it irresistible |
| Decorative supplies | Washi, stickers, pens | From your toolkit |
Step-by-Step
Step 1 — Curate the recipes. List the dishes tied to your friendship: what you cooked together, what she always requests, the meal from a memorable trip, her family’s signature dish if she has shared it. Eight to twelve is the sweet spot.
Step 2 — Format and print. Give every recipe the same clean layout: title, story (“we made this the night before finals”), ingredients, steps. The story blurb under each title is what transforms a recipe collection into a friendship memoir.
Step 3 — Assemble with love. Paste or slot recipes into the journal, decorate pages, add photos. Leave 3–4 blank pages at the back titled “Recipes We Haven’t Made Yet” — a promise of future adventures together.
Step 4 — Dedicate it. Write a dedication on the inside cover: what cooking and eating together with her has meant to you. Date it. This book will live in her kitchen for decades.
Project 7: Custom Candle With a Personal Label
A candle she will actually burn — because the label was designed for her. This is the easiest “wow” in the guide: a quality plain candle transformed by your design.
Materials
| Material | Specs | Notes |
|---|---|---|
| Plain soy candle | 8 oz, unscented or lightly scented | Choose a nice vessel — it becomes decor |
| Kraft or vellum label paper | 2–3 sheets | Printable or hand-lettered |
| Double-sided tape | — | For affixing the label |
Step-by-Step
Step 1 — Design the label. Give the candle a name only she would understand: “Sunday Mornings at Your Place,” “The Apartment Era,” “Post-Breakup Glow-Up.” Add a “scent description” that is really an inside joke (“notes of 2 AM diner fries and bad decisions we survived”), plus the date and your name as chandler. Hand-letter it for charm or design it on your phone and print it.
Step 2 — Affix and wrap. Wrap the label around the candle, secure with double-sided tape, tie twine around the top, and tuck in a dried flower. The whole project takes twenty minutes and looks like something from a boutique that charges $45.
Variations: Make a set of three mini candles, each named for a different era of your friendship. Present them in a small box with a card explaining each “scent.” It is a trip down memory lane disguised as home decor.
Project 8: The Friendship Time Capsule
A gift for now AND for the future: a sealed box of present-day treasures to be opened together on a future date — her 30th, your ten-year friendiversary, or just “five years from today.”
Materials
| Material | Specs | Notes |
|---|---|---|
| Sturdy box or tin | Sealable | The capsule itself |
| Current artifacts | Photos, ticket stubs, a playlist, news clippings | A snapshot of right now |
| Two letters | One from you to future-her, one she writes to future-herself | Sealed separately |
| Prediction cards | Where you’ll both be in 5 years | Funniest part of the project |
| Wax seal or strong tape | — | The official seal |
Step-by-Step
Step 1 — Gather the present. Collect artifacts of your current life together: a screenshot of your most-used emoji, the receipt from your regular restaurant, a playlist of your current obsessions, photos from the last year, a newspaper front page from her birthday week.
Step 2 — Write to the future. Each of you writes a letter to be read on opening day: where you are now, what you hope for her, predictions (serious and silly) about where you will both be. Seal them in separate envelopes.
Step 3 — Seal with ceremony. Pack everything in, close it up, and seal it — wax seal if you are fancy, packing tape and signatures across the seam if you are not. Write the opening date on top in big letters. Give it to her with one instruction: “Do not open until [date]. Guard it with your life.”
This project costs almost nothing, takes an afternoon, and creates an event in the future — a second gift hidden inside the first. Few presents promise a reunion; this one guarantees it.
Wrapping Handmade Gifts: Finish Like a Pro
You made it by hand — now present it like it belongs in a boutique. Handmade gifts deserve packaging that honors the work.
The Rustic-Elegant Formula
Kraft paper or a plain box + twine or ribbon + a sprig of dried flowers or eucalyptus + a handwritten tag. This combination is nearly foolproof and photographs beautifully. It signals “artisan” rather than “amateur” — the same aesthetic small-batch brands charge a premium for, and you get it for pennies.
Tags Tell the Story
Every handmade gift should have a tag that says what it is and that you made it: “Brown sugar scrub — made by [you], October 2026.” This is not bragging; it is provenance. Years from now, the tag is what turns an object into an artifact. For food or body products, add ingredients and a “best used by” note — it looks professional and keeps her safe.
Layer the Unwrapping
Tissue paper inside the box, the item nestled in, a small card on top. The unwrapping sequence should feel like a reveal, not like rummaging. If you are giving multiple small handmade items, wrap each one individually — five small packages beat one box of loose items every time. And if the words for the card do not come easily, heartfelt phrasing is everywhere to borrow: our wedding day wishes for best friend collection is full of lines about friendship that adapt beautifully to birthday cards.
Watch: DIY Gift Ideas in Action
See the techniques come alive: this video walks through last-minute DIY gifts people actually want — handmade ideas perfect for birthdays, friends, and anyone on your list. Great companion viewing before you start your project.
Quick Troubleshooting for DIY Disasters
Glue gun strings everywhere? Run a hair dryer over the project for ten seconds and roll the strings off with your finger. Mod Podge brush strokes showing? You applied it too thick — thin coats, always, and sand lightly between layers if needed. Photos curling? They were printed on thin paper; mount them on cardstock first next time, or weigh them under books overnight. Label smudged? Let ink dry fully before handling, and keep a spare sheet for do-overs. Every crafter has a drawer of beautiful mistakes — the difference between a beginner and a pro is simply that the pro kept going.
Frequently Asked Questions
I’m not crafty at all. Can I still make a DIY birthday gift?
Yes — every project in this guide was chosen for beginners. The explosion box is folding and gluing, the “open when” letters are writing, the spa kit is stirring ingredients in a bowl. None require artistic talent; they require care, which you already have. Start with Project 2 or 5 if you want the gentlest on-ramp — both are nearly impossible to mess up.
How much do DIY birthday gifts cost?
Most projects here run $5–$18 in materials, especially if you already own basic supplies. The $20 toolkit covers all six projects. Compare that to $40–$80 for comparable store-bought personalized gifts, and DIY wins on price as well as meaning. The real investment is 1–4 hours of your time — which is exactly why they mean so much.
How far in advance should I start a DIY gift?
Give yourself a week for relaxed crafting, though most projects take a single afternoon. The coasters need drying time (start those two days ahead), and anything requiring printed photos needs a photo-ordering buffer. The “open when” letters benefit from being written over several days — your thoughts will be better than in one rushed sitting.
What if my DIY gift turns out ugly?
First, it almost certainly looks better than you think — makers are their own harshest critics. Second, lean into the aesthetic: rustic and handmade is charming; perfection is not the goal. Third, the presentation tricks above (kraft, ribbon, good tags) elevate everything. And honestly? The slightly crooked bracelet made by her best friend will beat a perfect store-bought one in her heart every time. Imperfection is the signature of handmade.
Are DIY gifts appropriate for adult best friends, or just teens?
Completely appropriate for adults — arguably more so, because adult friendships run on thoughtfulness. The key is choosing grown-up projects: the recipe book, the spa kit, the photo coasters, and the explosion box all read as sophisticated, not juvenile. Avoid anything that looks like a school project unless irony is the point, and you are firmly in adult-gift territory.
Can I combine a DIY gift with a store-bought one?
Absolutely — it is often the best strategy. Pair a small handmade item (the bracelet, the letters) with one quality purchased gift (her favorite perfume, a book). The handmade piece provides the emotional weight; the purchased piece provides the “treat yourself” factor. Present them together as one gift and you get the best of both worlds.
What DIY gifts work for a male best friend?
The photo coasters, the “open when” letters (keep the tone right for your friendship), a curated snack or hot-sauce box you assemble yourself, or a framed photo from a great memory with a real note on the back. The recipe book works beautifully if he cooks. Keep packaging masculine-leaning (kraft, dark ribbon) and you are set. Our Valentine’s Day gifts for best friends guide has more unisex ideas that adapt well.
How do I make food-based DIY gifts safely?
Use clean, dry jars; list every ingredient on the label for allergy safety; keep perishables refrigerated and note that on the tag; and when in doubt, skip strong fragrances or essential oils. Sugar scrubs and bath soaks made from the recipes above are safe for most people, but a quick “any allergies I should know about?” text to a mutual friend is cheap insurance. When gifting to a group, our Christmas gifts for best friends roundup has more shareable ideas.